Showing posts with label Thrift Store Finds. Show all posts

Friday, September 17, 2010

Goldi-lamp

When it comes to lamp shades, are there really any rules? What size and shape really makes the difference?

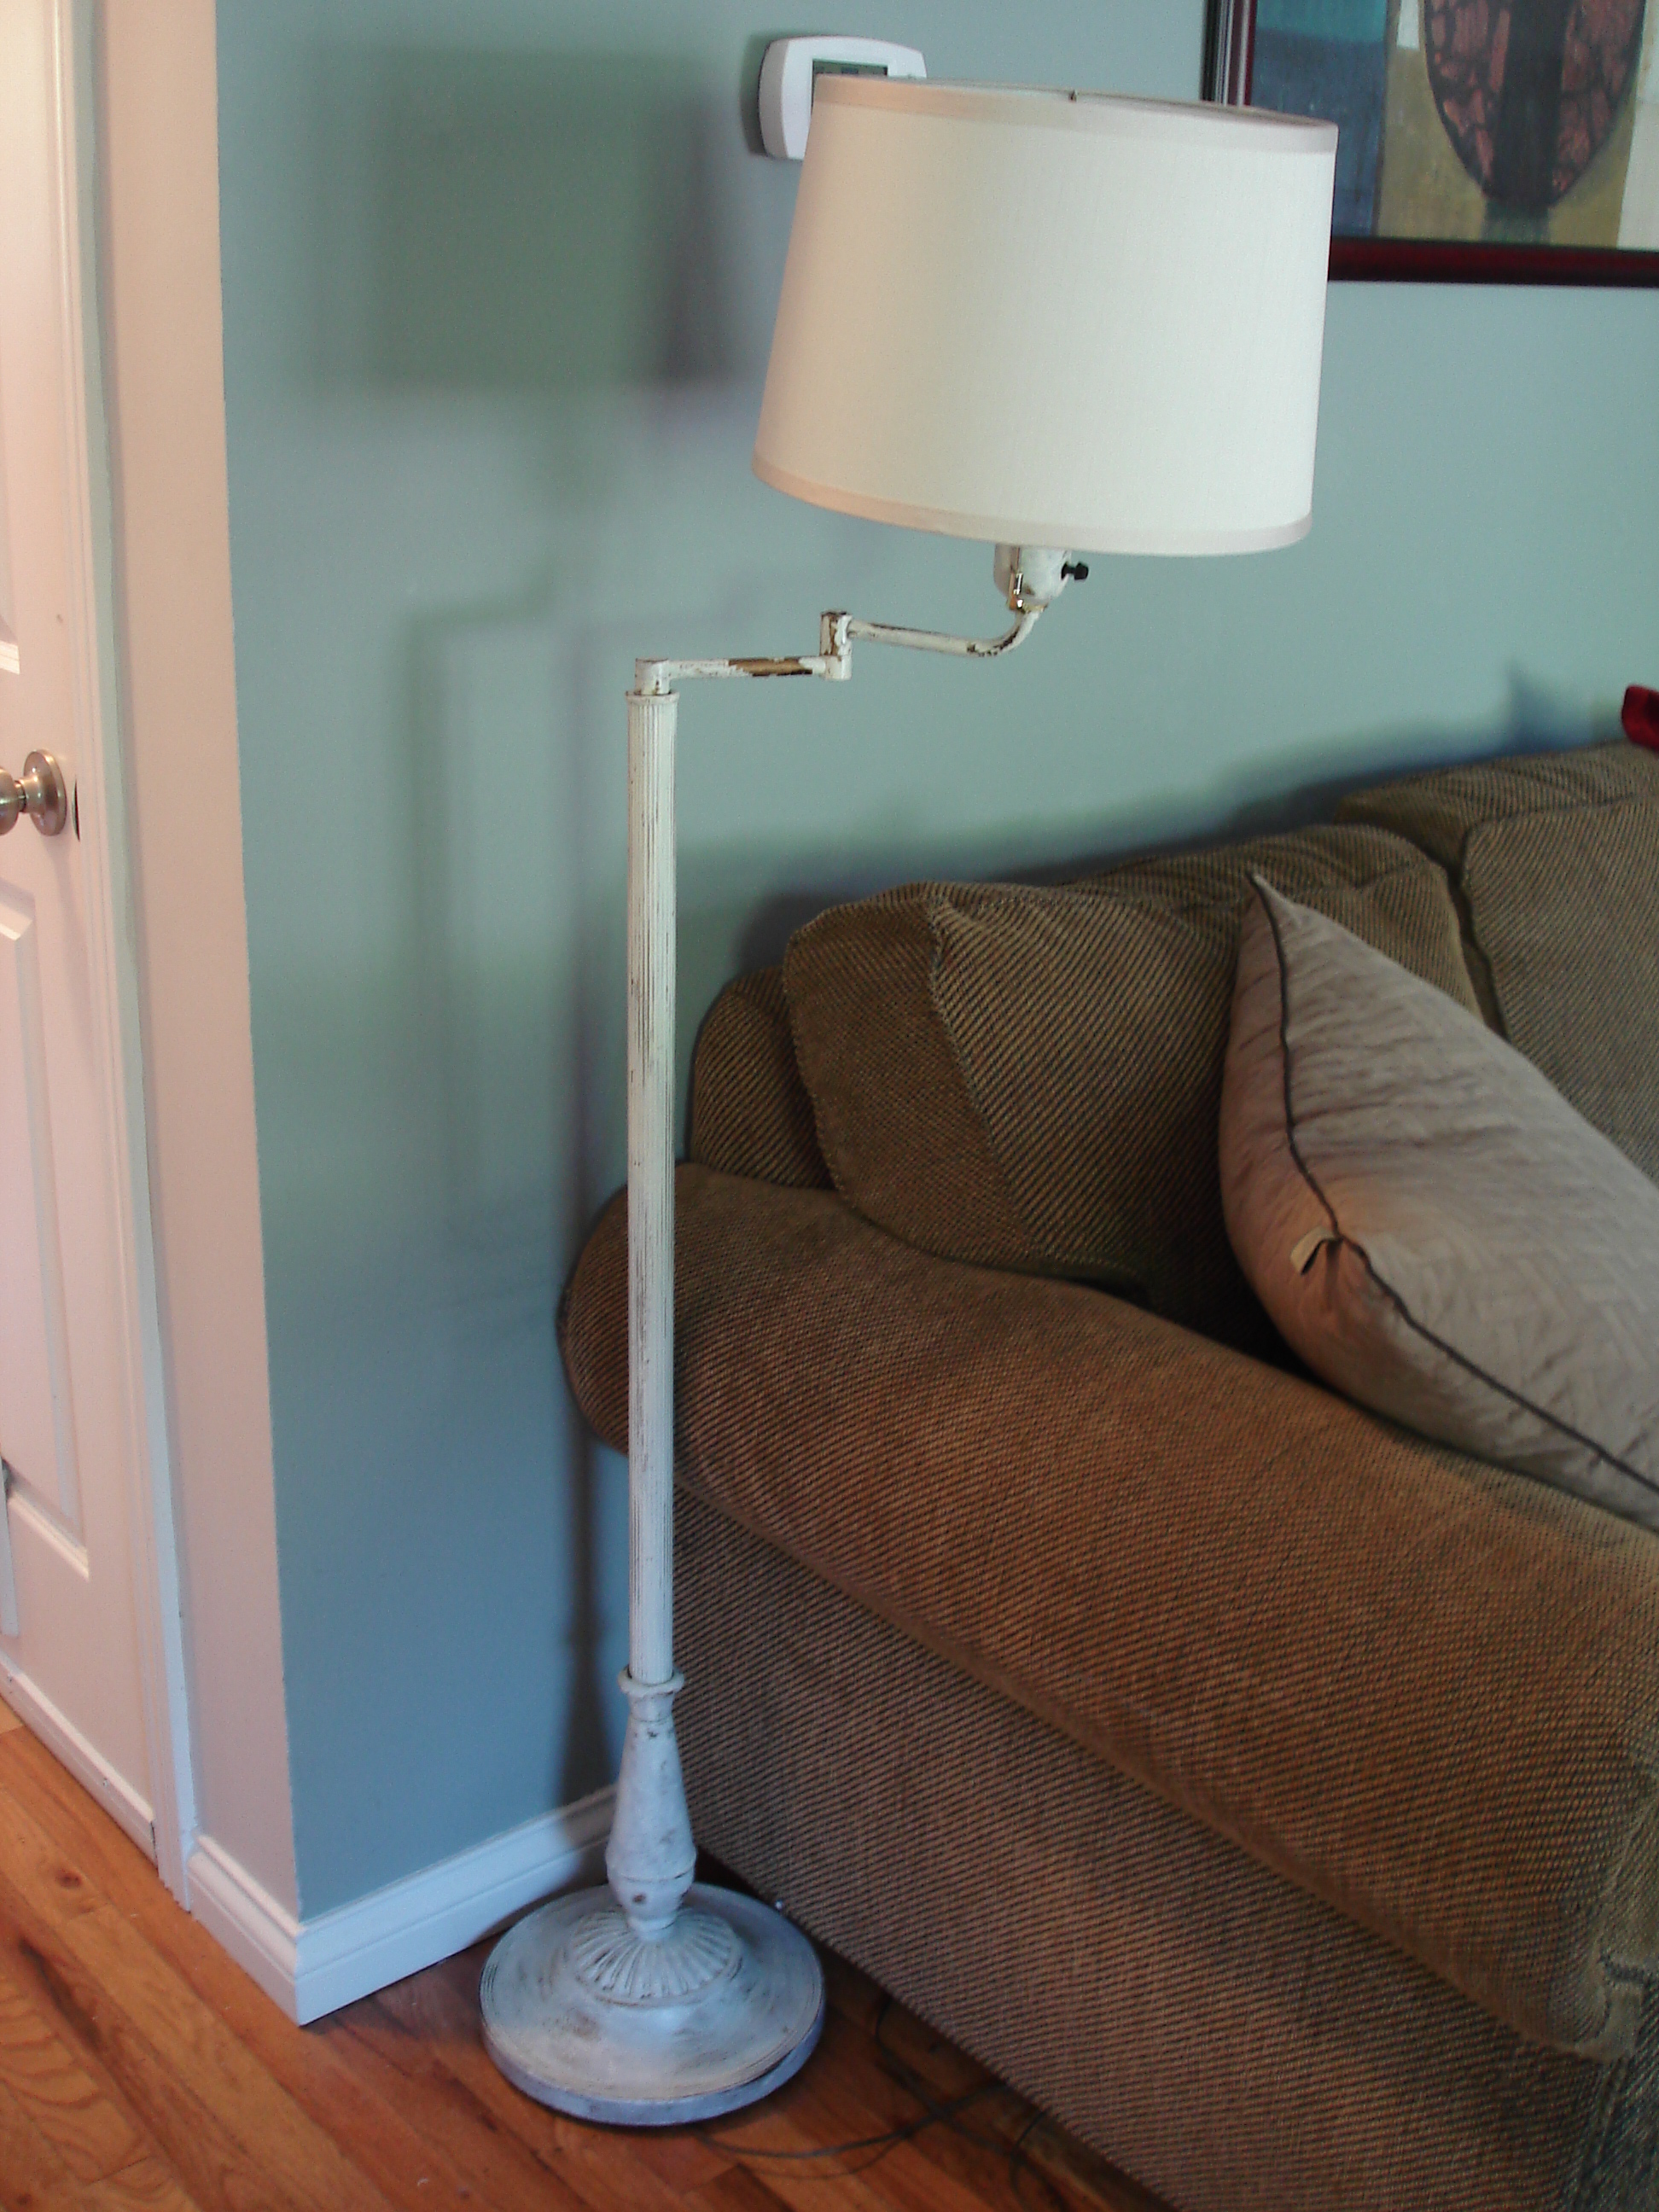
I decided to do a little experiment and find out. We desperately needed a floor lamp in our living room by our new couch, so I brought down the one from our upstairs reading nook and gave it a makeover.

Here's what it looked like.

lamp makeover

Try to ignore the crooked-ness, I was going to fix that during the makeover process. Armed with Krylon's Oil Rubbed Bronze rattle can, I gave the painted-white-brass-lamp a new look in less than 10 minutes.


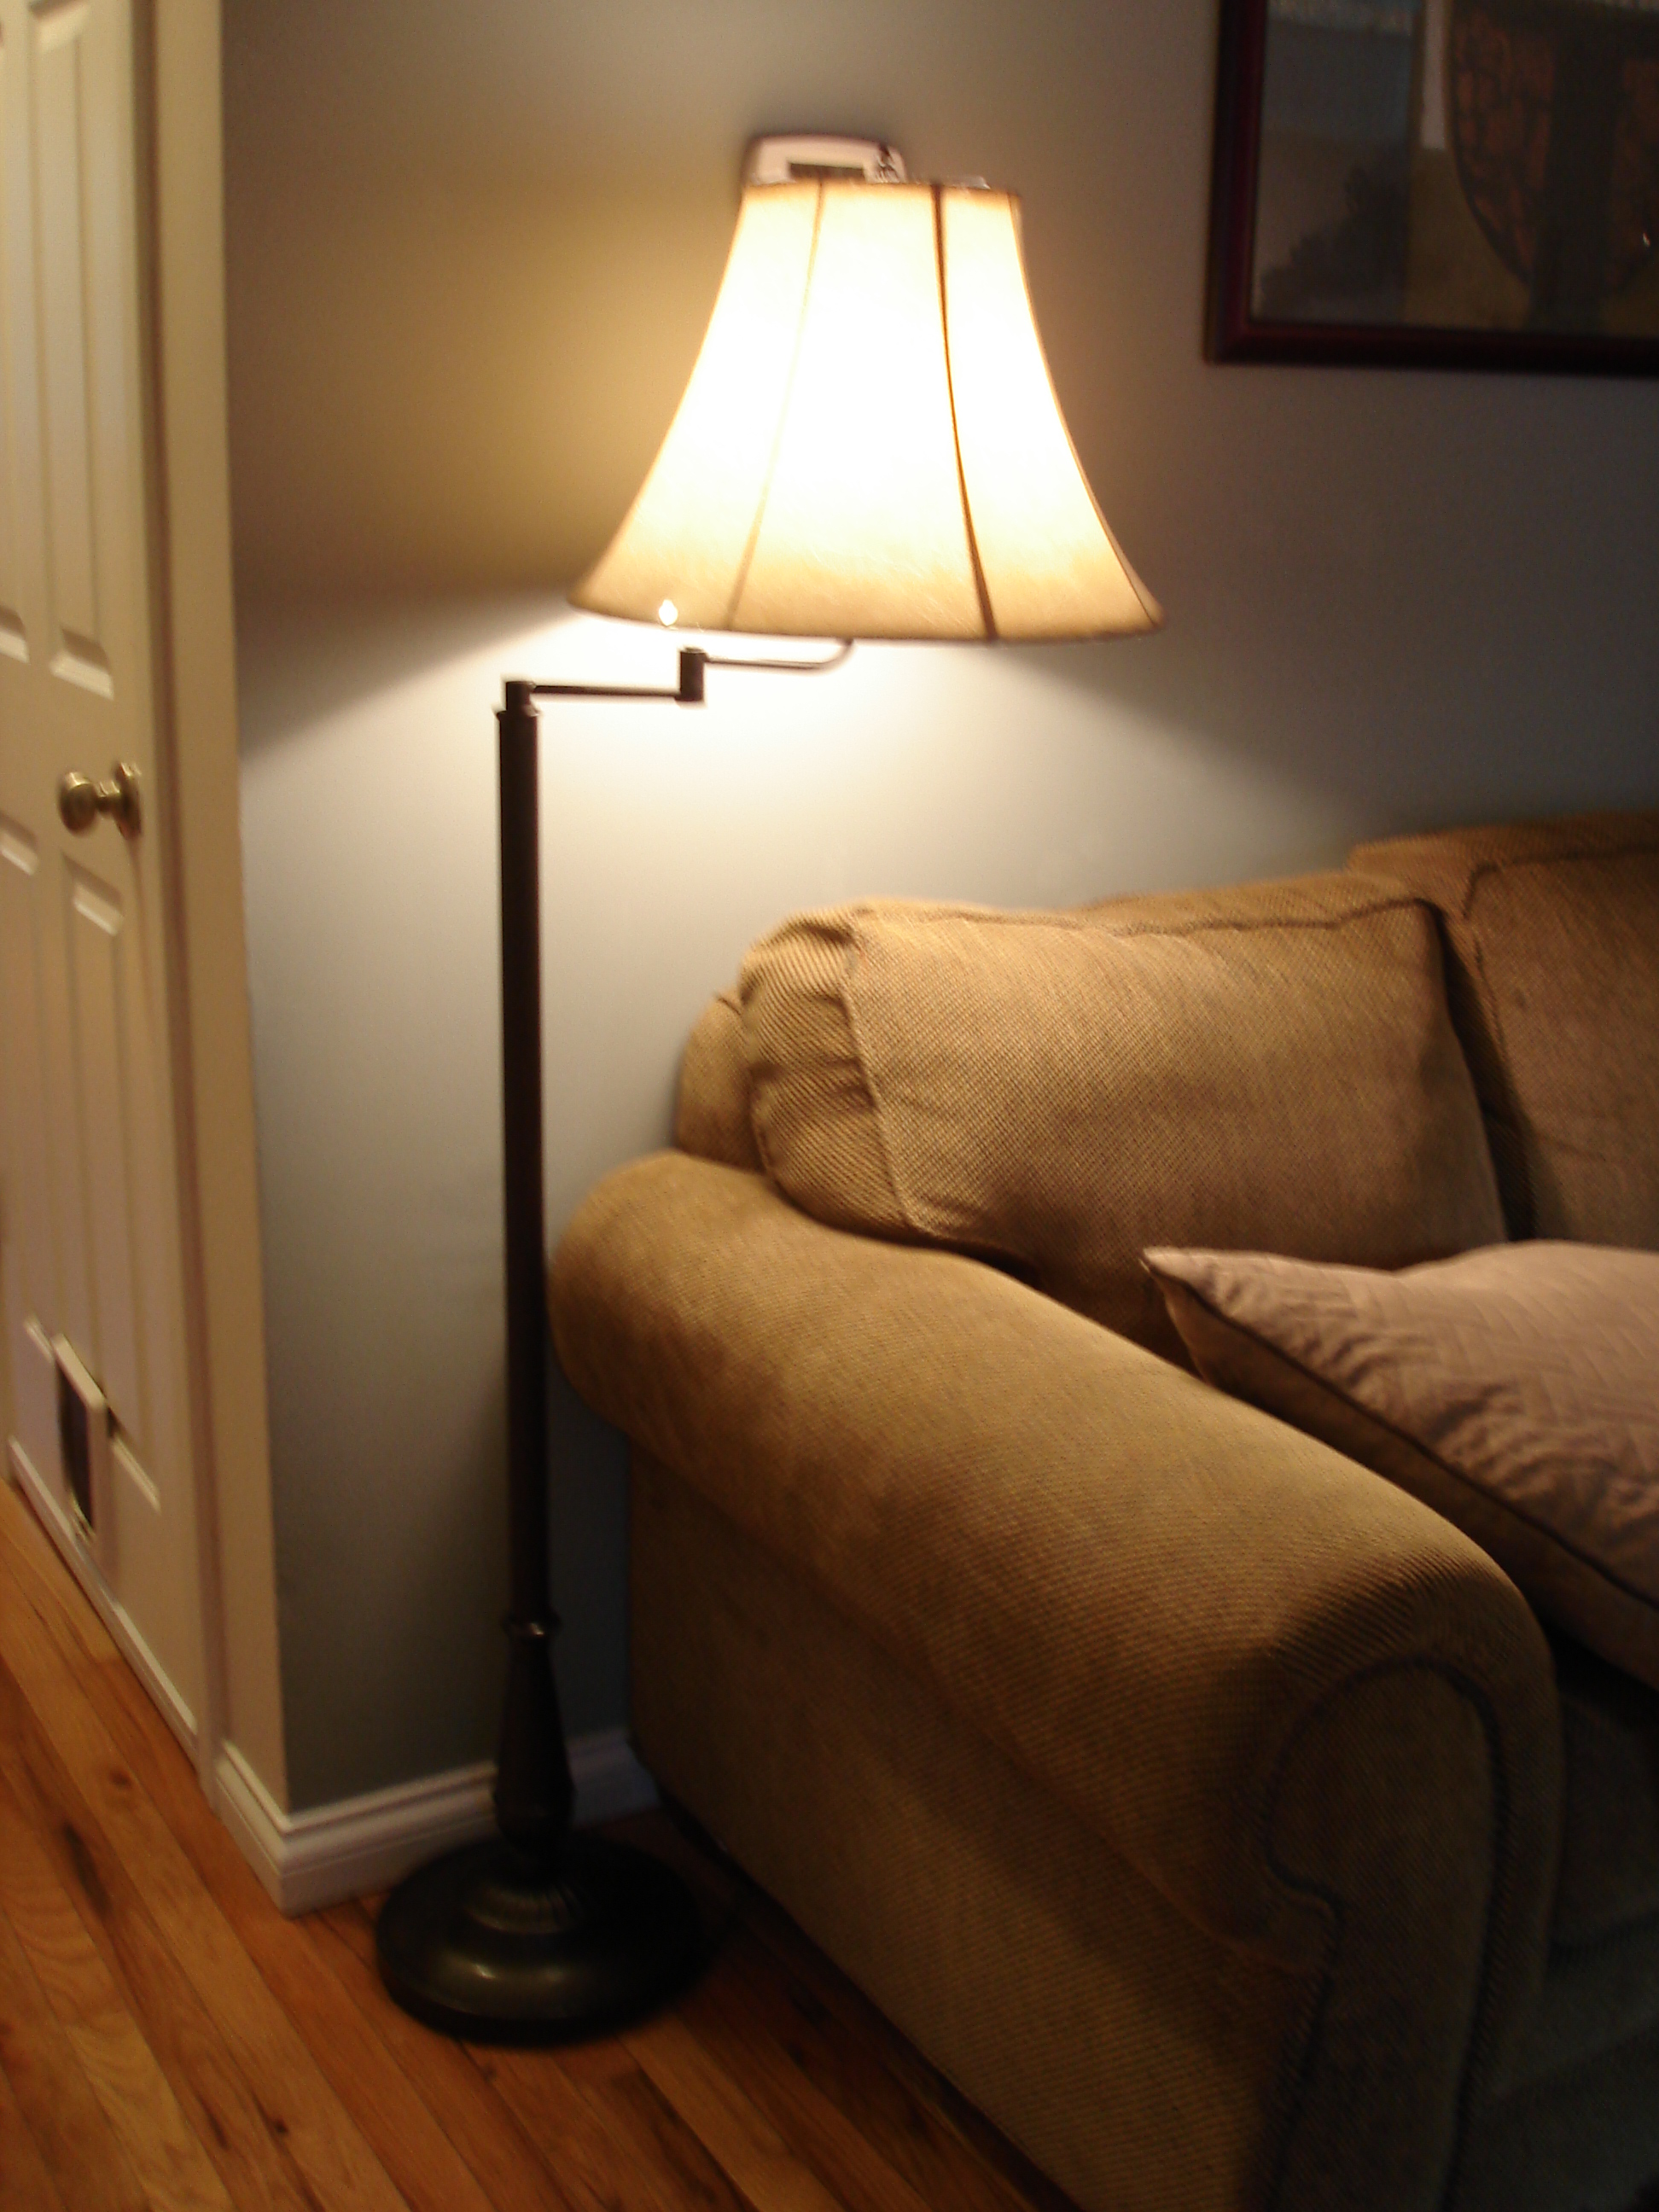
There was a problem though-the lamp shade looked awkward. I wasn't sold on it, but I couldn't put my finger on why. Finally it occurred to me that it seemed just a little too short. Isn't the shade supposed to cover the switch apparatus?


This faux leather shade was neat, but just a little bit long. I felt it was overpowering the swing arm feature, and the exaggerated bell shape was a bit too much.

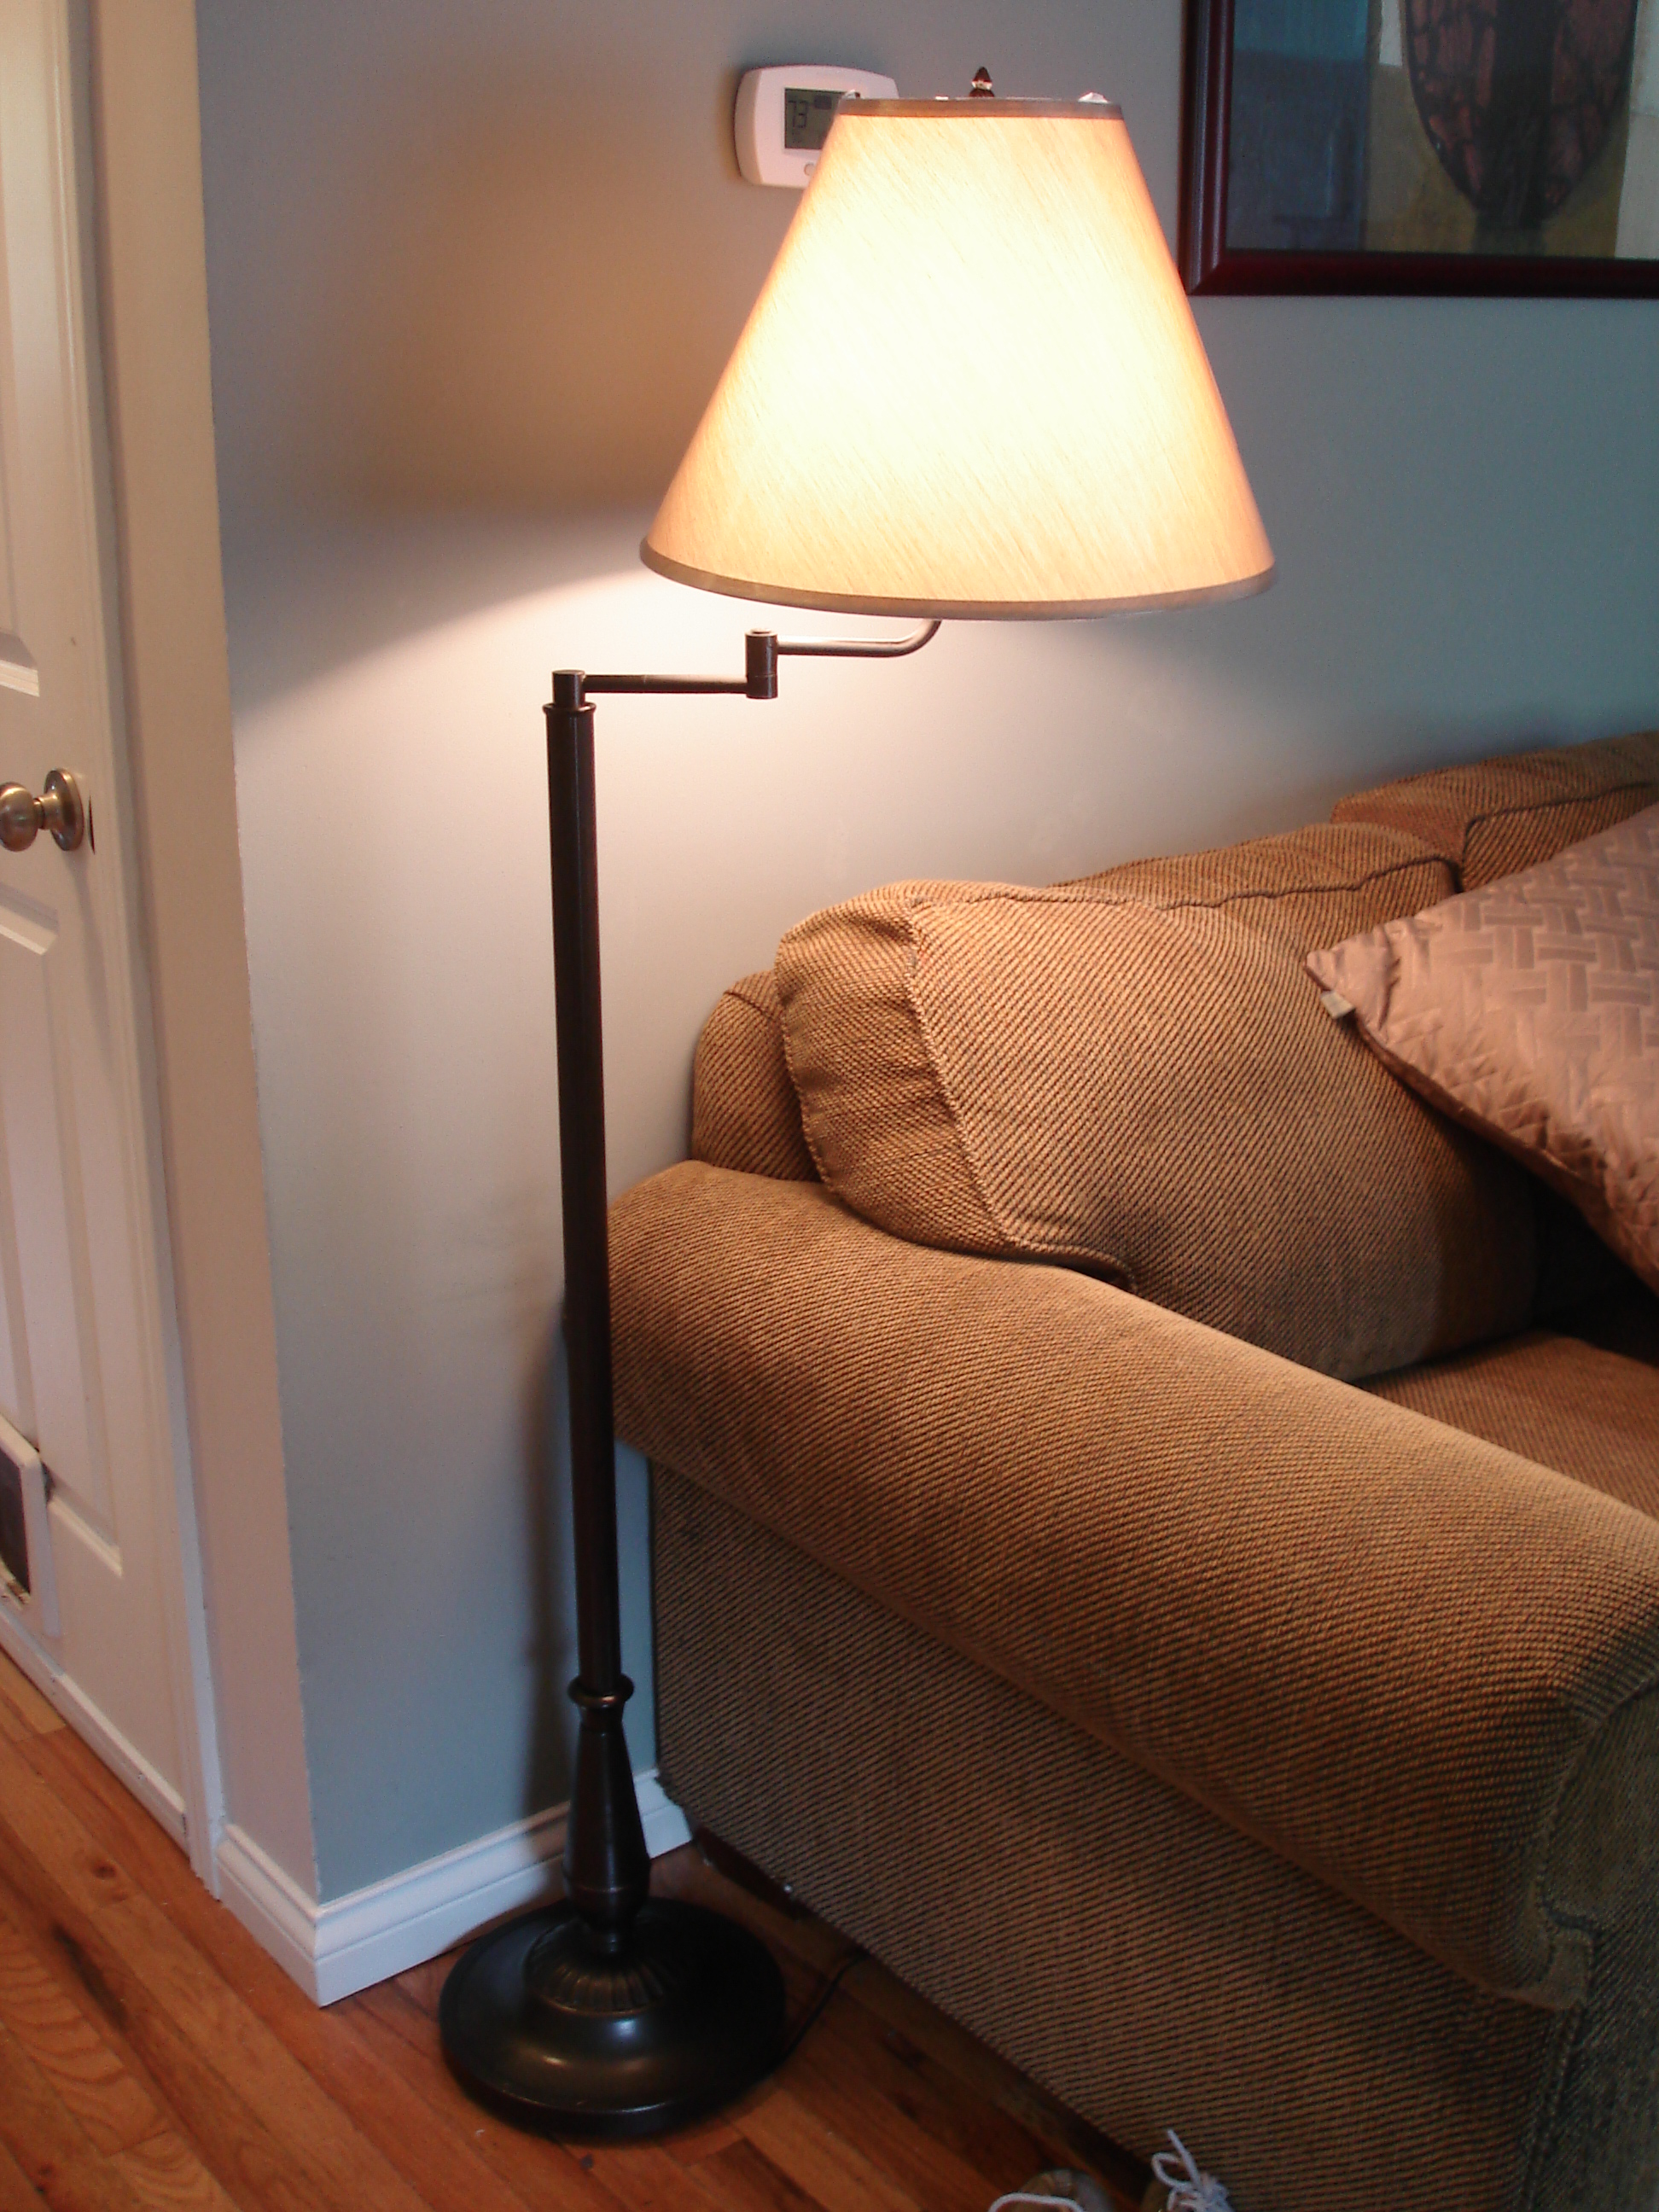
Ah, just right.

The length is a little shorter than option #2, and the shape is more streamlined. I think this is the best fit (and also cheaper!), but what do you think? Hurry up before I take the plastic off!

Monday, September 13, 2010

Neutral Hues

There is definitely something to be said for neutrals. I have learned over the past few years of decorating the house that neutrals can be just as interesting as big bold colors. Over time, your tastes may change, and that once oh-so-lovable bright colored piece of furniture will now stick out like a sore thumb.

Remember our big red couch?


I had grown tired of its subtle chenille pattern, and it had grown tired of us. Abused by our animals when they were little, it had turned into nothing more than a large dog bed. I was yearning for something more sophisticated to fit in with our newly redecorated room. I still wanted to maintain a relaxing casual space (as opposed to a formal sitting room), so I turned to Craigslist to find a replacement.

After a few weeks of hunting and inquiries (and some disappointments), I came across an ad for a queen size sleeper couch. I was immediately interested since I had always wanted to have a sleeper sofa, you know, just in case. I was lucky the seller had a attached a picture, which looked nice, so I emailed straight away for approximate dimensions.

The couch was a little shorter than our red one, which is a bonus since the extra floor space would allow room for a reading light. I was getting pretty excited about getting a new couch, so I made an appointment to see it. In person it was just as lovely, it even has nail head detailing. I loved that the back cushions are attached, a feature I never would have thought about before. It's amazing how you can really learn what works and what doesn't! I was really digging the couch and ready to take it home, but we needed a pickup truck. Thanks to a friend, we came back the next day for it in her dad's truck.

$150 later, we have a whole new look.


From far away it looks like a textured tan color, but up close you can see a subtle pattern which includes some navy and olive. Sure I might have preferred a plain tan microfiber couch, but for $150 this sleeper sofa was a clear winner.

Now to keep my pack of unruly beasts from destroying it!

Wednesday, July 28, 2010

A Dressing Bench

I picked up this sad creature a few weeks ago and finally got a chance to transform it.


This sad excuse for a bench was covered in cobwebs and about an inch of filth. But nothing would stop me from realizing its potential. Armed with some drop cloth fabric (like I upholstered this stool with) and some Krylon "Avocado" spray paint, I made over this bench to use at the foot of our bed. Paired with a textured white runner, I think it screams "Sit here and tie your shoes!"

Thursday, July 15, 2010

Bejeweled

I recently decided to give my jewelry a place to reside in style. Rather than stuff it in a box or try to hang it on hooks, I wanted a set up that would allow me to see everything. A girl has to know her options, you know.

I had been using this tweeny gadget to hold my earrings for some time.


I guess the pink never bothered me before my super sophisticated bedroom makeover. Now it was a huge eyesore, begging to be made over itself.

New paint or not, that would only take care of my earrings, and I needed something to corral my necklaces as well. Enter this picture tree I picked up at the thrift store for $1.99.


It's pretty blah here, but I knew I could give it a new look worthy of wearing my jewels. After performing a very delicate sequin flower-ectomy, I used the $0.99/can spray paint as primer for both pieces. The earring holder got a fresh green and the newly dubbed necklace tree a soft ivory. Here they are with their crowning jewels. The awesome glass bottle in the background came from a thrift store, I love the built in bling.


Wednesday, July 14, 2010

Pirate's Booty

The stars aligned for an amazing day of thrifting! Between Goodwill and this little shop I checked out for the first time (All For A Cause Thrift, aka. A.F.A.C.T), I picked up tons of great stuff. Some great glassware, wall sconces turned bookends, an Ann Taylor Loft cardigan, and a perfect pillow sham were among my finds.


But probably the most amazing find of the day was a Tommy Hilfiger leather handbag for $3! How awesome is this bag? The only thing wrong with it is the lining is torn-but that is soooo easy to fix, and I'm super psyched to add this to my collection (I looooove purses).

I've got a few makeovers to do, but most of this stuff I can use as is. Stay tuned for some before and afters!

Friday, July 9, 2010

In Action

Adding some new accessories has really made an impact in the house. I have more vases for fresh flowers (almost dead ones that I get to take home from the flower shop).


Pimping the sink.


And freshening up the buffet

Thursday, July 8, 2010

The Thrifty Bird Catches The Worm

Today at Goodwill, I had a specific mission: I was in major need of some bookcase accessories/vases/pots/decorative items. Maybe there was some kind of cosmic miracle where the stars aligned perfectly, but I scored big time!

A few pots, glassware, a decorative hand soap set (unopened and totally posh looking), and a distressed white swing arm floor lamp (perfect for our future reading nook in the bedroom!) were among the things I piled into my cart.

I got everything pictured here for $30!

Friday, July 2, 2010

Seating For Any Occasion

Remember those two Ikea "Lack" side tables I picked up at Goodwill for $11.00? Just in time for my Eclipse party tomorrow (more on this next week), I re-purposed them as ottomans for extra seating. A coat of primer, 3 coats of Krylon's "Pebble", and here they are topped with two Smith and Hawken pillows also from Goodwill ($2/ea).

The before...so sad! The laminate was peeling, and I had no use for these as side tables.


But now, the lighter and more functional after:


Our old beat up TV console leaves a lot to be desired flanked with these, so we'll be replacing it with a build-it-yourself version of this in the coming weeks.

Monday, June 28, 2010

In The Works

Do you ever give yourself a project list a mile long and then wonder what the heck you were thinking? I feel like I'm in a constant state of disarray, but I know in the end all the little (and sometimes big) projects on my list will get done. Of course it doesn't help that I keep finding super cute things to rework in thrift stores. I can't help it, my Jeep just goes there without direction from me- eager to fill its cargo area with treasures-in-the-making. One of the cashiers at Goodwill joked recently that I might be a hoarder! At least, I'm pretty sure she was joking. She says there are some people that she worries about if she doesn't see them everyday. As in, they might be dead. I hope I'm not one of those people.

In any case, here is what I came home with.

Two IKEA "Lack" side tables


One upholstered bench in serious need of rescuing


All three pieces were a total of $16, and I can't wait to get started on these! This will be the first time I've reupholstered something, and I'll be sure to tell you how I did it.

Sunday, June 27, 2010

Nooks and Cranies

Today we started work on our basement, it's a nice large space with huge potential that has been used mostly as Mike's workshop. Recently we decided we could make better use of the space, organize a little, and perhaps finish part of it. The first step was moving things around to get an idea of a good layout.

We made use of some Goodwill cabinets to create a laundry nook.


A new coat of paint freshened things up, along with a plywood counter top painted white to complete the look.


Here we are with the upper cabinet installed and new hardware. You'll notice I'm missing a knob on one cabinet-that's because I recycled these knobs from this desk into this dresser and now these cabinets. I'm hoping to find a match tomorrow.


I like the "built in" look, which will be complete when I fill the gap below the cabinet. Eventually we'll also put drywall up on those studs, but for now it keeps all our laundry items hidden!

Tuesday, June 22, 2010

They Call Me Mello Yellow

I'm convinced that spray paint can fix almost anything-especially decorative items. You can find a lot of great items in thrift stores that just need a new coat of paint to fit right in with your decor. Last week, I picked up a few diamonds in the rough at Goodwill.

A silver metallic basket


Two yellow ceramic vases, here is one of them


After a few coats of white spray paint, now they are neutral pieces that will work anywhere in the house!

Sunday, June 20, 2010

A New Life For A TV Cart

Truth be told, I'm not sure what this piece of furniture is. But, the price was right at $4-I knew I could find some use for it! As it turns out, I would end up needing a place to keep a TV in my office for when guests stay there. The lackluster finish left a lot to be desired, and it would need some work before taking its place in my new and improved office space.


It came to me on wheels, which I promptly removed. I sanded the existing laminate like finish with some 150 grit, just to give the primer something to stick to. After 2 coats of primer and 3 coats of white paint, I distressed the edges and corners to give it a bit more character. Even though it's not a traditional piece, I wanted it to fit in with the rest of my cottage inspired decor. Once the cart is dry, I'll put it upstairs to hold the TV.

Here's the finished product:

Sunday, June 13, 2010

Little Red Riding Hood...errr Desk

I first bought this desk for my brother when I learned he'd be coming to live with us. In a moment of old school nostalgia, I painted it bright red. Here is what it looked like when I got it (and I just realized this was likely the source of those knobs I repurposed on the entry buffet!)

And here is the bright red version- cute, but definitely juvenile.

Sorry for the quality, these were taken on a cell phone.

In any case, the desk wasn't really serving Ryan very well, so when we came upon this FREEBIE through Craigslist- we snatched it up and put it in his room. Now he can have all his media in one place, and it takes up less space. It feels like we doubled the square footage of his room!


The red desk was homeless, but not for long! I decided to use it in my office, since I was redecorating anyway and wanted to get rid of my cheap-o black particle board and metal Walmart special.


I decided to sand down the desk and paint it the same way I did the entry buffet. However, once I got to sanding I realized the top was actually a beautiful poplar (underneath FOUR coats of other paint-all different colors!) Totally inspired, I got this image of a neat butcher block-esque top on black legs, like this:


It will fit in perfectly with my vision of a stylish cottage inspired office. I'll give you the run down of the process (which involves both staining and painting) tomorrow!

Tutorial: Brush painting, staining, and distressing

You may have seen a few posts about my office makeover, and here is the first piece of furniture to go in it.


Ok, not exactly in this form. This was when I first got it at Goodwill for just $12. I had big plans for this desk, you can read about them in this post. But- like any normal DIYer- after I got into the project I changed my plans a bit. Read on for the play by play.

First I got busy sanding. Starting with 60 grit, I uncovered a rainbow of colors from who knows how many owners. But what's that peeking out in the corner?


Well HELLO gorgeous! I squealed with delight when I envisioned it with a natural stain.


That is poplar according to my husband who knows these things. I patiently sanded the rest of the frame in preparation for priming. You can use a product like Zinsser 1-2-3 water based primer.


Before I got busy priming, I wiped the top down with a damp rag and let it dry. Then I applied a coat of Minwax Natural Stain with a disposable sponge brush (like the one pictured above). When staining, you want to brush in the direction of the grain. While the stain soaked in, I applied two thin coats of primer on the rest of the frame. Here it is so far.


I just love how the stain brought out the natural color of the wood and really gave it a polished finish. The clean white against the butcher block-esque top was enough to convert me to the light side (from my previous natural on black legs vision). I decided to paint it white and distress it lightly. But first I had to deal with the drawers. There were holes to fill from several types of hardware that had been installed.


Elmer's Wood Filler would fix that up quickly. Simply squeeze some of the thick paste onto your finger and smear it in the hole. You want to make sure that it is at least flush with the rest of the wood. After it dries (about 15-30 minutes for fairly shallow repairs), you can sand it down for a seamless finish.


I also took this opportunity to see if Elmer's would help me out with another cosmetic issue. The "split" middle drawer was just a little bit too country for me, and I thought maybe I could fill the gap for a clean finish.


We'll revisit that drawer in a bit. Let's talk about paint now. My original plan included my fav spray paint, Krylon Metallic Oil Rubbed Bronze. It's the perfect black finish, it has more character than a flat black and looks more realistic to me that a glossy black brush finish. But having been swayed to the light side, I decided to use a can of semi-gloss white trim paint I had on hand.

White is a bit of a challenge because it shows flaws, and you need more coats to get full coverage. Despite 2 coats of primer, I still applied at least 3 to the frame, and close to 5 on the drawers. This is mainly because the desk had quite a bit of wear and tear. If your furniture is in good shape, you may not have to do as many. When it comes to painting-less is more. You will always get a better finish by doing more thin coats than fewer thick coats. I also sanded in between a few of the coats with 220 grit paper (again more specific to my roughed up desk), but it's not necessary if you're sticking with thin coats and you have a nice surface.

To complete the look, I decided to do a little bit of distressing. The key to a realistic finish is to choose spots that would naturally wear down over time. This includes corners, edges, and faces that might be rubbed down from regular use. For my desk, this meant the corners and edges of the drawer, and some details on the legs. I used 220 grit to take the sheen off the whole frame, then 150 grit to wear through the paint on the edges.


Here's the finished product, complete with some adorable pewter knobs.  Did you notice the split drawer is gone? I think it came out great, what do you think?


****Linked Up****