When I started thinking about switching things up in my kitchen, one of the first things that came to mind was to add a tile back splash. I think it's a relatively inexpensive way to make a big impact, next to paint. So after finding some
inspiration in magazines, I set out to tackle my first tiling job.
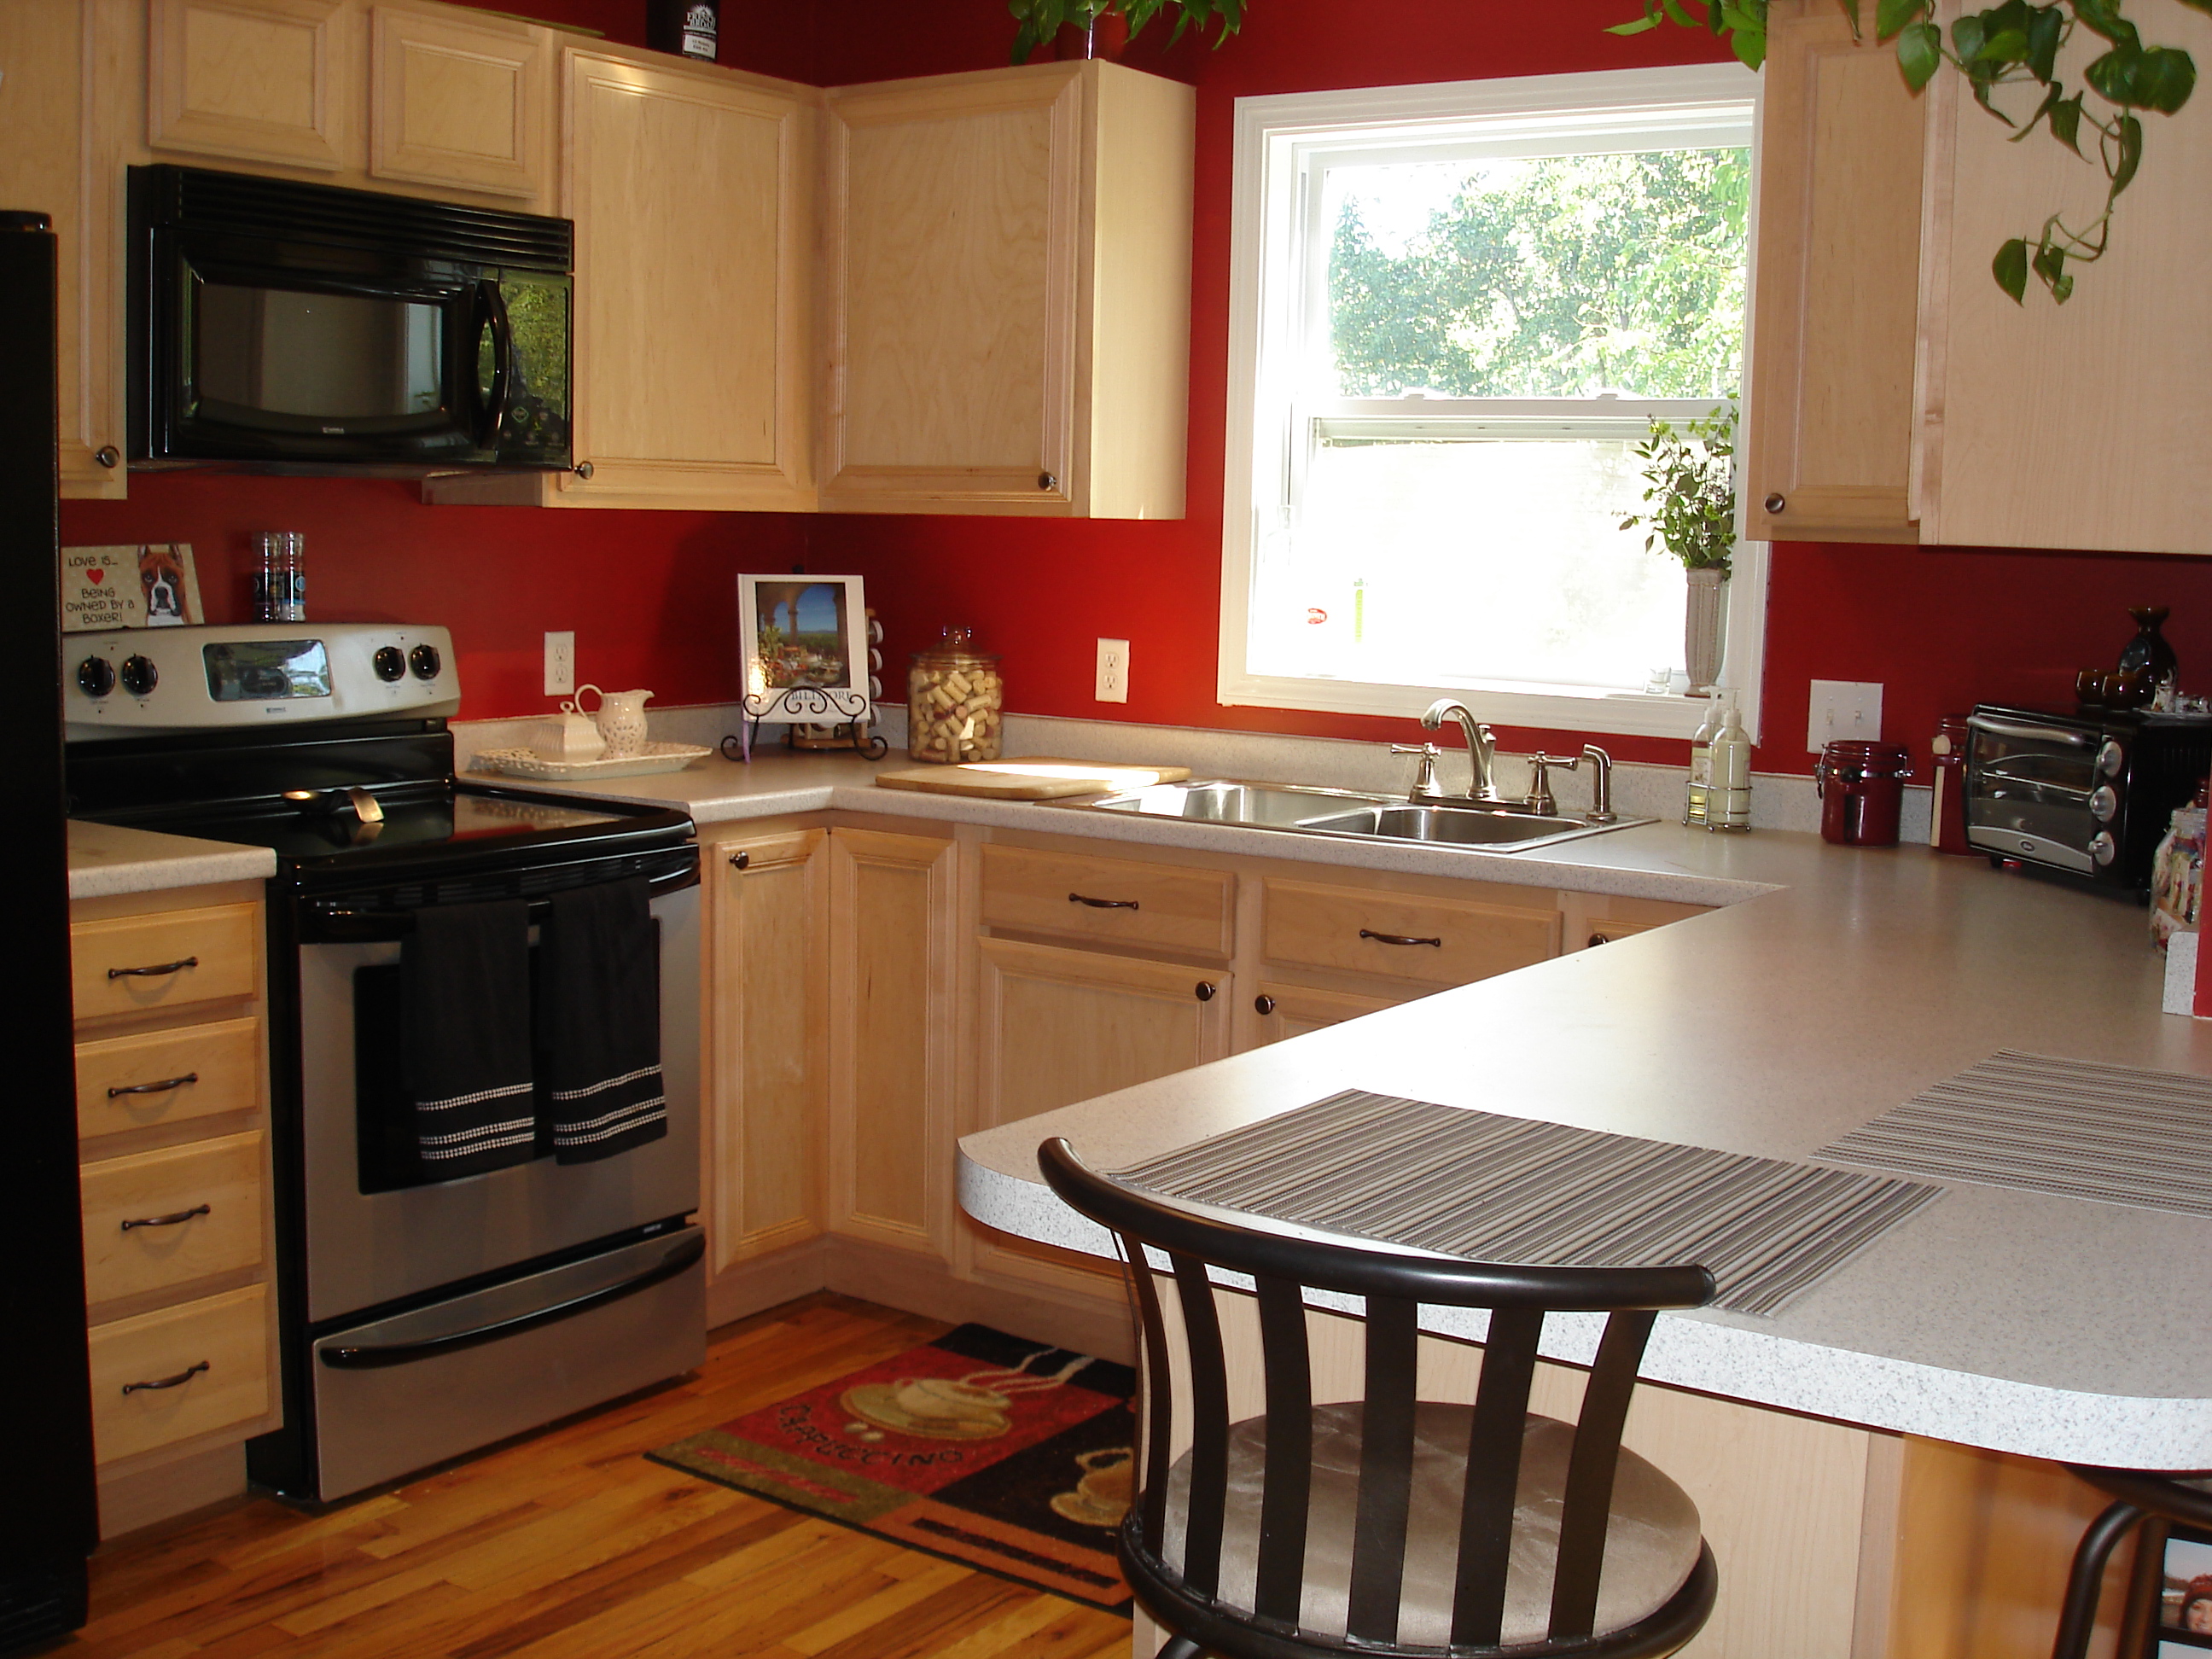
But first, let's take a look at my original black-and-cranberry bistro style kitchen.

And now for the transformation process. It started with painting the kitchen and dining room "Burnished Clay" from Behr (also used
here). I didn't waste any time painting the area that would end up being tiled.

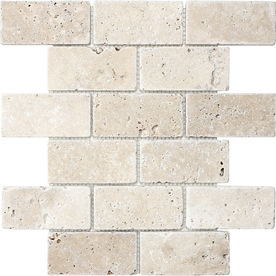
Here's what I picked up at the store:
Total Materials: about $350
Every tile job is different, but you'll likely need a variation of all these ingredients-be sure to check with the tile manufacturer or a friendly helper at Lowes or Home Depot.
If you're using any kind of stone tile, you'll likely need access to a wet saw. You can rent one for about $60/day, but I actually found a fairly cheap one at
Lowes for $89.99. It was cheaper than renting for 2 days, and I figure I may use it again down the line. If you don't have to make a lot of cuts, sometimes the place where you get the tile will cut it for you.
Once you get all your supplies, do a dry run of the tile to make sure you have enough and plan your cuts. Some sources will say to work from the middle of the wall out, but I thought that in my "U" shaped kitchen, most of the half tile cuts could be hidden in the corners. Just do whatever you think looks best!
Next, begin your prep...ready to use adhesive saves time, but mixing thin set is cheaper (just follow the mixing instructions on the bag). I'm not that great with consistency based results, so I chose to go the safe route with the mastic. Either way, you'll need a trowel to apply it. Which one depends on your tile size, so ask someone in the tile department or check the manufacturer.
Now, I'm no professional, but I do watch a lot of DIY network. I had watched homeowners lay tile about 100 times, so I felt pretty confident in the technique. I'll do my best to describe it, but there are plenty of videos out there on the internet if you want a demo.
****NOTE**** Be sure to turn off the breaker that controls any outlet you'll be working around. You will need to take the wall plates off, so unless you want to test your luck-better safe than sorry.Using the flat sides of the trowel, smooth on the adhesive in a large enough area to lay down a few square feet. The thickness of the spread depends on your tile. You'll want to have enough so that the notched end of the trowel doesn't cut all the way through to the wall-but not so much that it squeezes through between the tiles. It's not an exact science, so just feel it out and you should have a pretty good idea of how much you need early on.

Then, using the notched ends, hold the trowel at about a 45 degree angle and go back over the adhesive. This will create ridges which help the tile to adhere.

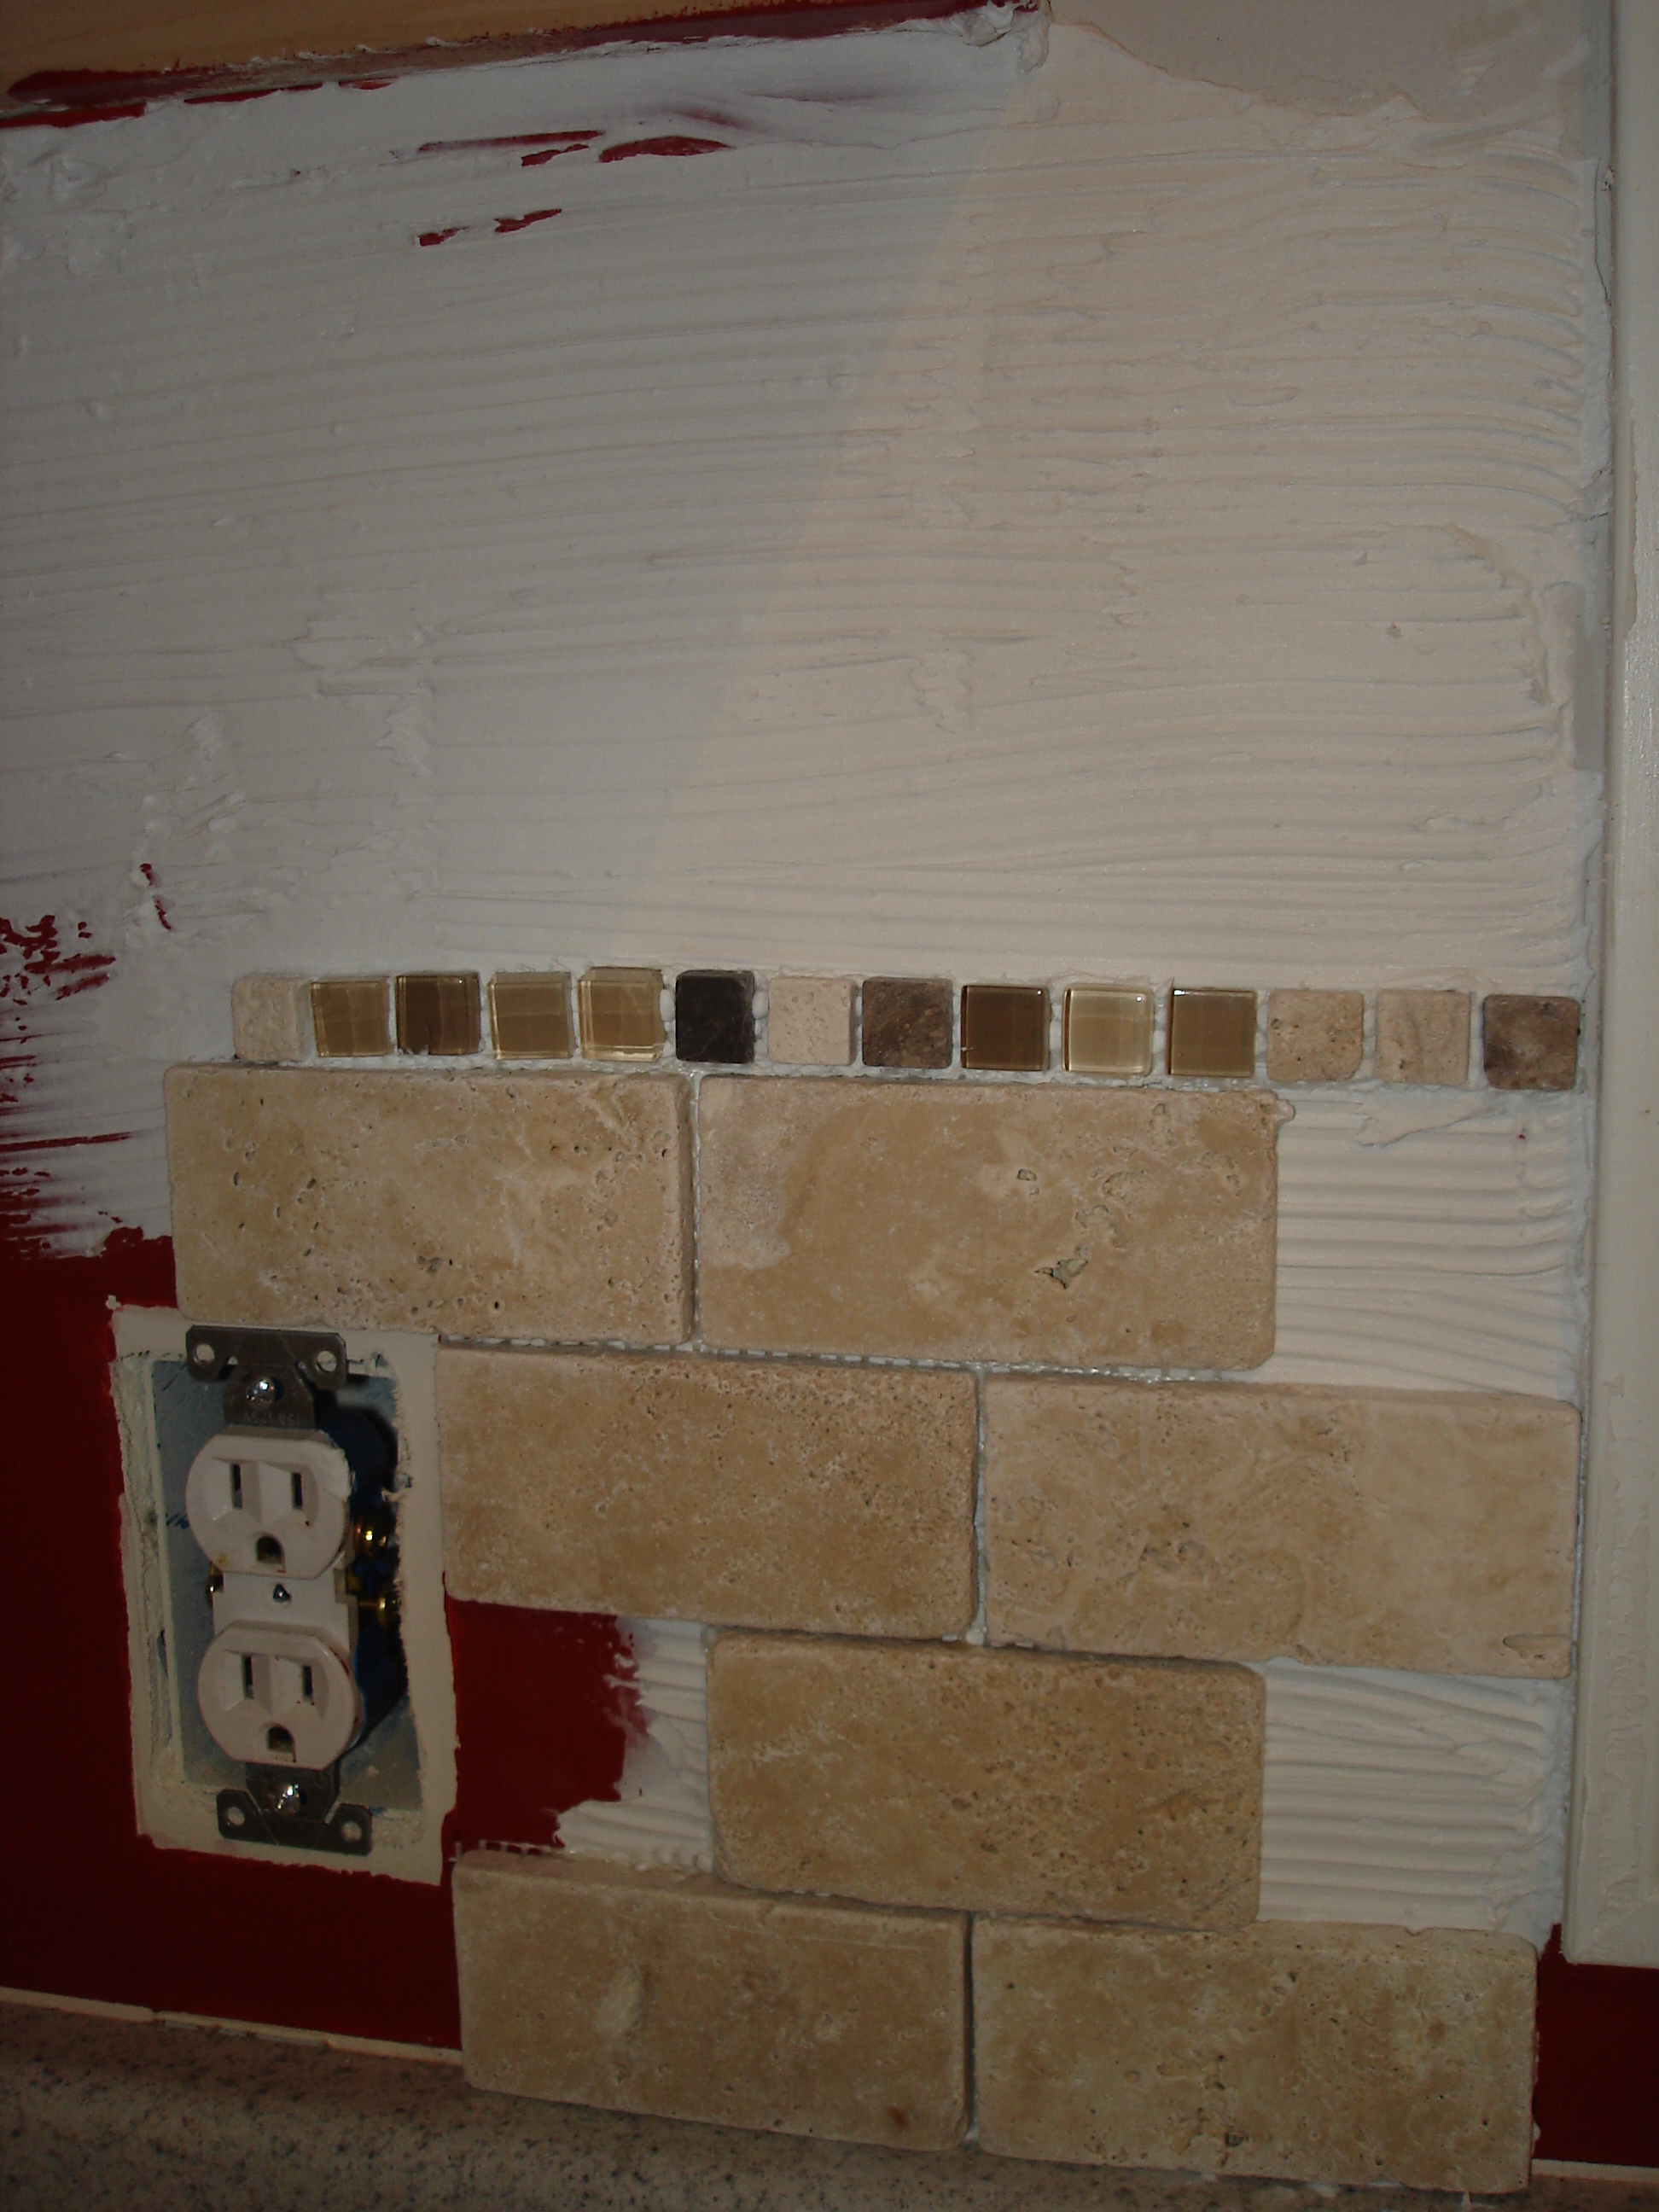
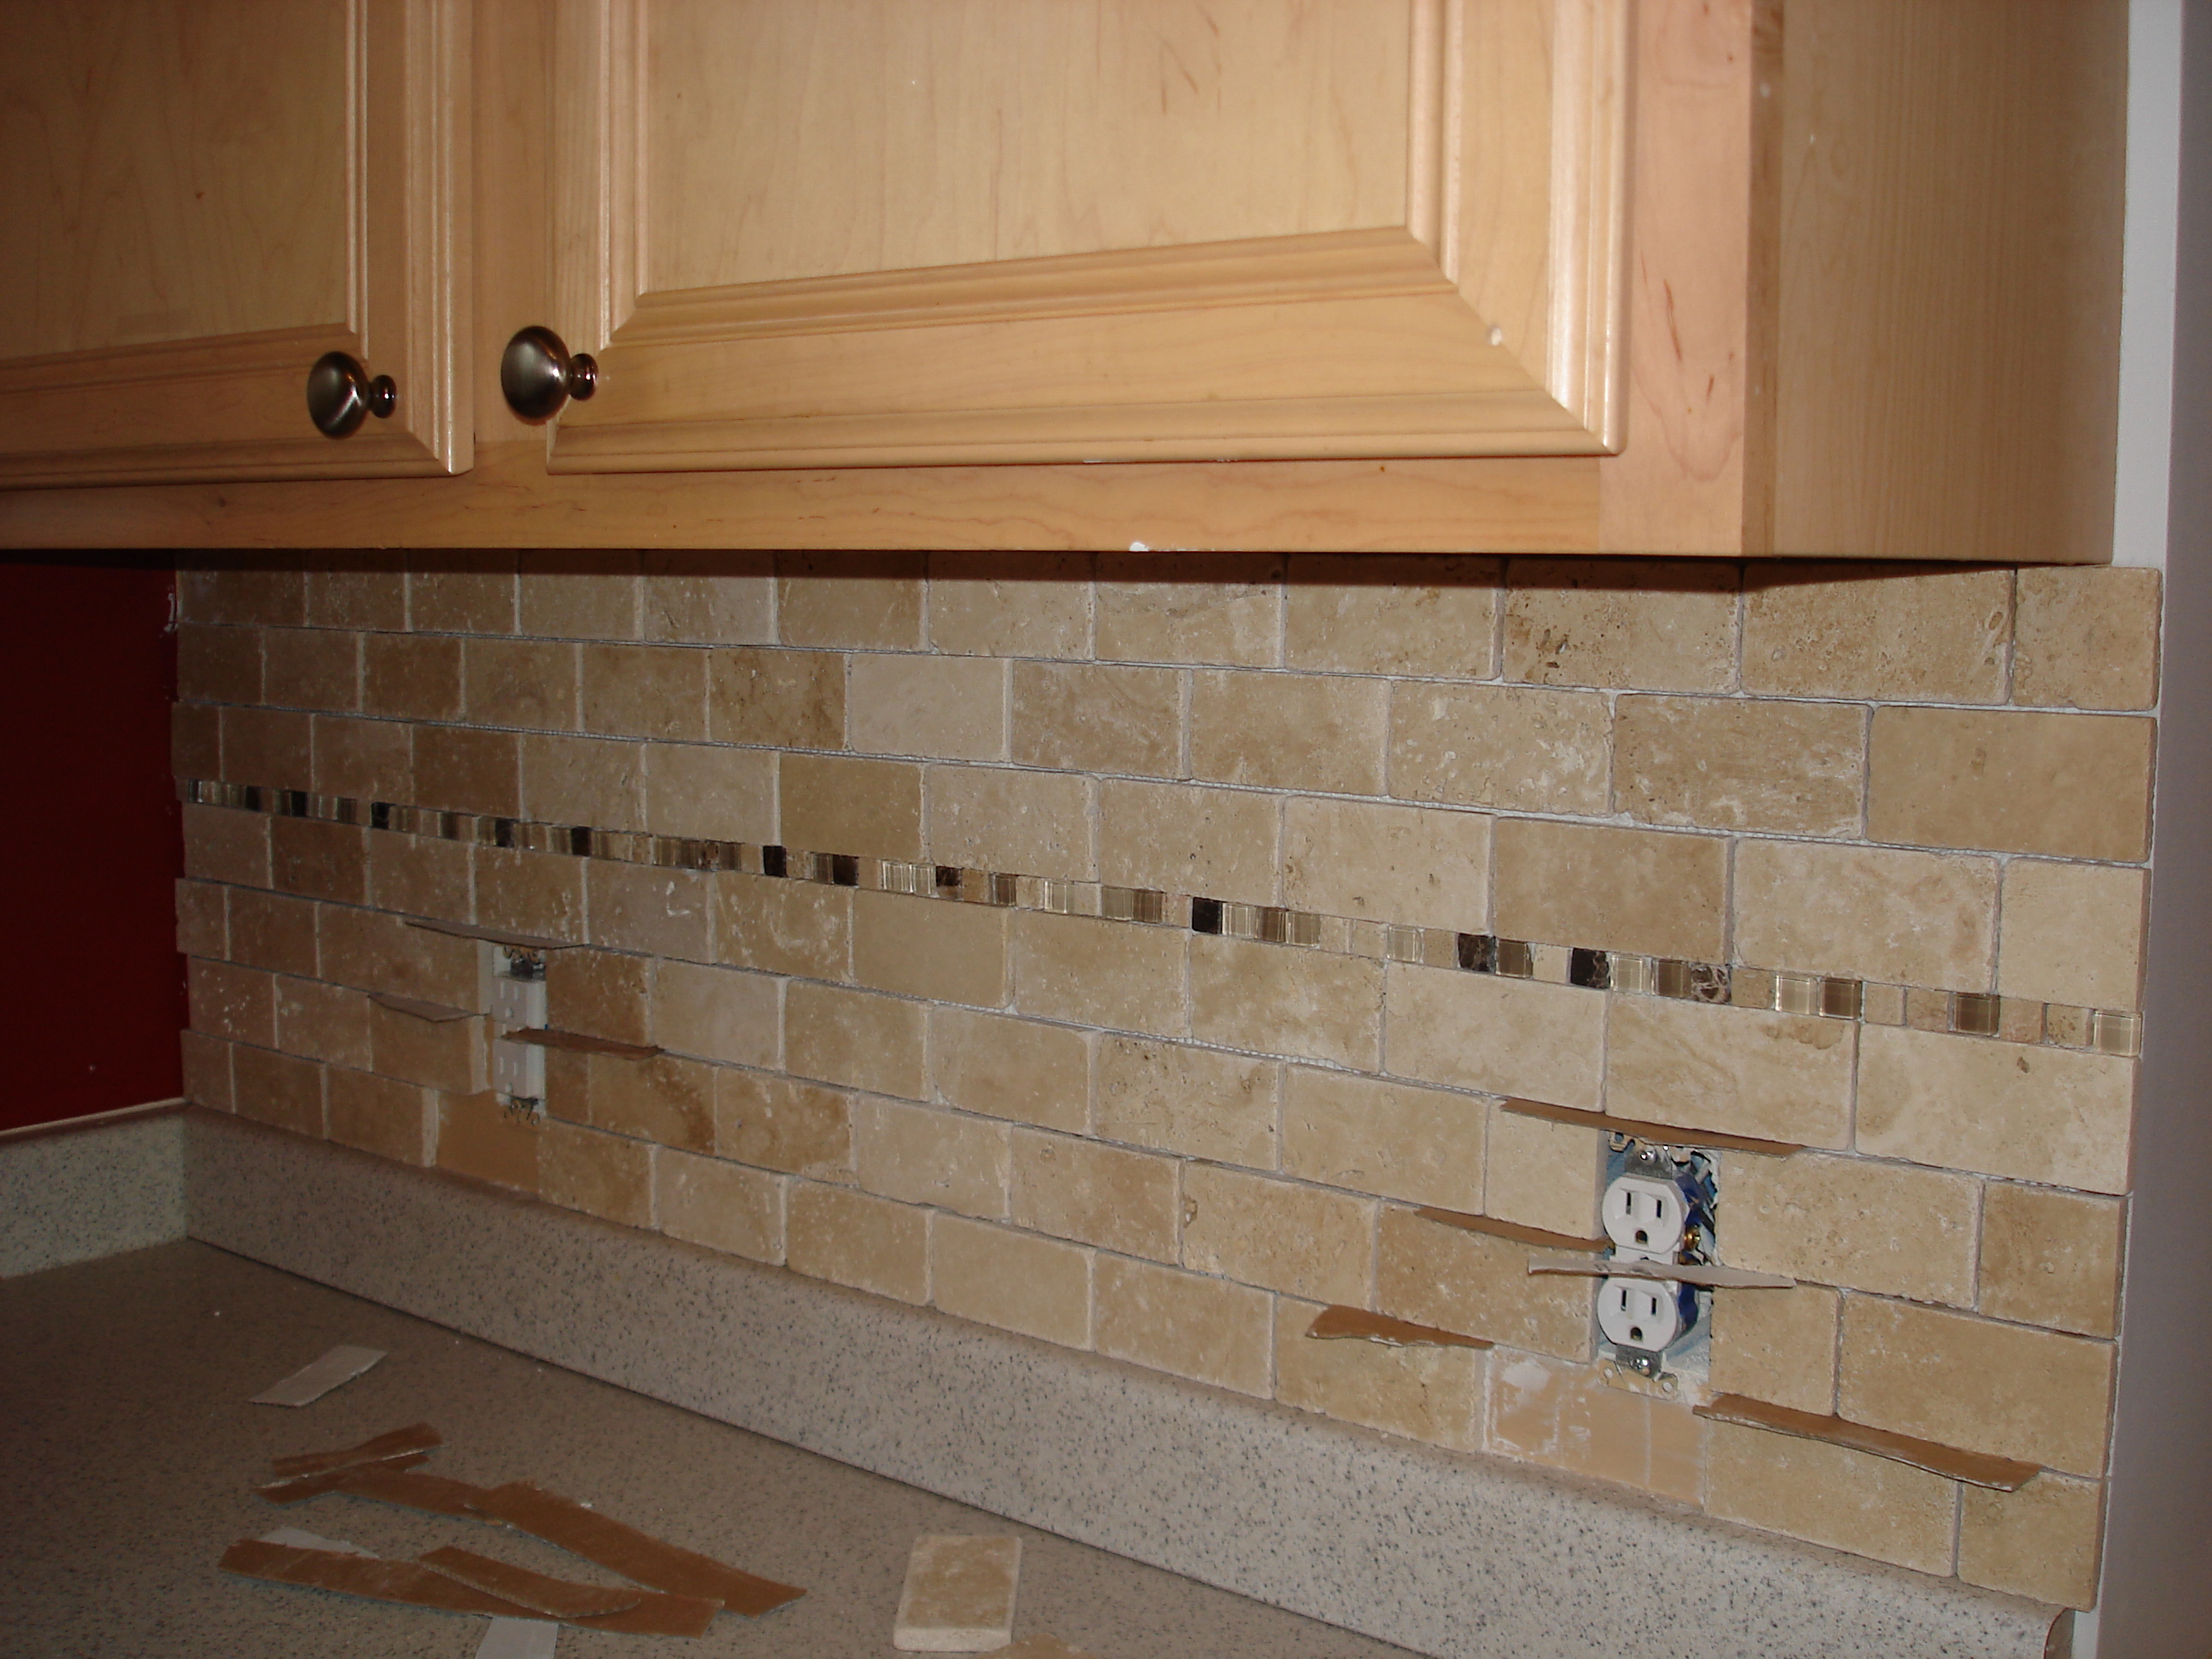
Now you're ready to lay your first tile! I'm using mesh backed tile which goes up 1 square foot at a time. For individual tiles the process is a little different because you'll need spacers. Either way, just take your time and make sure your grout lines are as even as possible. With my tile, I decided to cut the mesh 4 bricks up to add a single row of accent tile. I also cut out the end tiles that needed to be cut in half to fit. That's the beauty of mesh-you can really create any pattern you want. Here is the first section I put up.

I topped it with a strip of 5/8'' mosaic tile that I cut from a large 1 sq ft sheet.

The rest of the sheet went up on top of the mosaic tile strip to complete the height as I continued down the wall, removing any bricks from the mesh that would need to be cut later.

When you come upon an outlet, you'll need to make sure that you tile close enough to the outlet box so that the cover has good support. But whatever you do, don't tile over the metal plates. When all the tile is done, the outlet box will have to be lifted out a bit to sit flush with the tile.

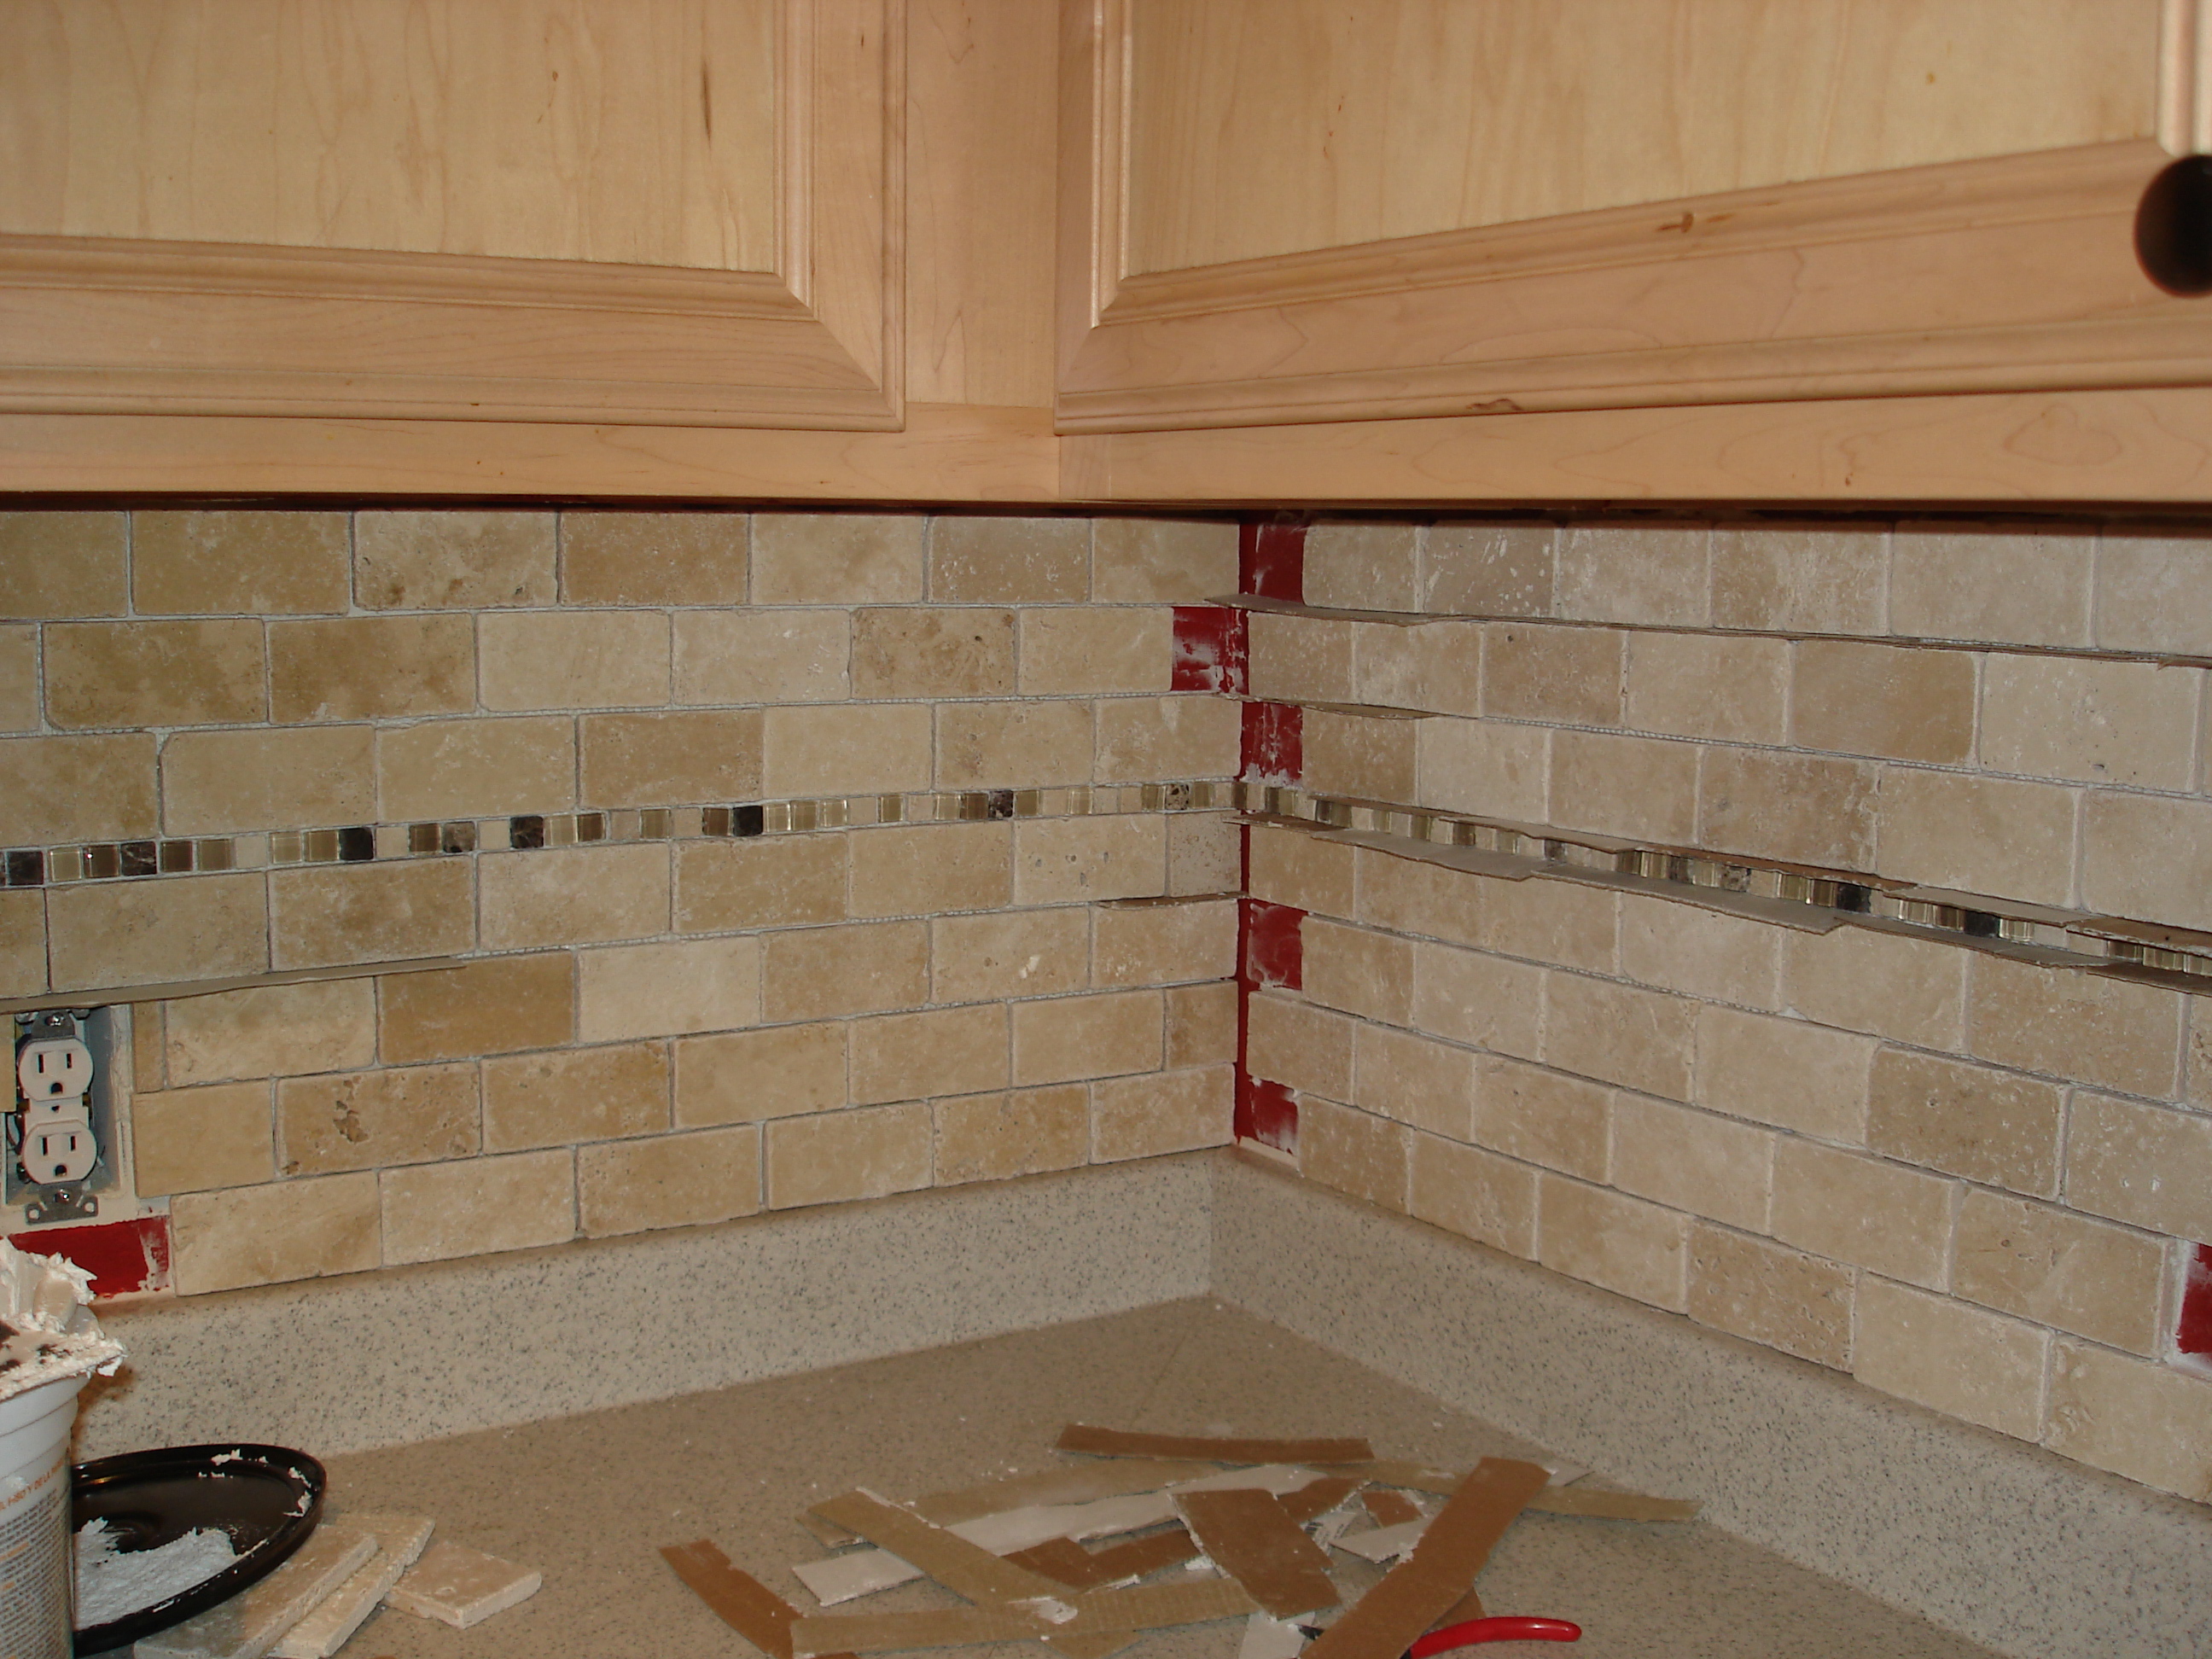
I laid all my tile and then began filling in the holes where cut tile would need to be added. Cutting tile can be intimidating, but if you give it a try you'll see how easy it actually is.
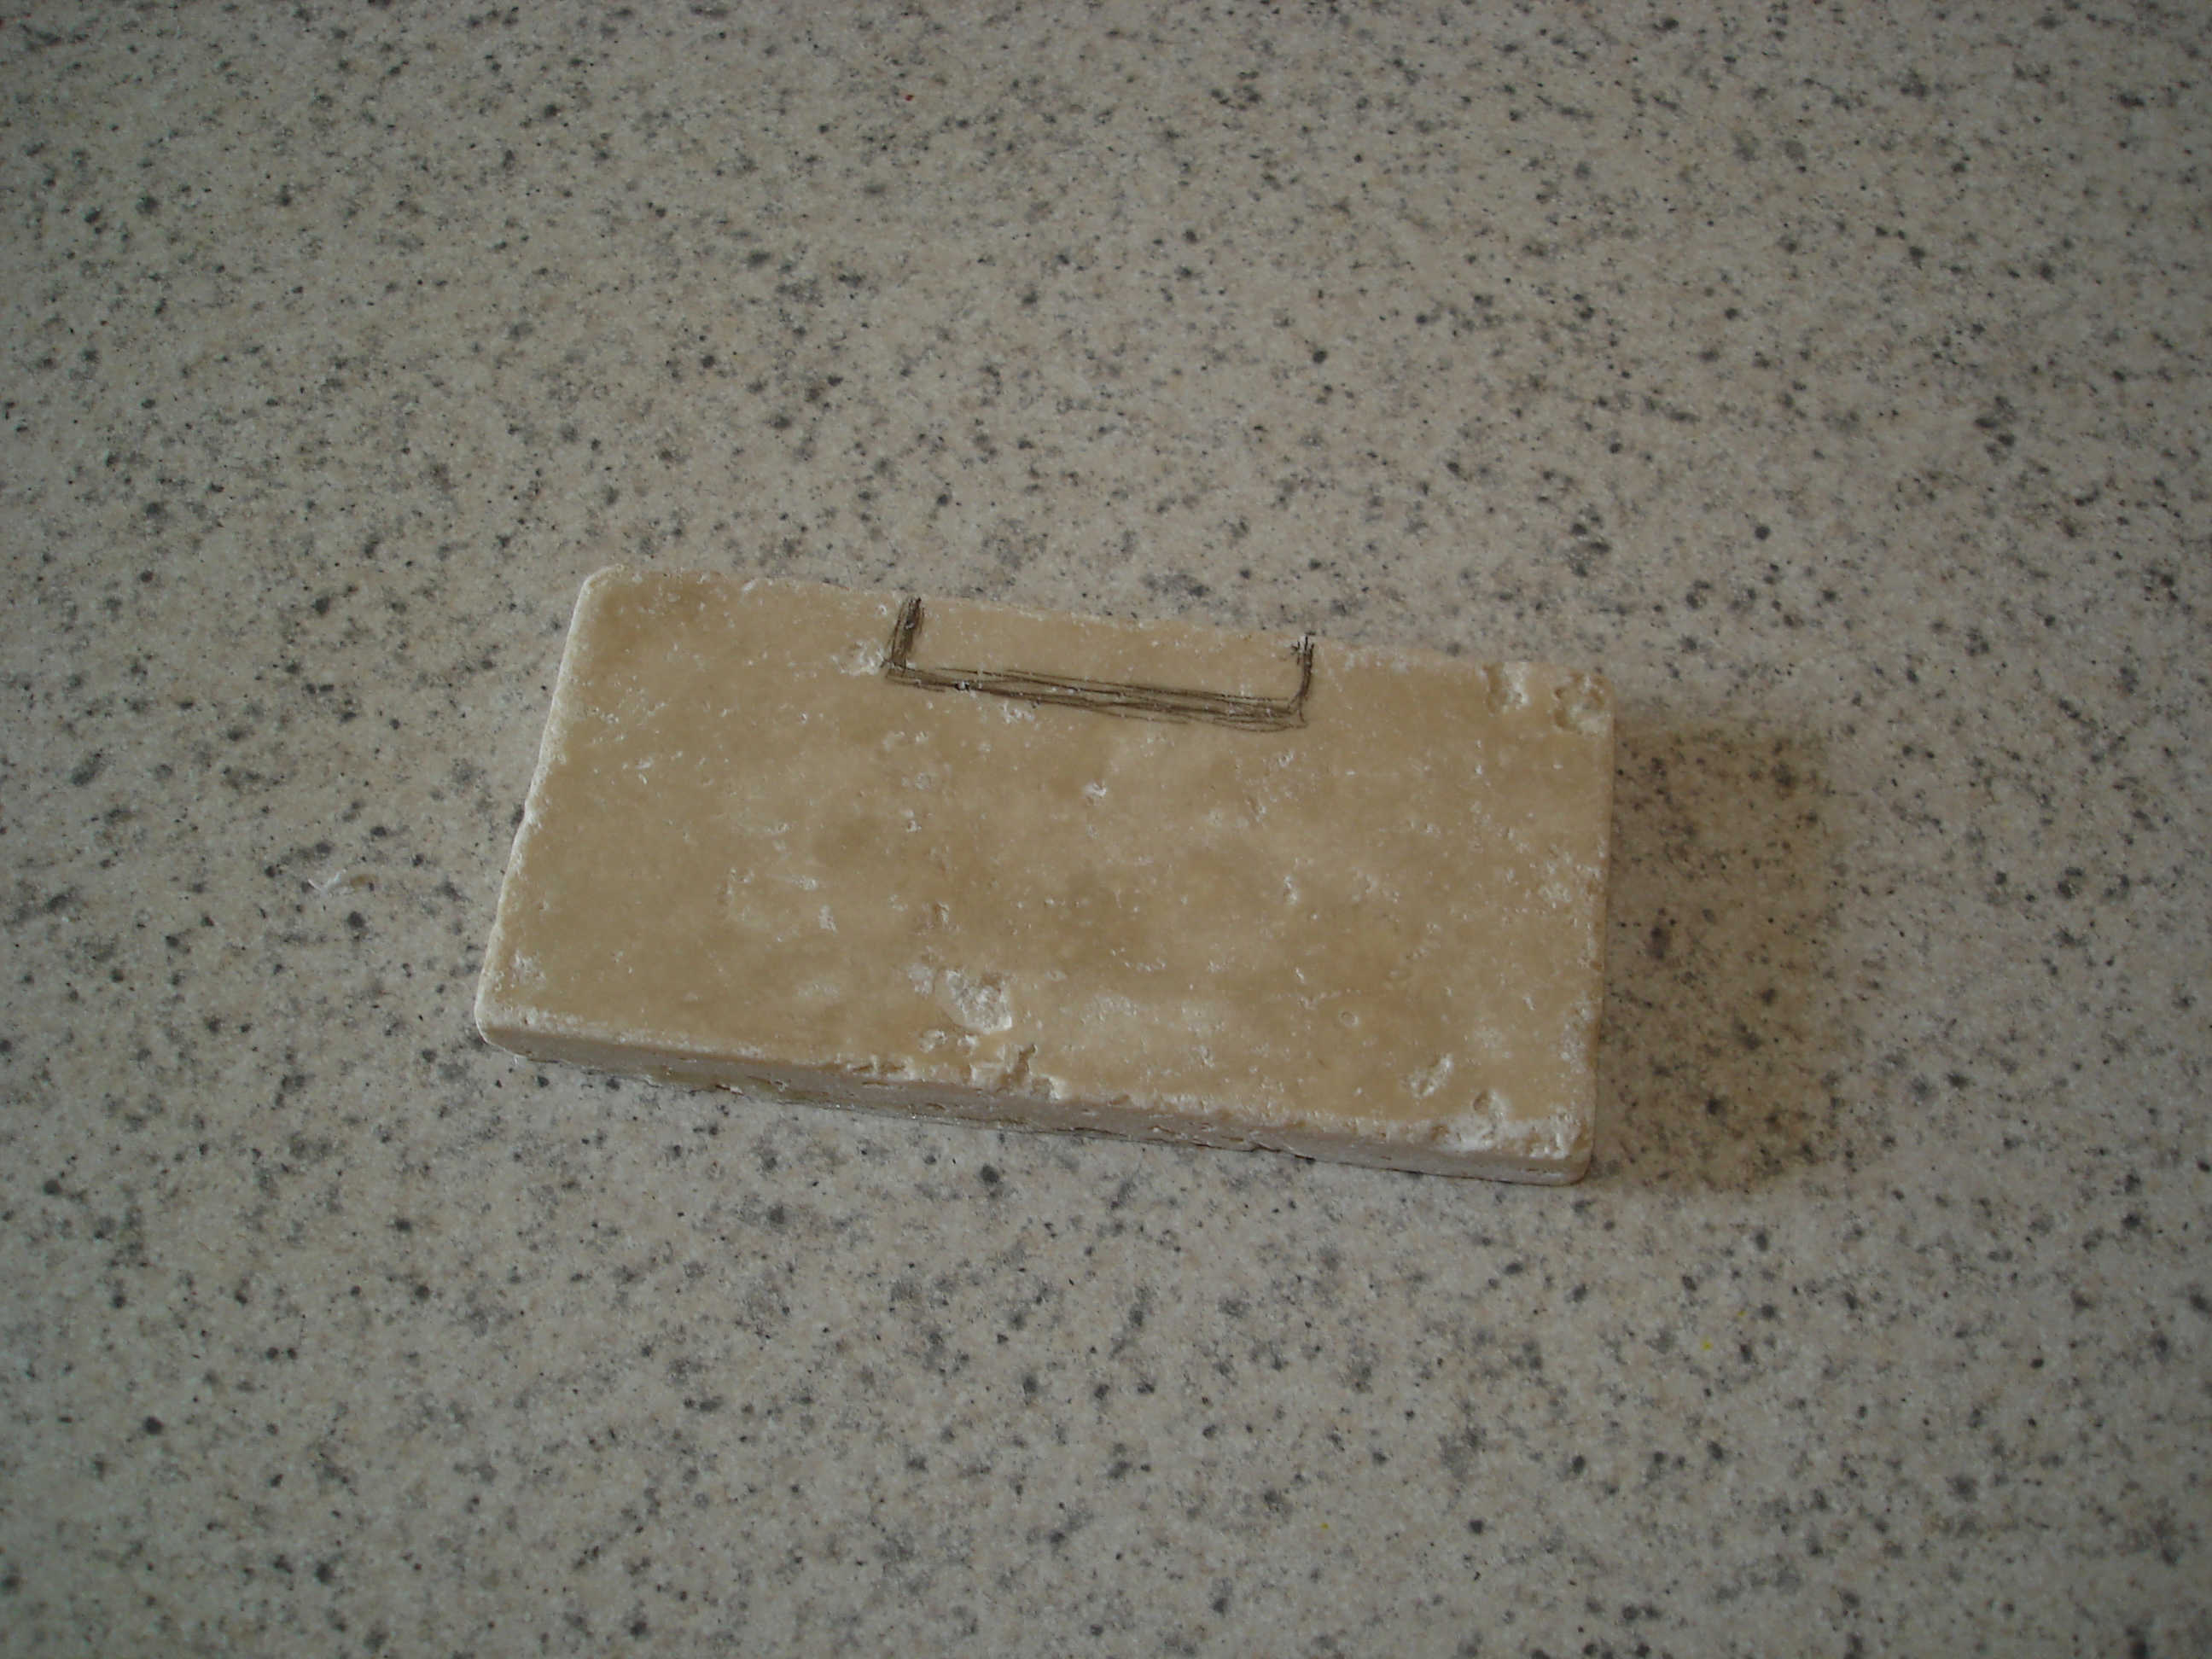
First, mark your cuts. Straight cuts and "L" shape cuts are pretty obvious, so I'm going to show you the "U" cut.

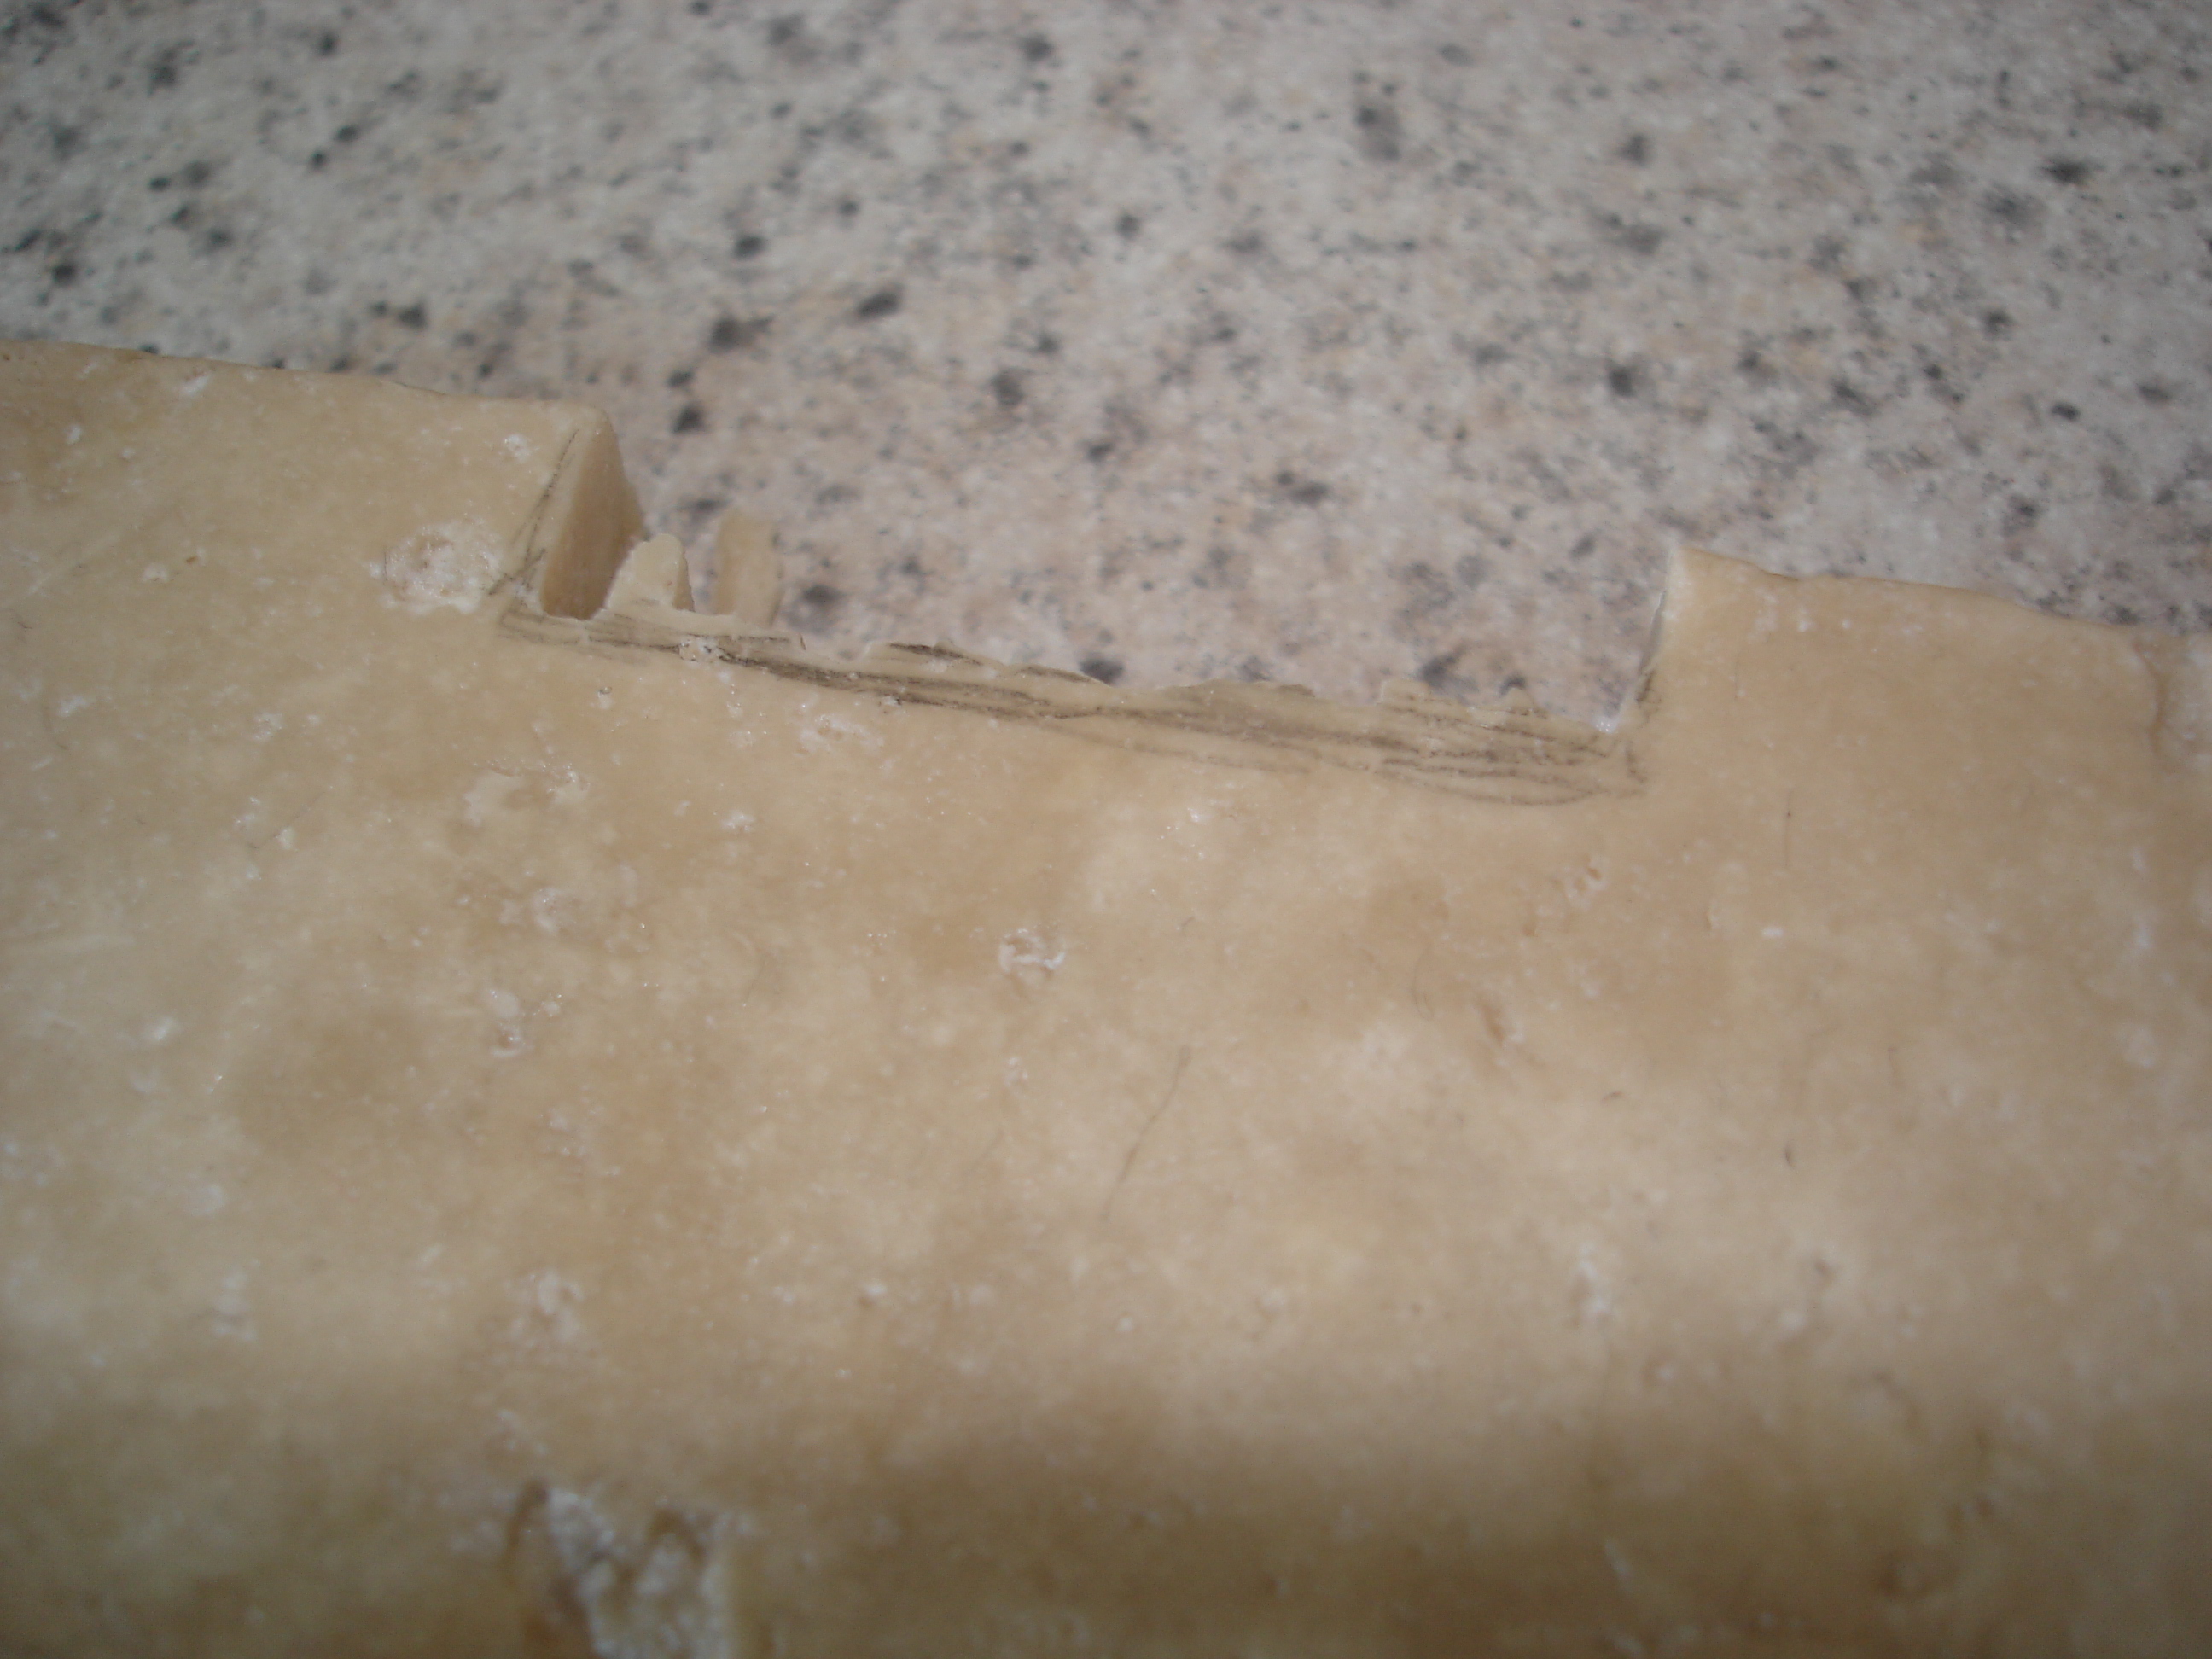
I'll admit it, at first glance I had no idea how to make this cut. Then I vaguely remembered something I saw on TV and had a total Eureka moment. What you'll want to do is make many skinny cuts down to the marked depth...sort of like a comb. The stone is brittle, the little notches will likely pop out on their own as you cut. If not, you can take a small hammer to it lightly.

It's not exactly perfect right off the saw, but a metal file will smooth it out nicely. When placing tiles individually into a hole, instead of putting the adhesive on the wall you should put it directly on the back of the tile. This is called "back buttering," and the steps are the same-smooth a thin layer on first, then add the ridges.
Here we are with the outlet areas filled in. With natural stone, I found that the grout lines were not perfect so I cut up some cardboard to create some shims. Worked like a charm.

After all the tiles have been laid, it's sealing time! Unless you're using a pre-sealed tile, you will need to do this step BEFORE grouting. Follow the directions on your product, in my case I just wiped it on with a microfiber cloth and let it cure overnight.

It's tempting to stop here. And I did, for 4 days. Grouting is, however, a necessary step. So enlist the help of a friend if you have to and just get 'er done. Using the drill attachment mixer, follow the directions on your grout packaging and mix it up with water in a large bucket. Prepare a second bucket with cool, clean water for washing the face of the tile. The grout float is specially designed to help you get the grout in all those nooks and crannies. Just slather it on and move the float diagonally across all the joints. Don't worry if you can't get everything covered the first time. Work down the wall for a few feet, do a little clean up with a wet sponge, and then go back and try to get what you missed. It's important not to use a saturated sponge, otherwise you may wash away some of the grout from your joints. Also, be sure to change the water frequently. It's a messy process, but totally worth it. I let the grout cure for a full 72 hours, cleaning it several times with water, before wiping on the sealer again.
One last step- the caulking. I didn't know that grout won't stick to formica or laminate, so if you have one of these types of countertops you will need to do this step as well. Fortunately the same company that makes the grout I used also makes a matching caulk. Using a
caulk gun, I spread it where the counter meets the tile and around the window sill. When everything dried, I couldn't even tell a difference between the caulk and the grout.
For a totally pro finish, see if you can find coordinating outlet wall plates. To reattach a wall plate on top of the tile, you'll have to bring the outlet out of the wall a bit. I found
these handy spacers to hold it in its new place. Once pull the outlet out with the spacers, you might notice that your screws are now too short- that's ok, just grab some of the 1 1/2" variety from the hardware store. Now, attach your posh wall plate and admire your work!
It was a marathon week, but technically this can be done in a weekend if you're really motivated. In any case, the final results are awesome. Check it out:


So, what's the verdict? Do you like it? I definitely think it was easy enough for a beginner DIYer, so don't be afraid to try this at home!
***********This post has been shared***************