Tuesday, September 7, 2010

House Tour Reveal!

After some hard work, I'm ready to reveal the mostly finished version of my house (for now)!

Our Foyer

Foyer

Living Room


Hallway leading to Guest Bathroom and Kitchen


Guest Bathroom


Kitchen


Dining Room


Balcony off Kitchen


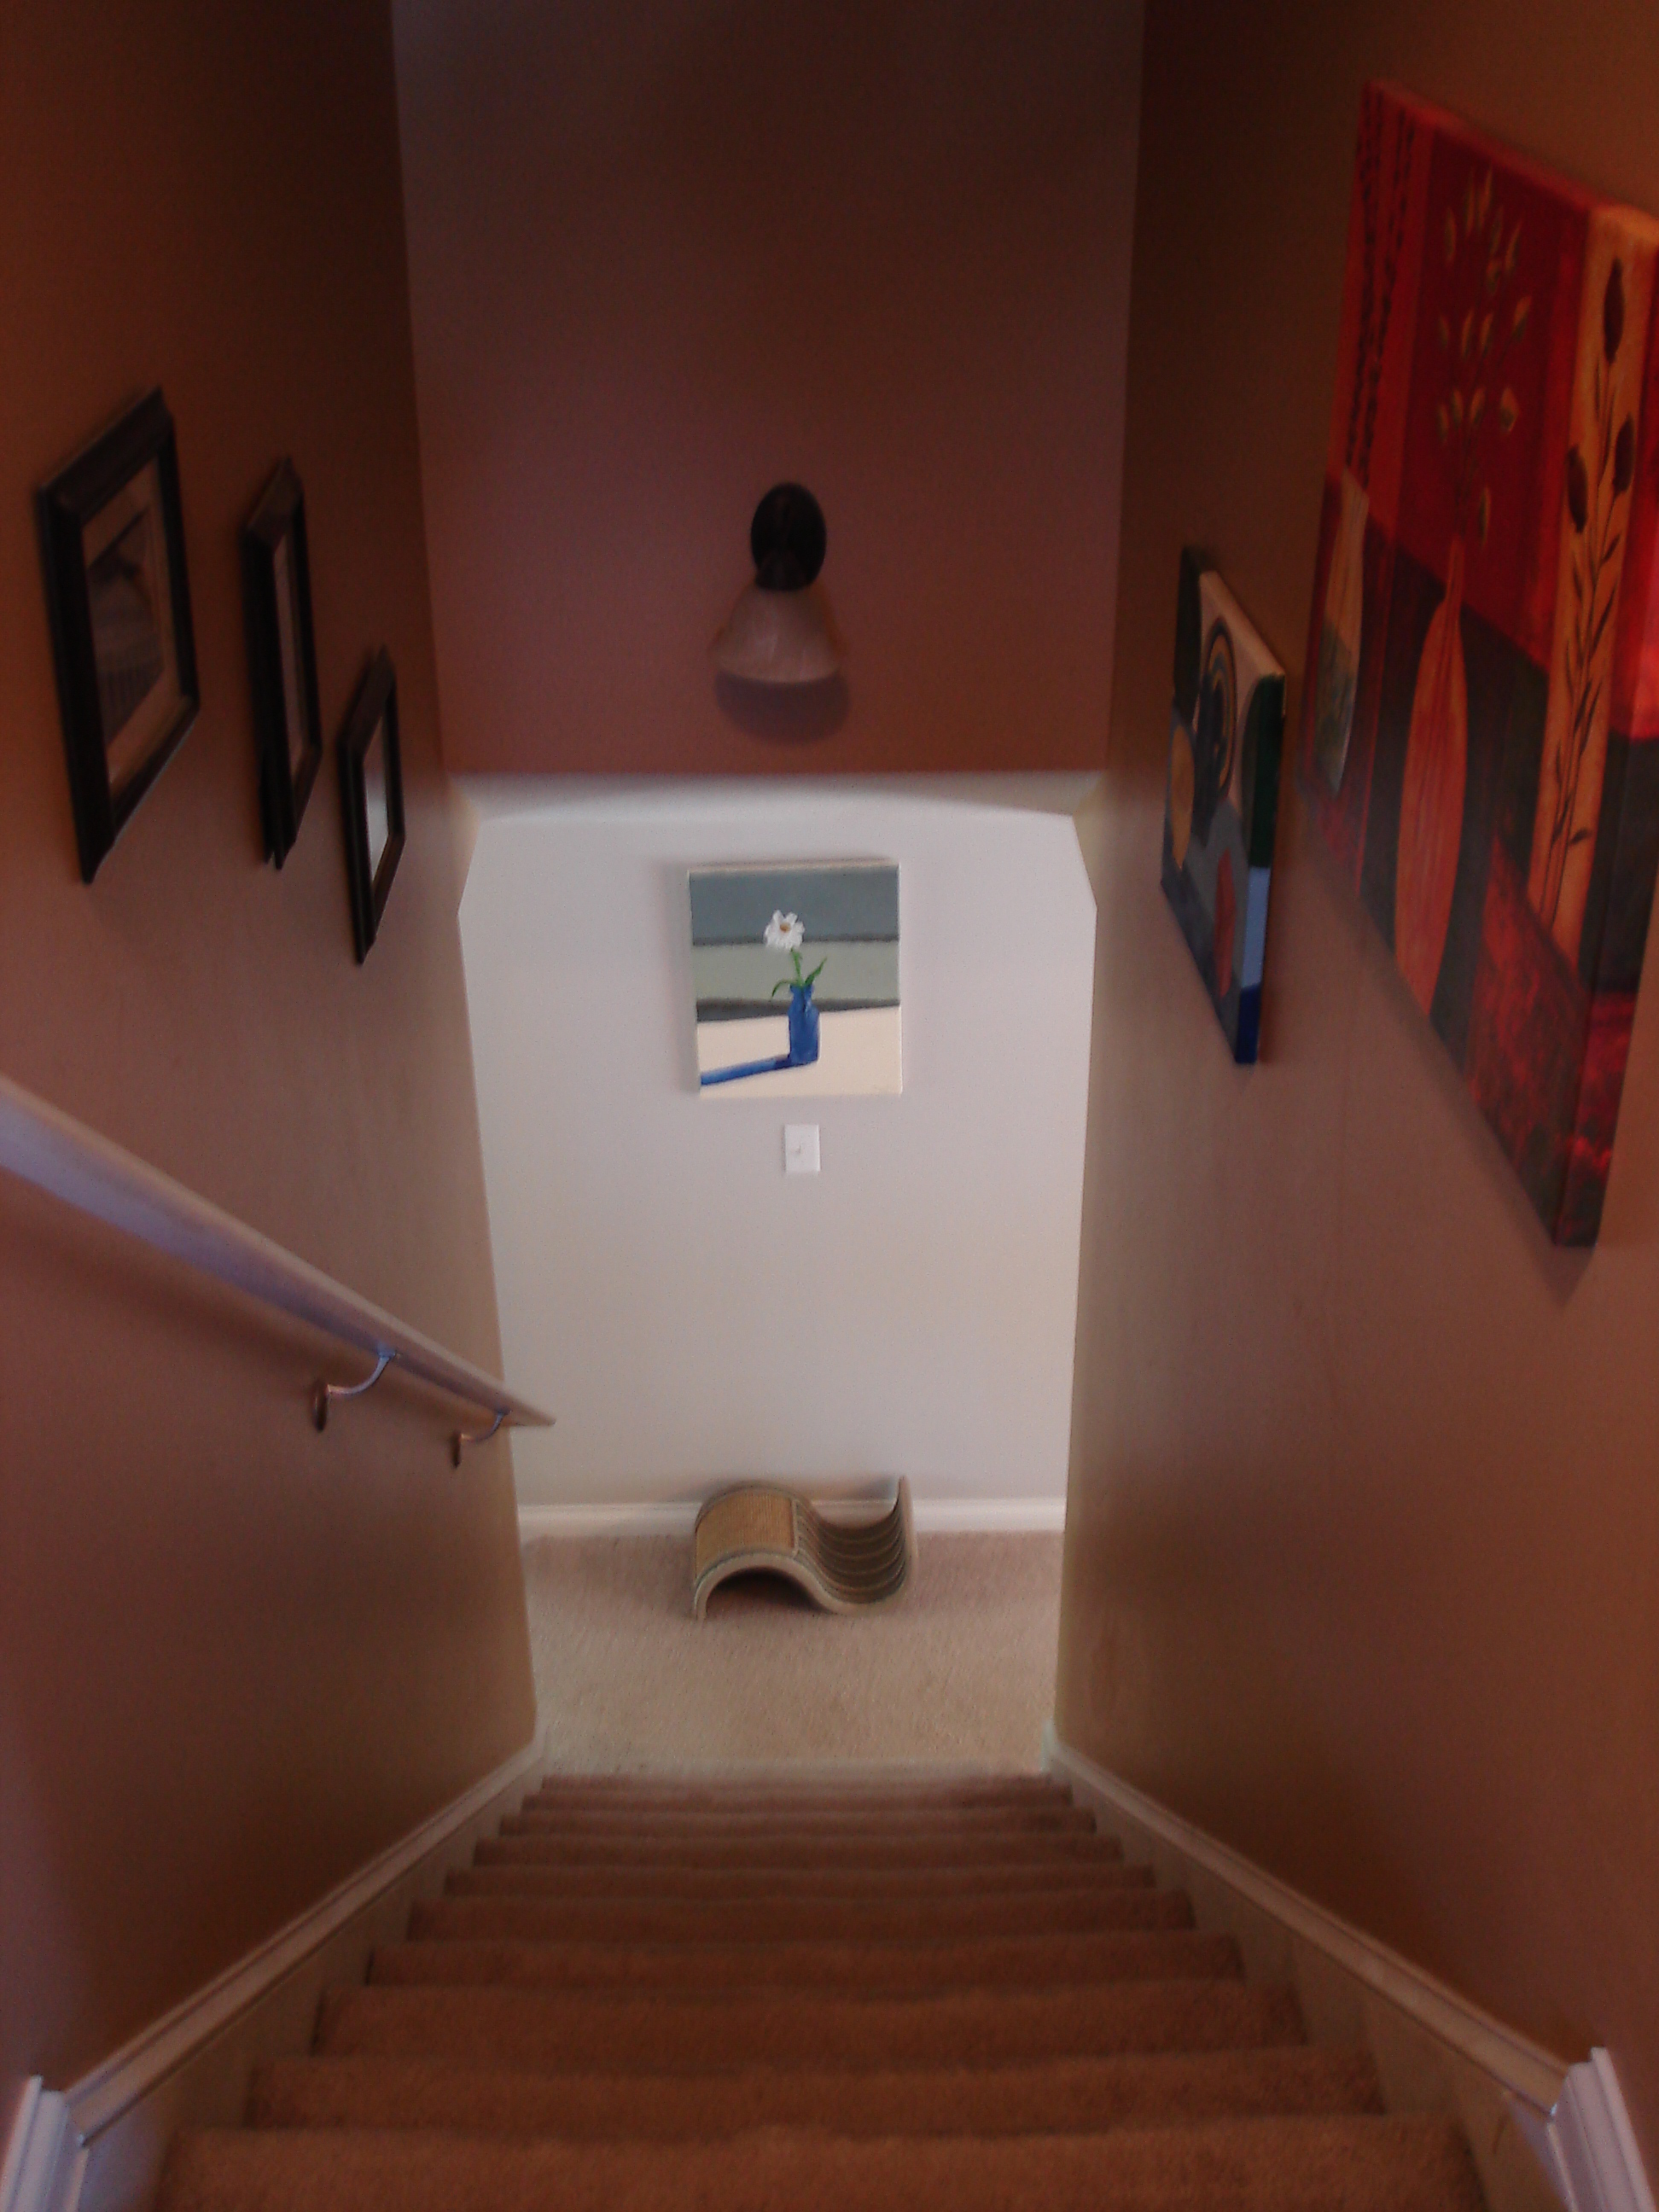
Stairwell


Guestroom/Office


Ryan's Room (top secret, this was the only shot I could post).


Upstairs Bathroom


Master Bedroom


I hope you enjoyed the grand tour, of course something around here is always changing so keep reading!

****Linked Up****


Thursday, September 2, 2010

Spray Paint Can Fix Anything

Well, almost anything. It did fix this $1.00 ceramic bowl that I wanted to use in the guest bathroom.


I whipped out my can of Krylon Oil Rubbed Bronze to give it a makeover.

Wednesday, September 1, 2010

Guestroom/Office BIG reveal!

I waited until today to post this because my mom is currently in transit here from Reno, and I didn't want to spoil the surprise!

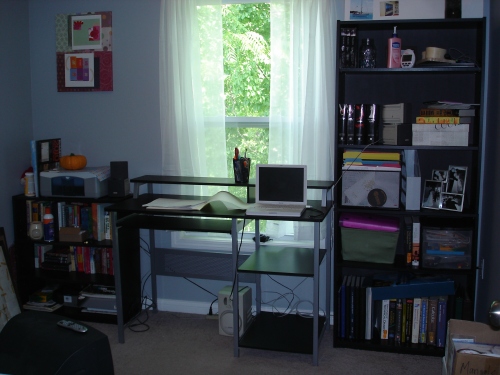
We have lots of big changes, so let's take a look at the journey. Here is what this room used to look like.

office before shot

Wow, what an industrial looking nightmare!

After some furniture refinishing and shuffling (read about it here and here), I started to get more of a vision of how I wanted this room to look.

More moving of furniture, setting up a bed, and running cable across the room ensued.

Now, we have a relaxing functional space that oozes charm (if I do say so myself). Without further ado, here are some photos:

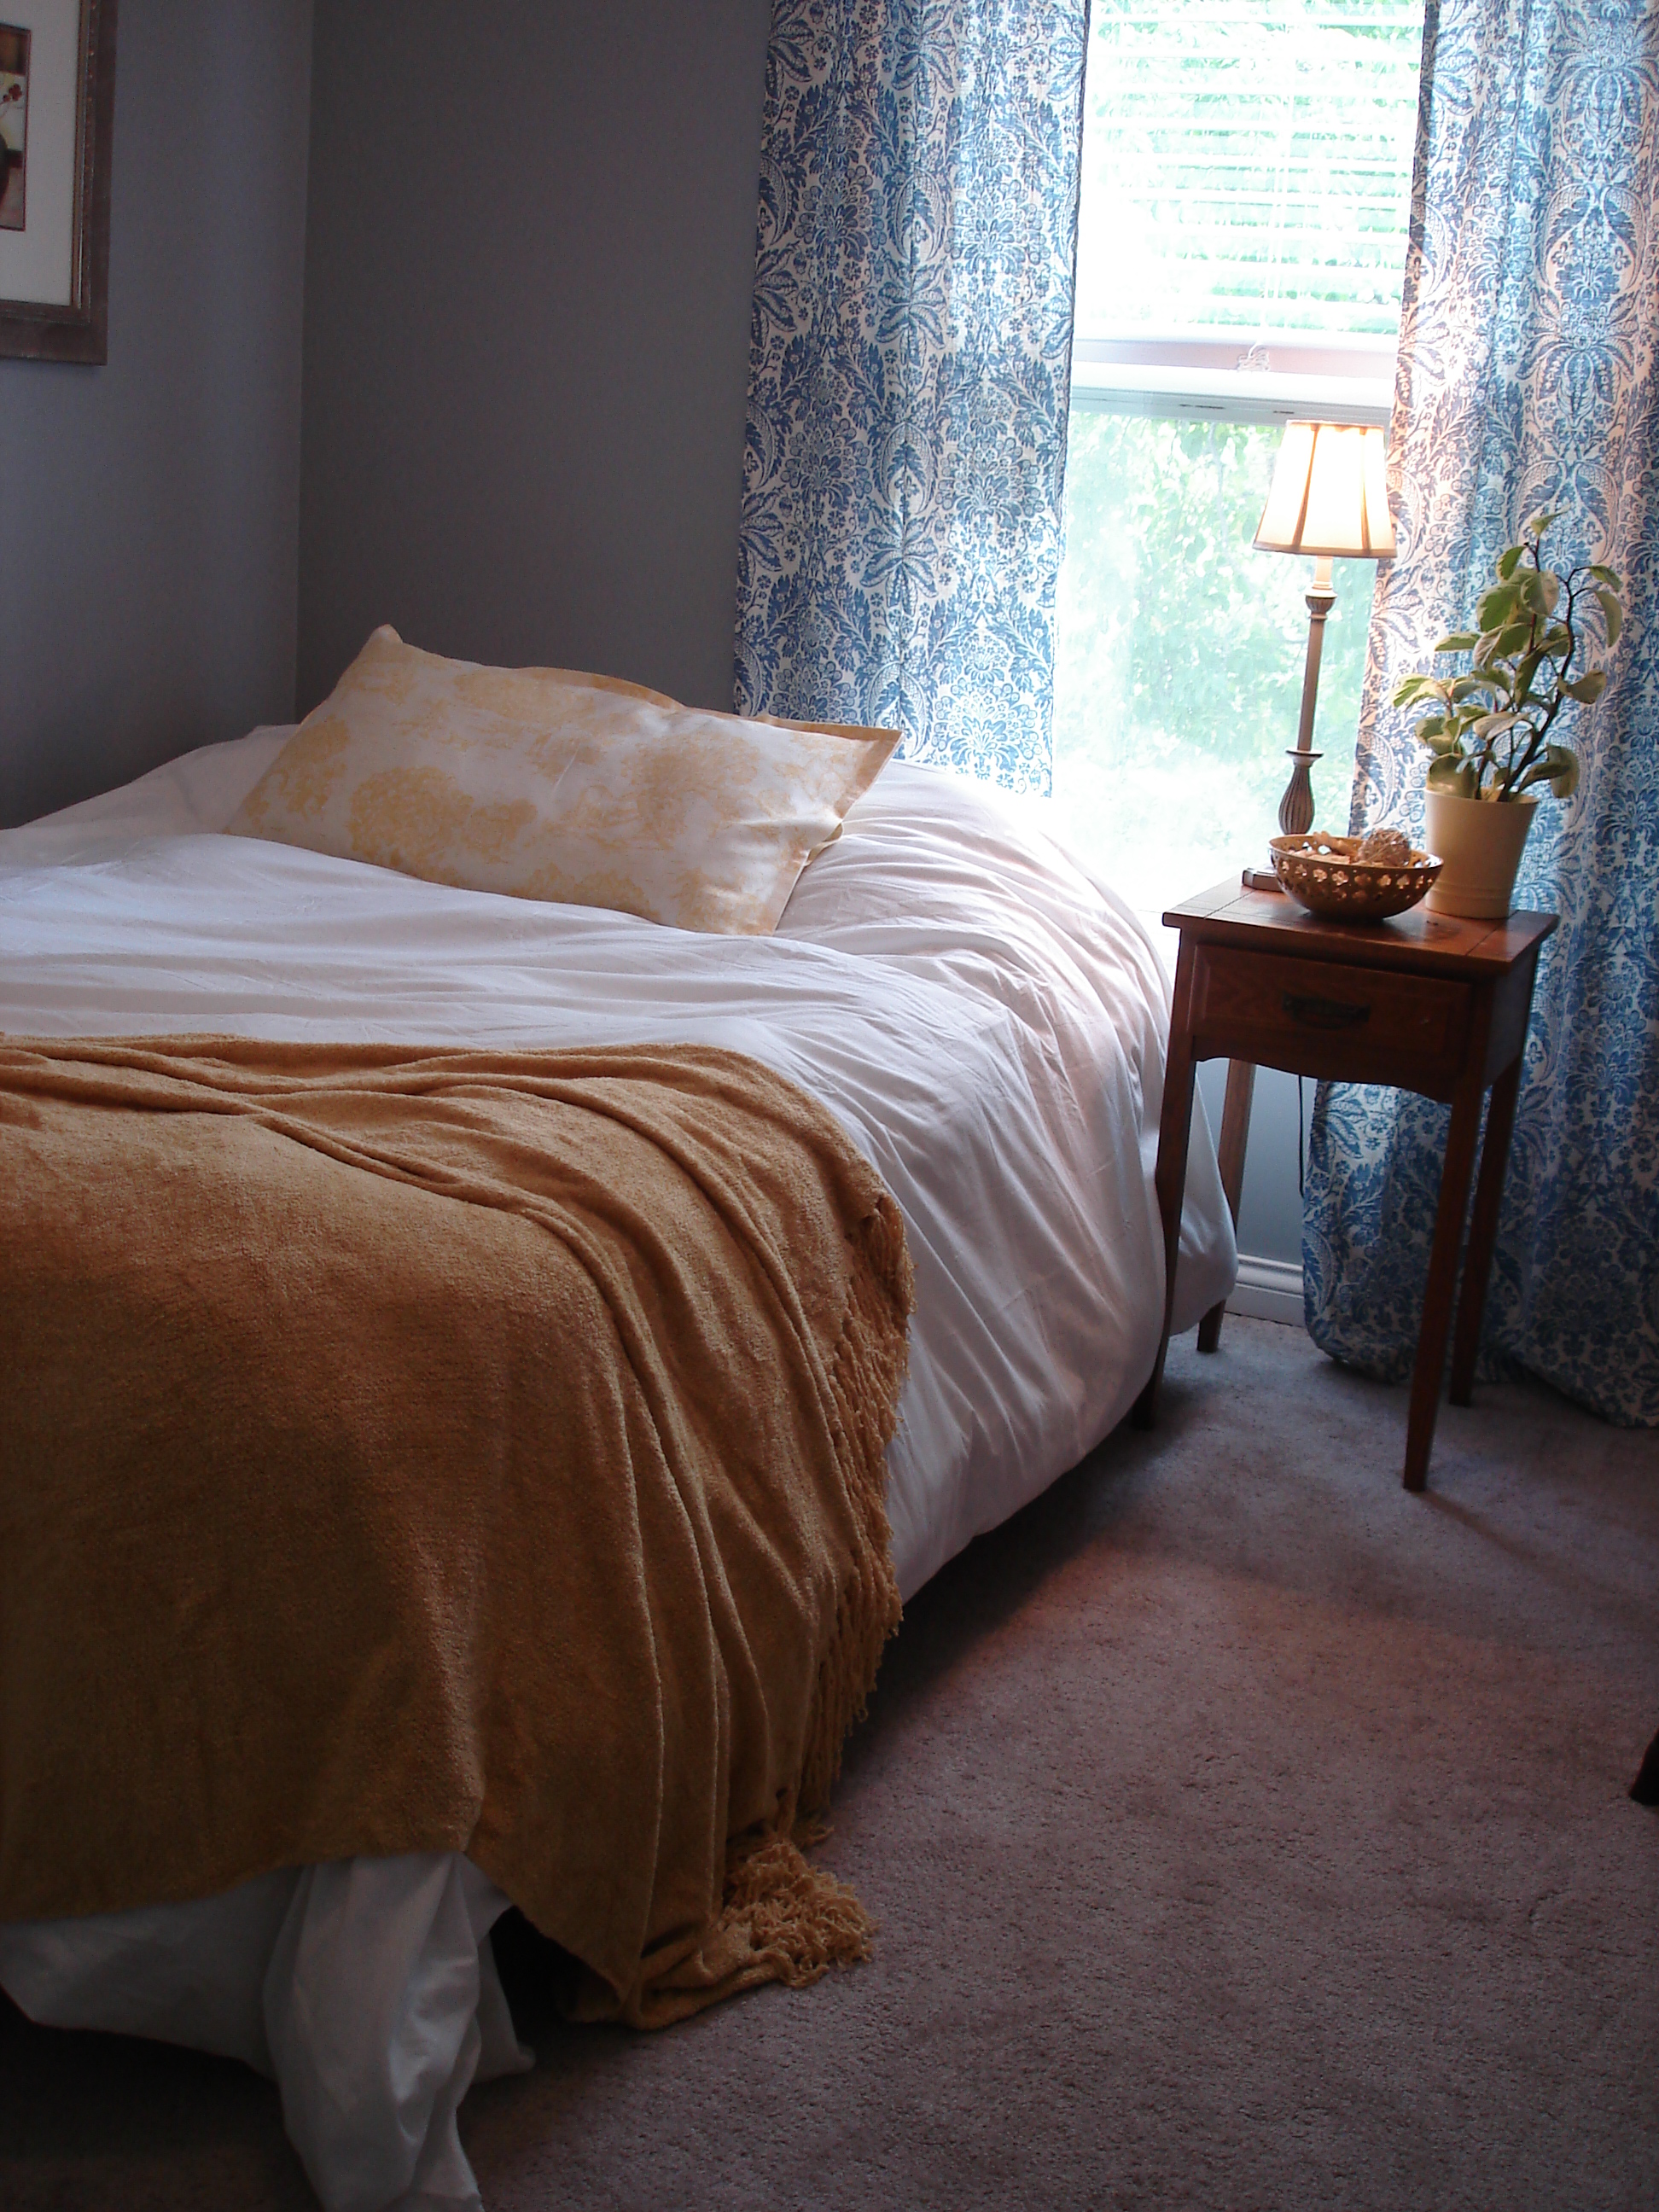
Guest Bedroom and Office

A $4 Goodwill chenille throw and a homemade no sew pillow sham add pops of yellow. I'm planning on refinishing the $8 Goodwill side table down the line.


The refinished desk will be functional as an office space, or if a guest wants to set up their laptop. The wooden chair came from the basement, and will eventually be painted.


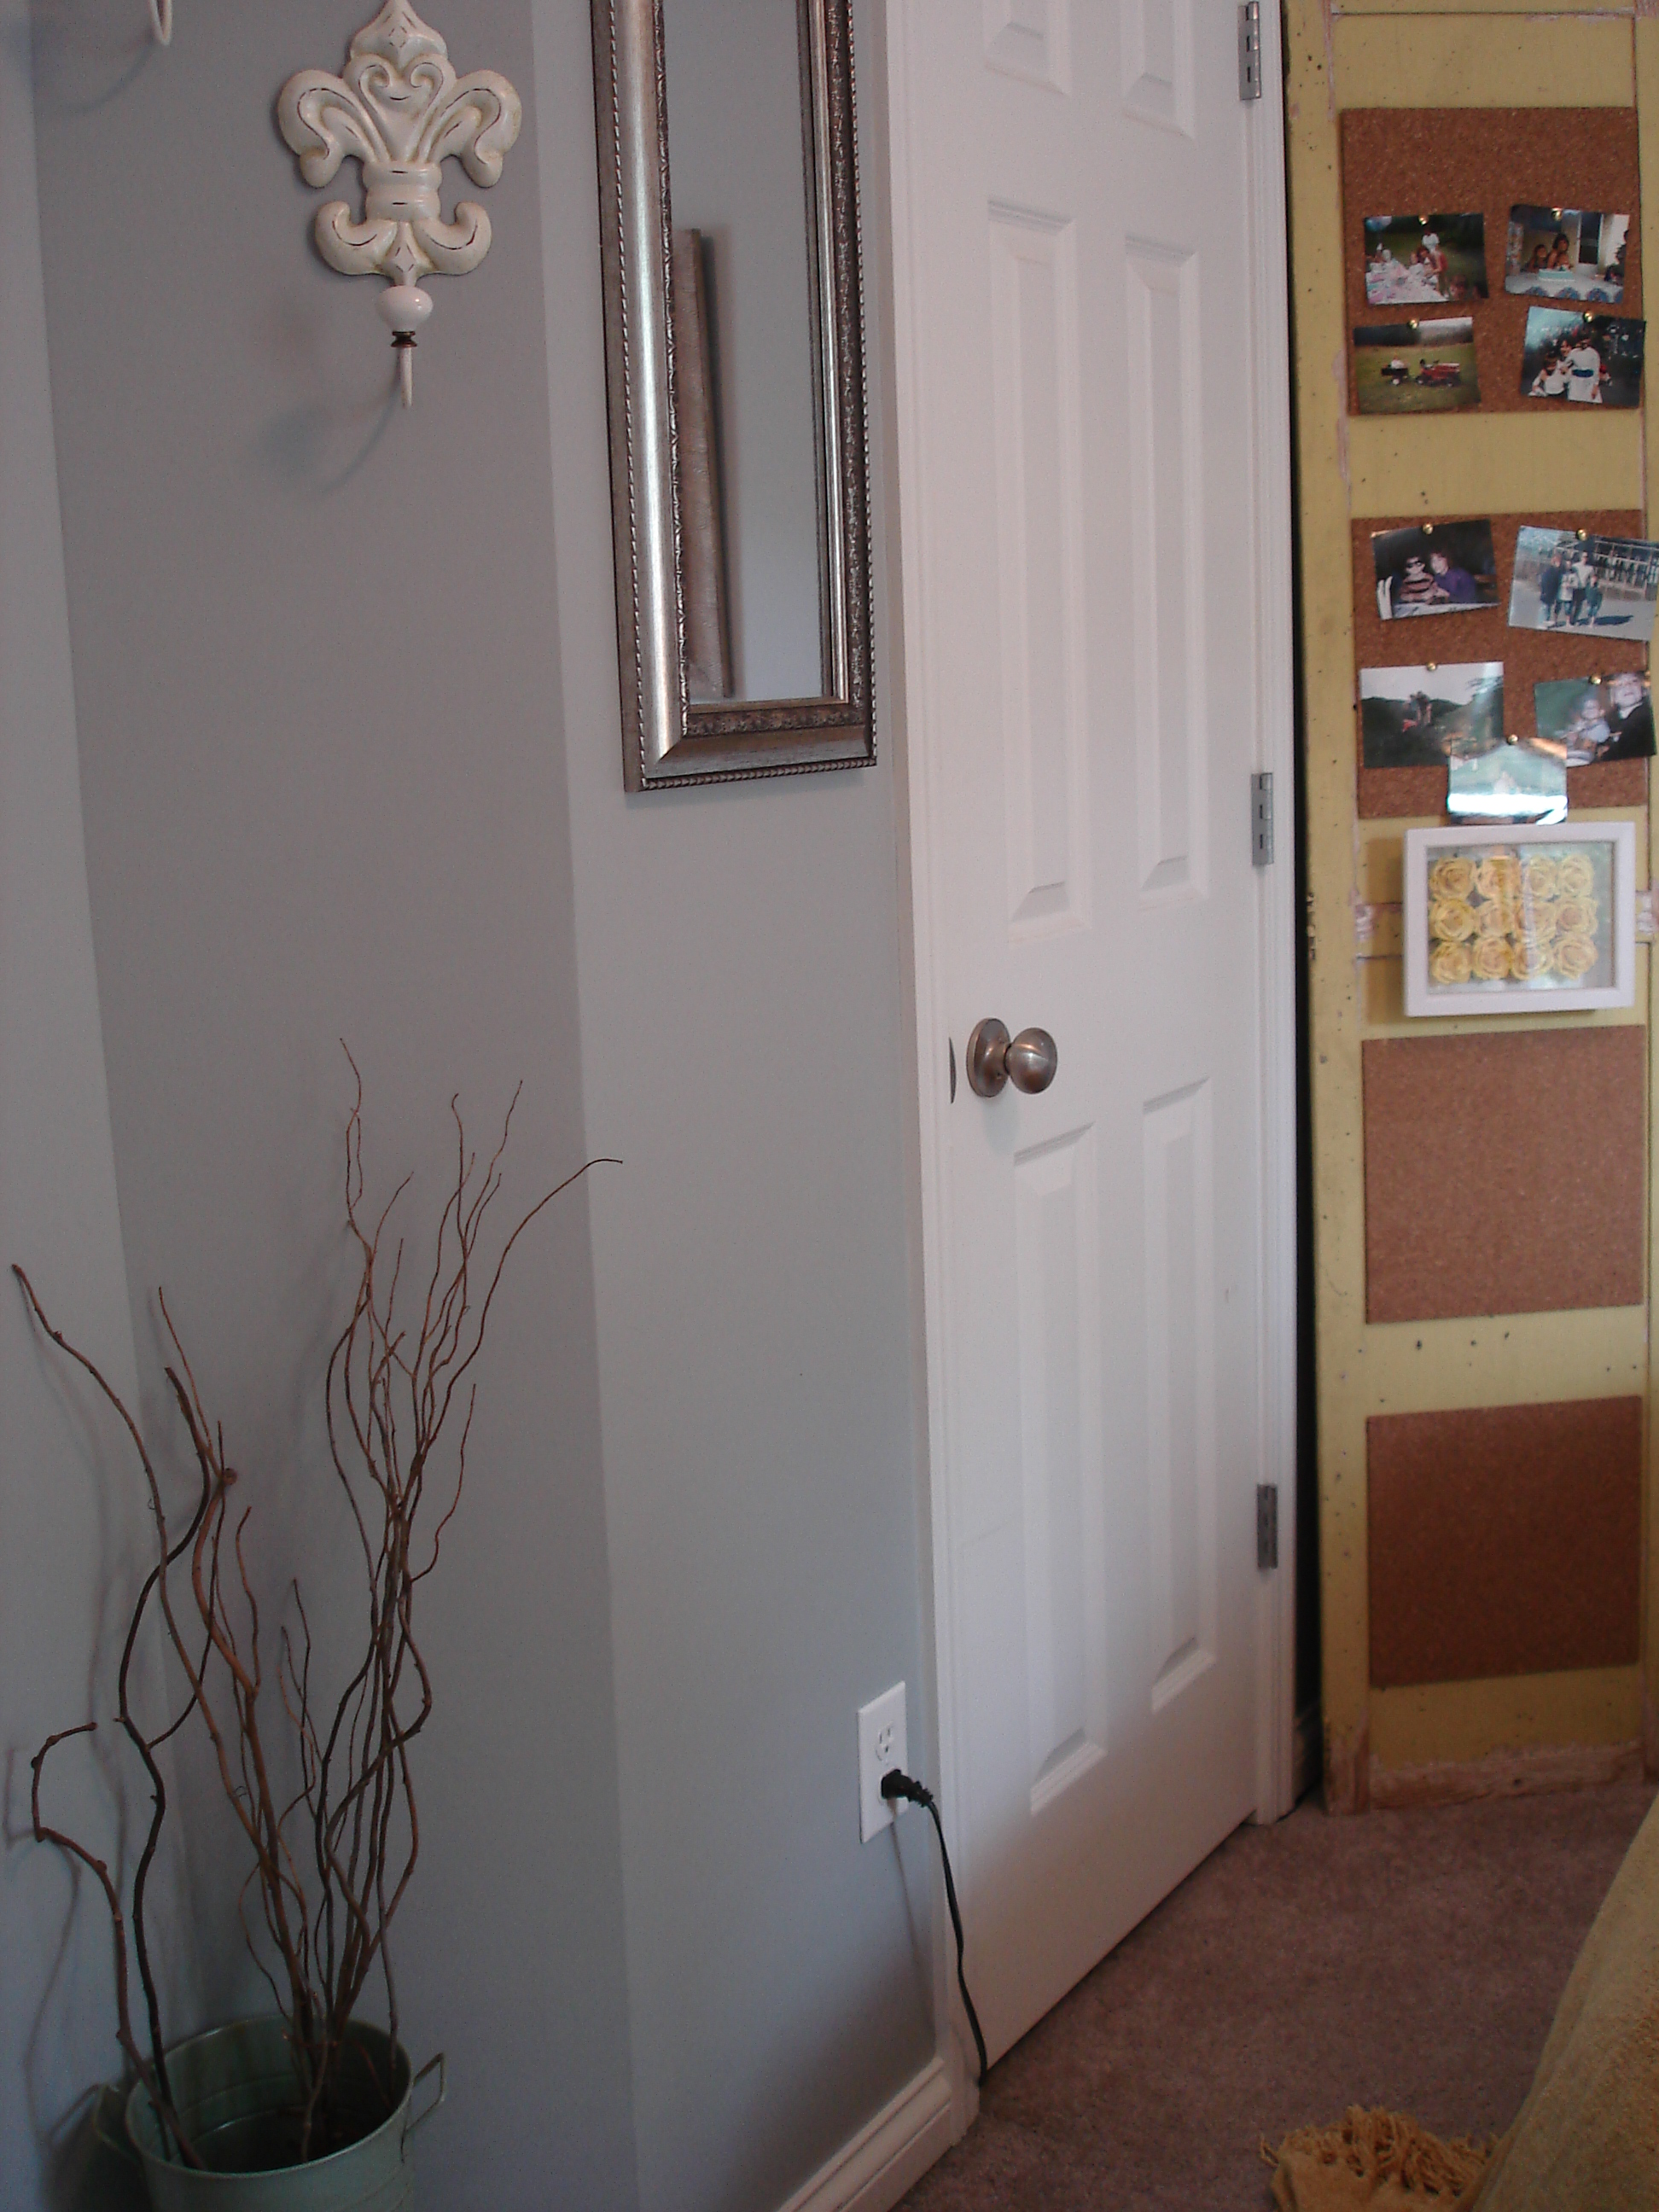
I put up a mirror ($8.99 at Ross) and hooks ($4.30/ea Big Lots) for a jacket or purse to make our guests feel more at home. The corkboard I made from an old door holds pictures of us and our visiting guest (in this case my brother and I with our Mom).


But, we're missing one thing right? Where's the TV? Since we don't watch TV in there, I decided to make a space saving decision and put it in the closet.

Yes, the TV is in the closet (with plenty of room to hang clothes).


So, now that you've seen Hotel Evans, wouldn't you like to come visit us?

Monday, August 30, 2010

A Pegboard Named Desire

Think those industrial looking pegboards are just for men who love tools? Think again! With a bit of paint and creativity, you'll end up with an organizational jackpot suitable for anyone!

What you'll need:

  • Pegboard(s) and accessories (hooks, baskets, etc)- found at Home Depot and Lowes

  • Spray paint

  • Accent paint (either craft paint or a different color spray paint)

  • Small paint brushes

  • Stencil


Start by spray painting your pegboard(s) all over- you can totally stop here, and it would still look great! I used Krylon's "Hyacinth."

Plain pegboard

Painted pegboard

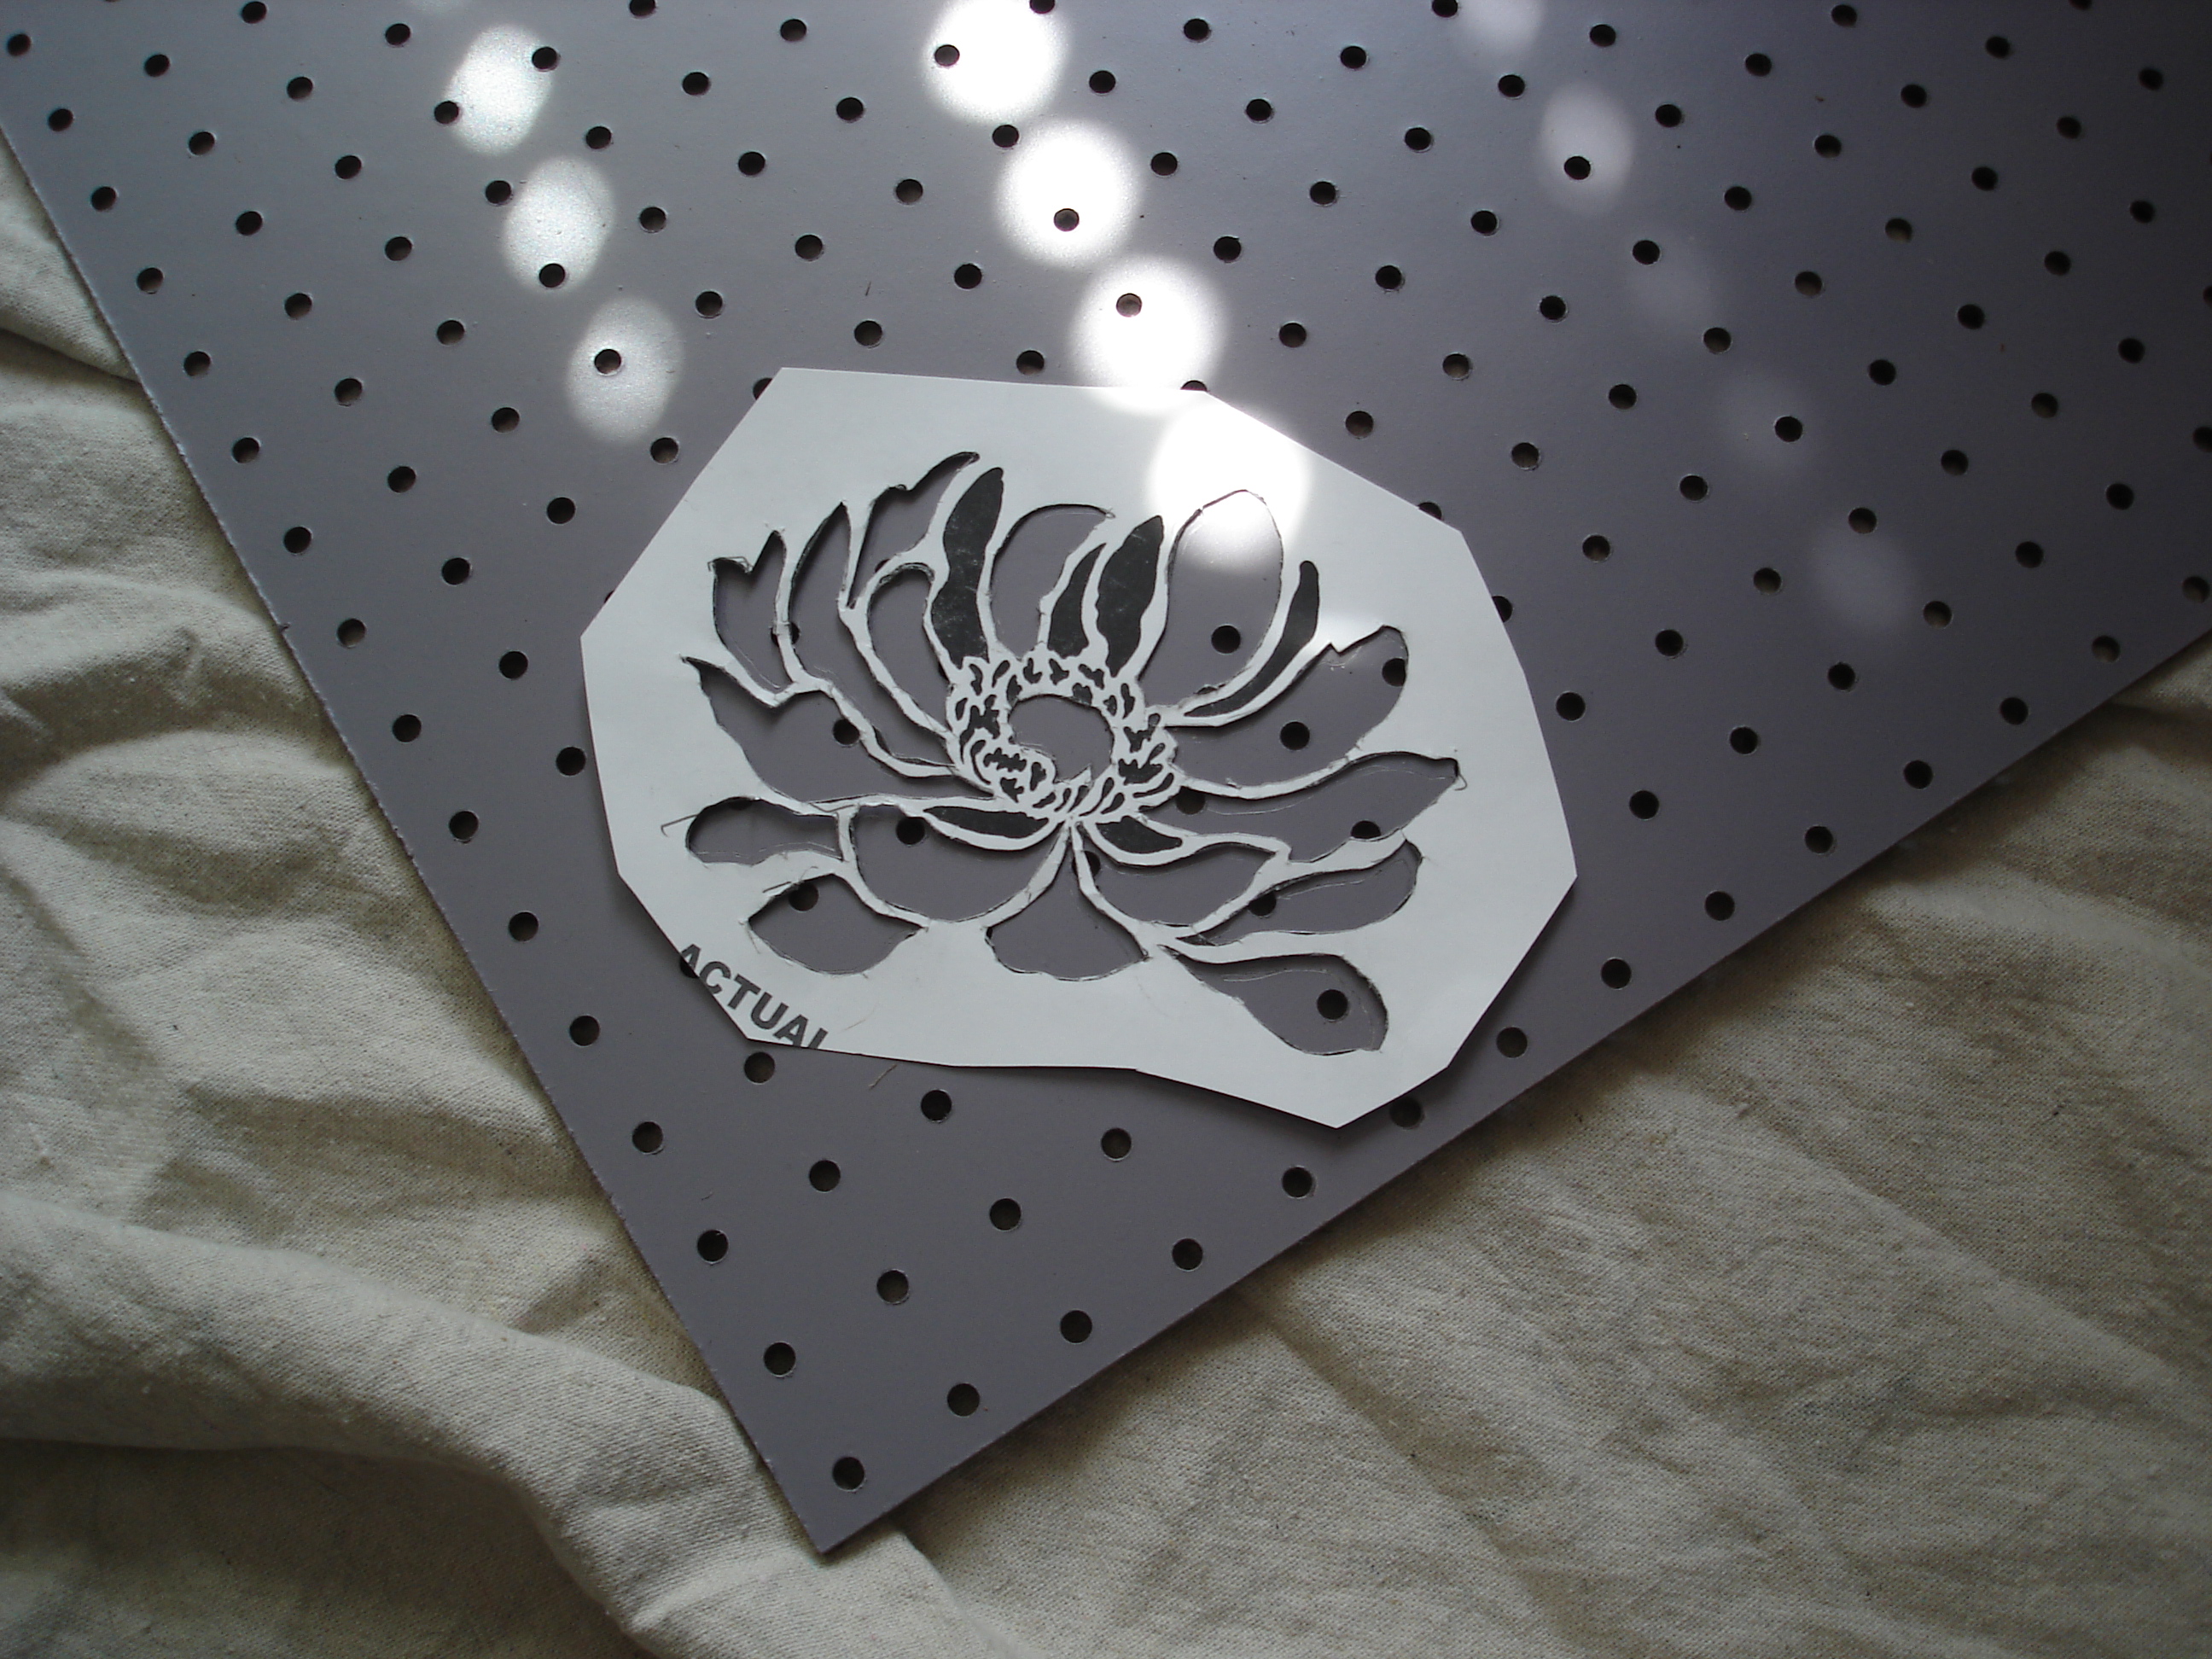
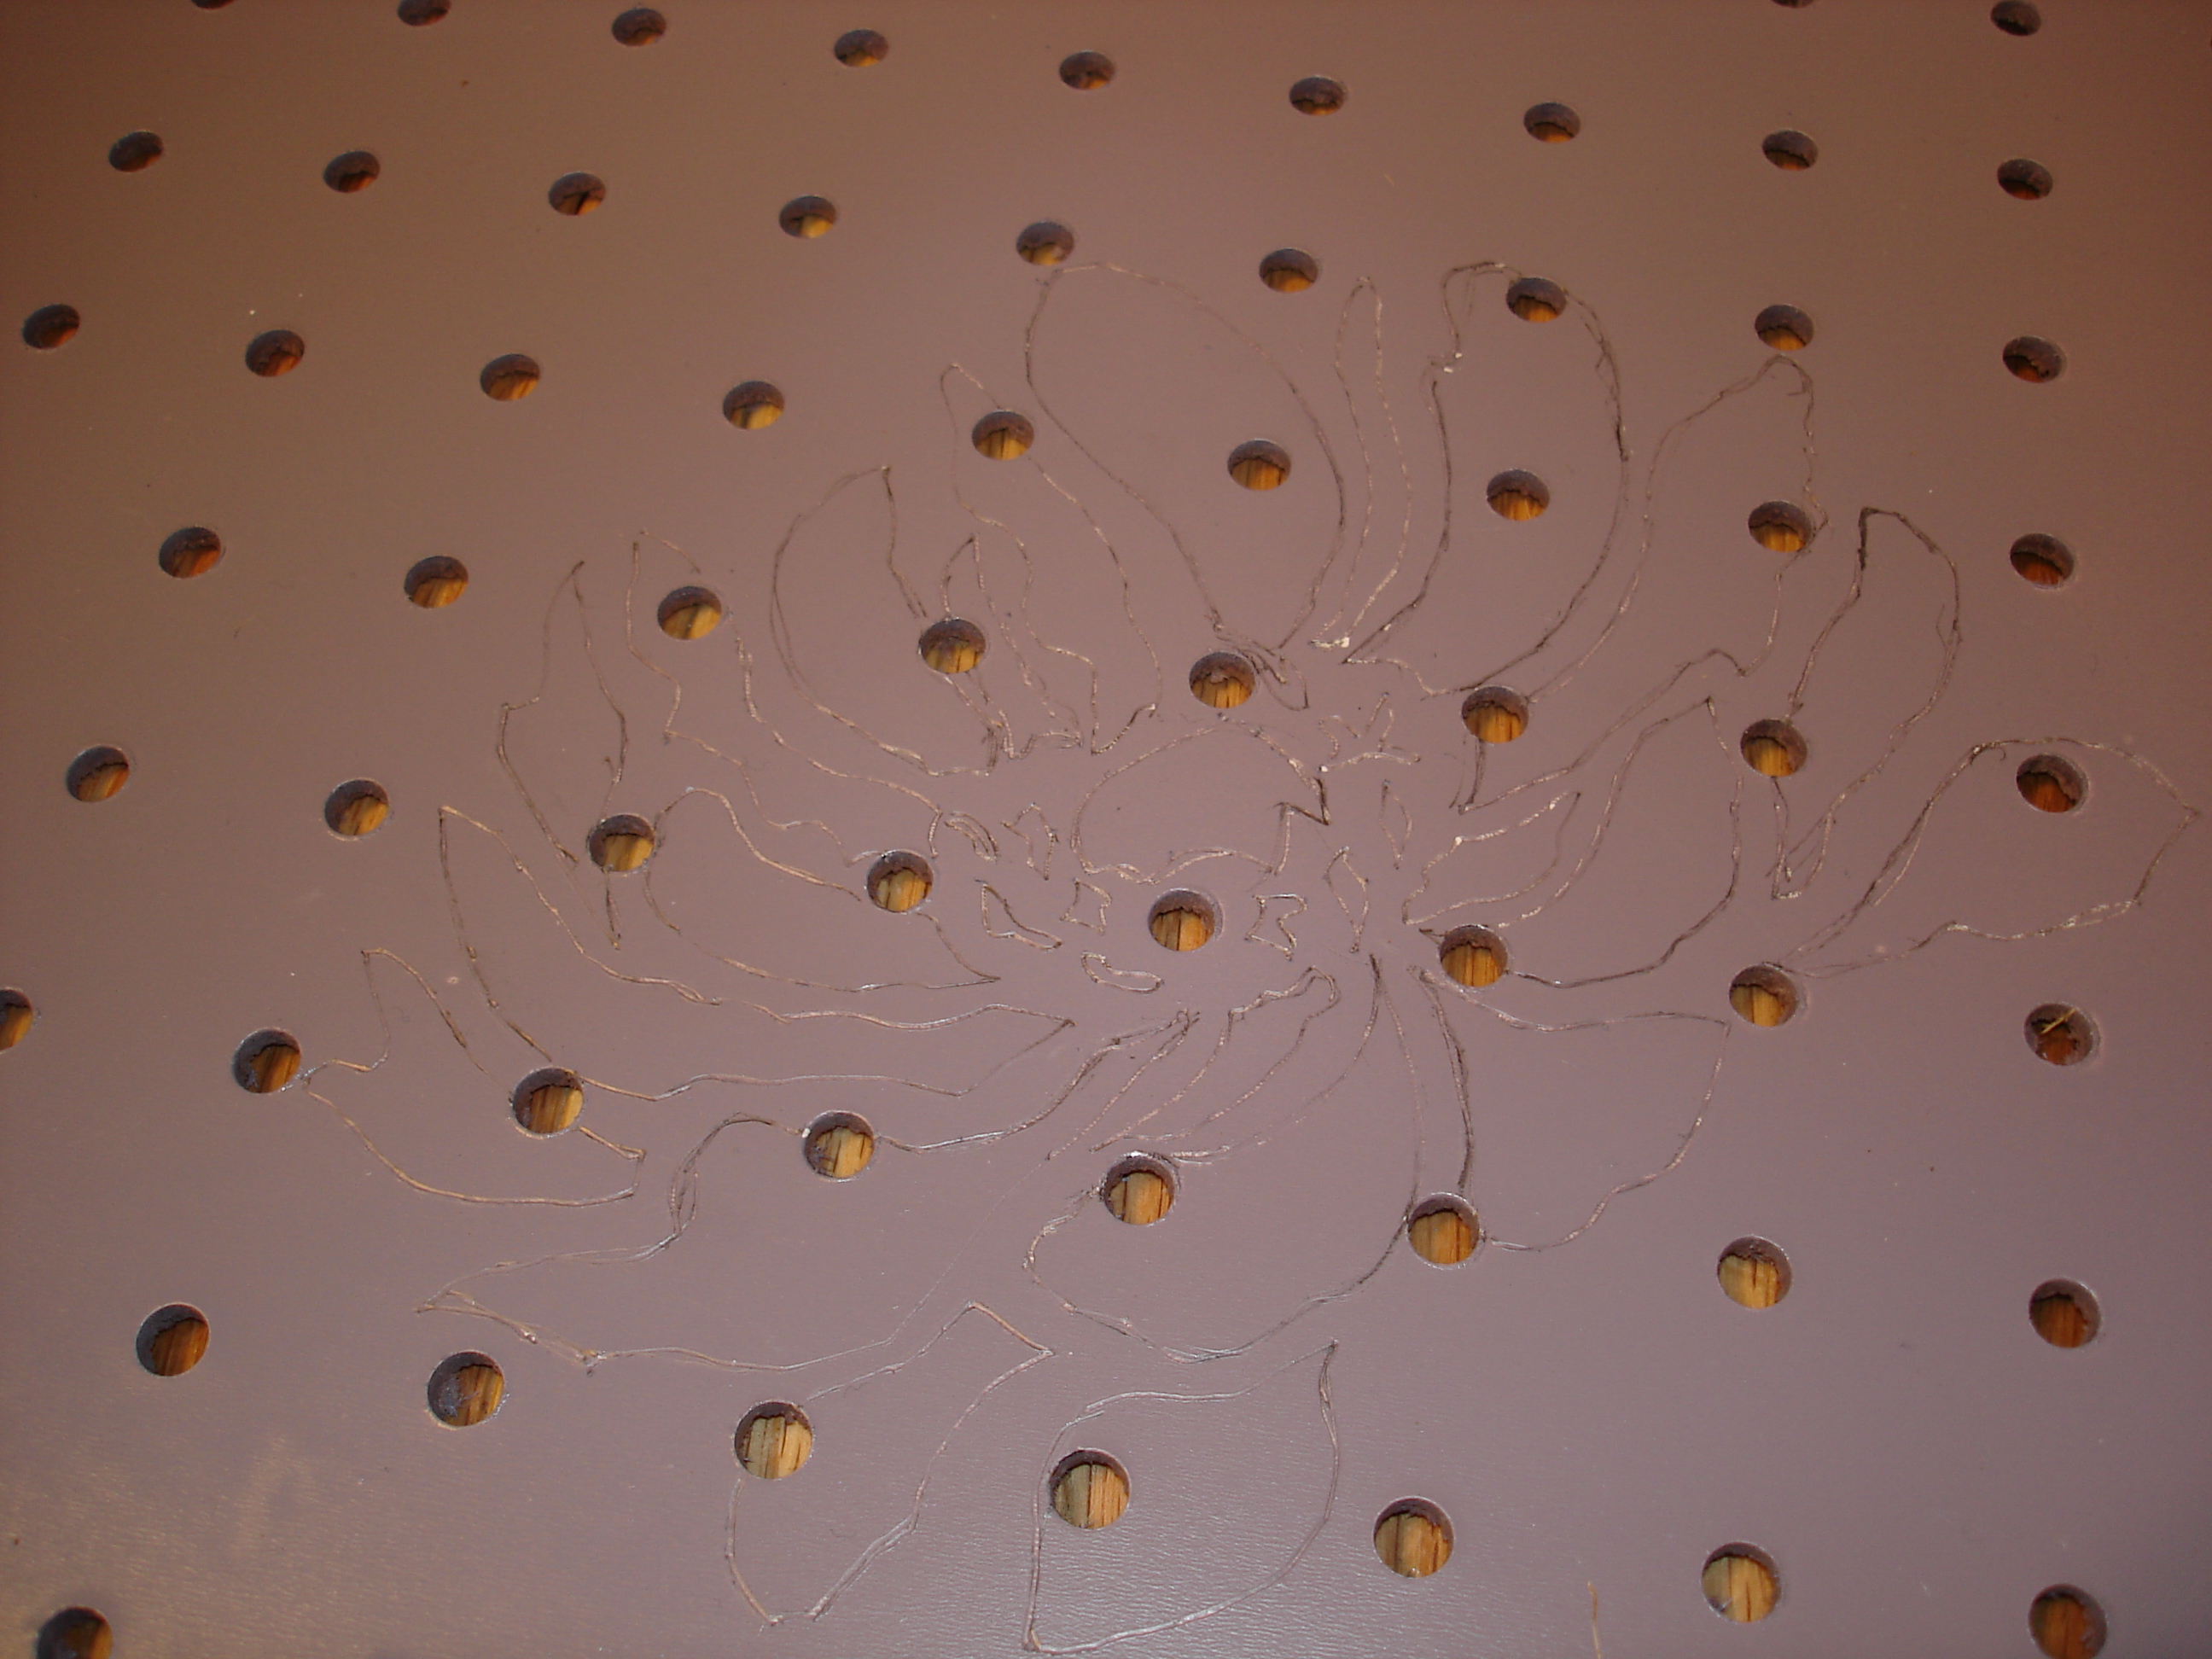
After the board(s) dry, grab your stencil (or you could free hand). I found this picture of a flower online that I blew up and printed out. I cut out the large parts to trace, and filled in the rest by hand. I put one flower on each board in the corners.

Stencil


Traced stencil


Now fill in your drawings with an accent color. According to Krylon's website, you can use their paint with a regular brush (who knew??). I chose a pink spray paint called "Raspberry" which I took outside and sprayed into a plastic tub. It's a bit watery, but it worked great!

Painting stencil

Once your details dry, you might want to finish with a clear coat of some kind to protect your work-this is definitely a piece that will get a lot of use!

Hang your board(s), put in your pegboard accessories, and organize! Sorry for the quality of the picture, I took it at night and the lighting is bad in the basement (will be fixed soon!).

Finished Pegboard

Wouldn't a smaller version of this look sweet in a girl's room over a desk? Switch up the colors and details for a boy's room! But this purple and pink beauty is for yours truly, to keep all my craft supplies (which I obviously haven't put up yet). He would never admit it, but I think my husband is jealous!

Accessorize Pegboard

Cost Breakdown:

(2) 2'x4' pegboards- $6.47/ea

(3) cans Krylon spray paint-$2.60ish/ea

Pegboard accessories-some owned, but will need to purchase more

Stencil-free

Paintbrushes-free

Total: $20.74, plus any additional pegboard accessories down the line.

Not too bad for an awesome way to organize your things (and keep them at arm's reach) without taking up desk space, drawers, or shelves!

****Linked Up****


Sunday, August 29, 2010

Art Galleries Are Posh

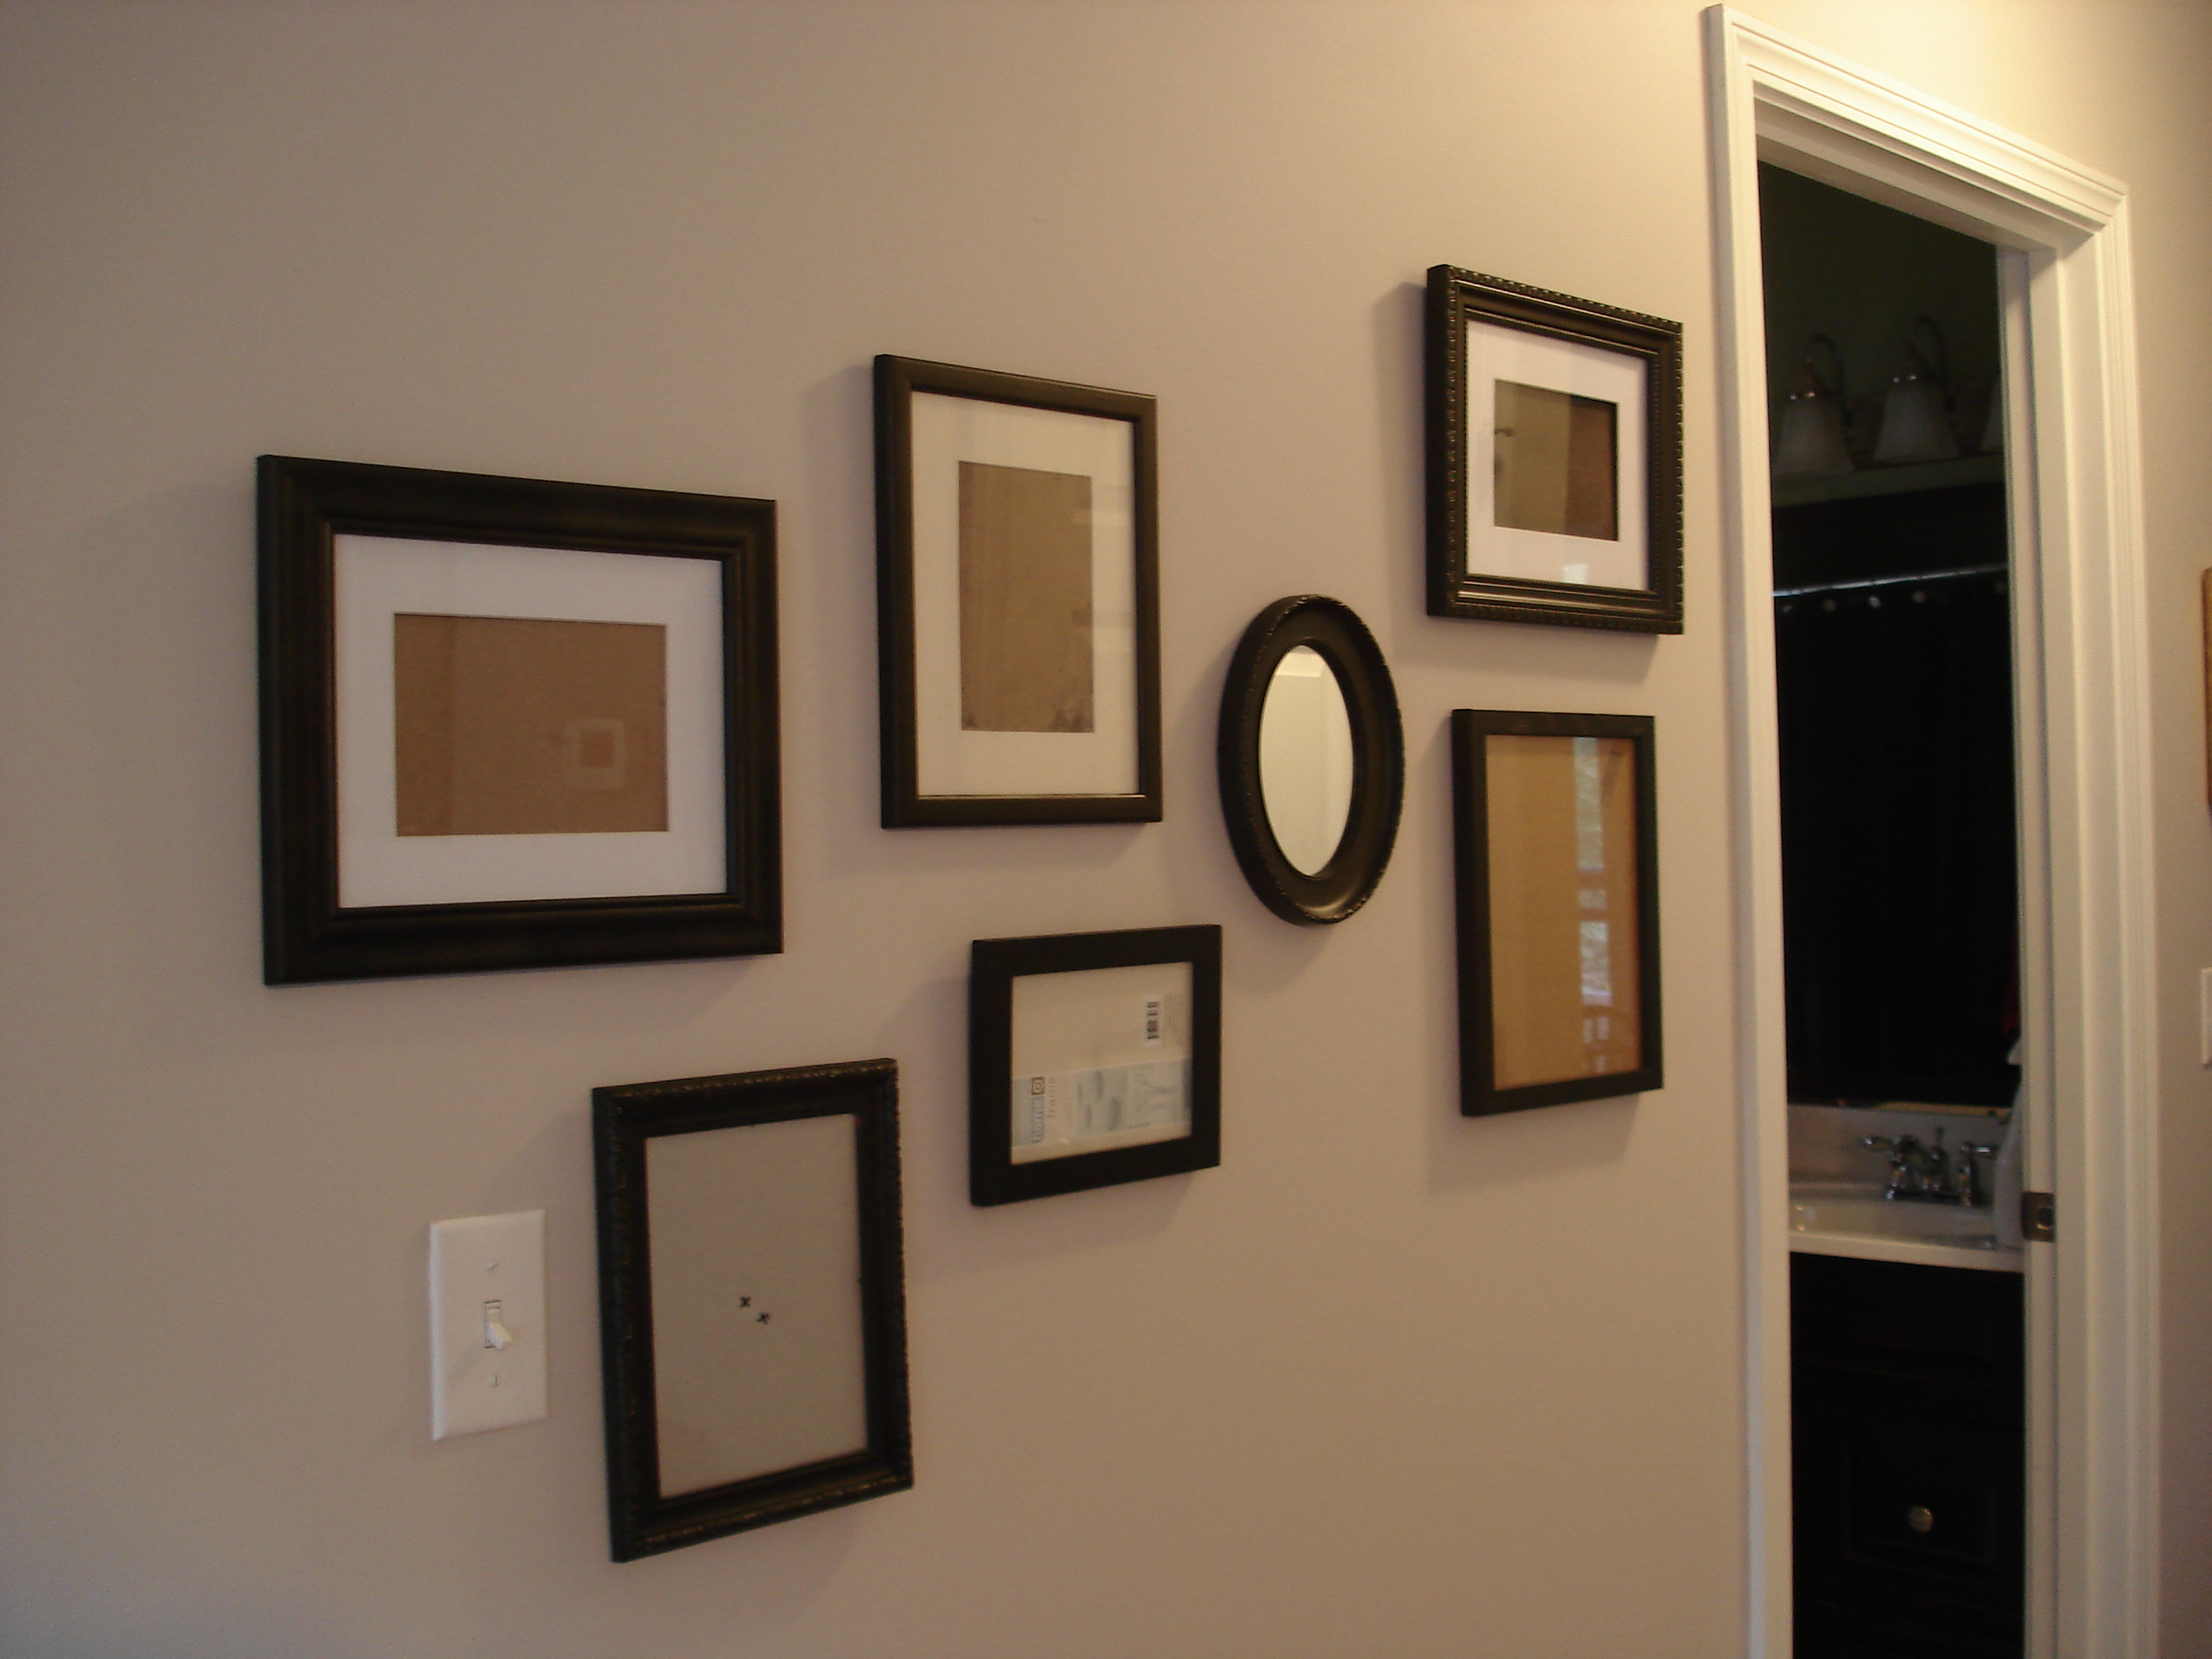
So why not have one in your living room? After painting the living room hallway, I hung some frames ready for the pictures of my choosing.

burnished clay in living room

Here is the start of the gallery.

living room gallery wall

Yes, the frames are empty. My mom is coming in town this week, so I'm hoping to get some great family shots and fill in with older ones. The frames all came from Goodwill, and I spray painted them with Krylon's Oil Rubbed Bronze (as seen here and here also).

I can't wait to get pictures in these frames, and add to this wall over time!

Saturday, August 28, 2010

Feeling Bookish?

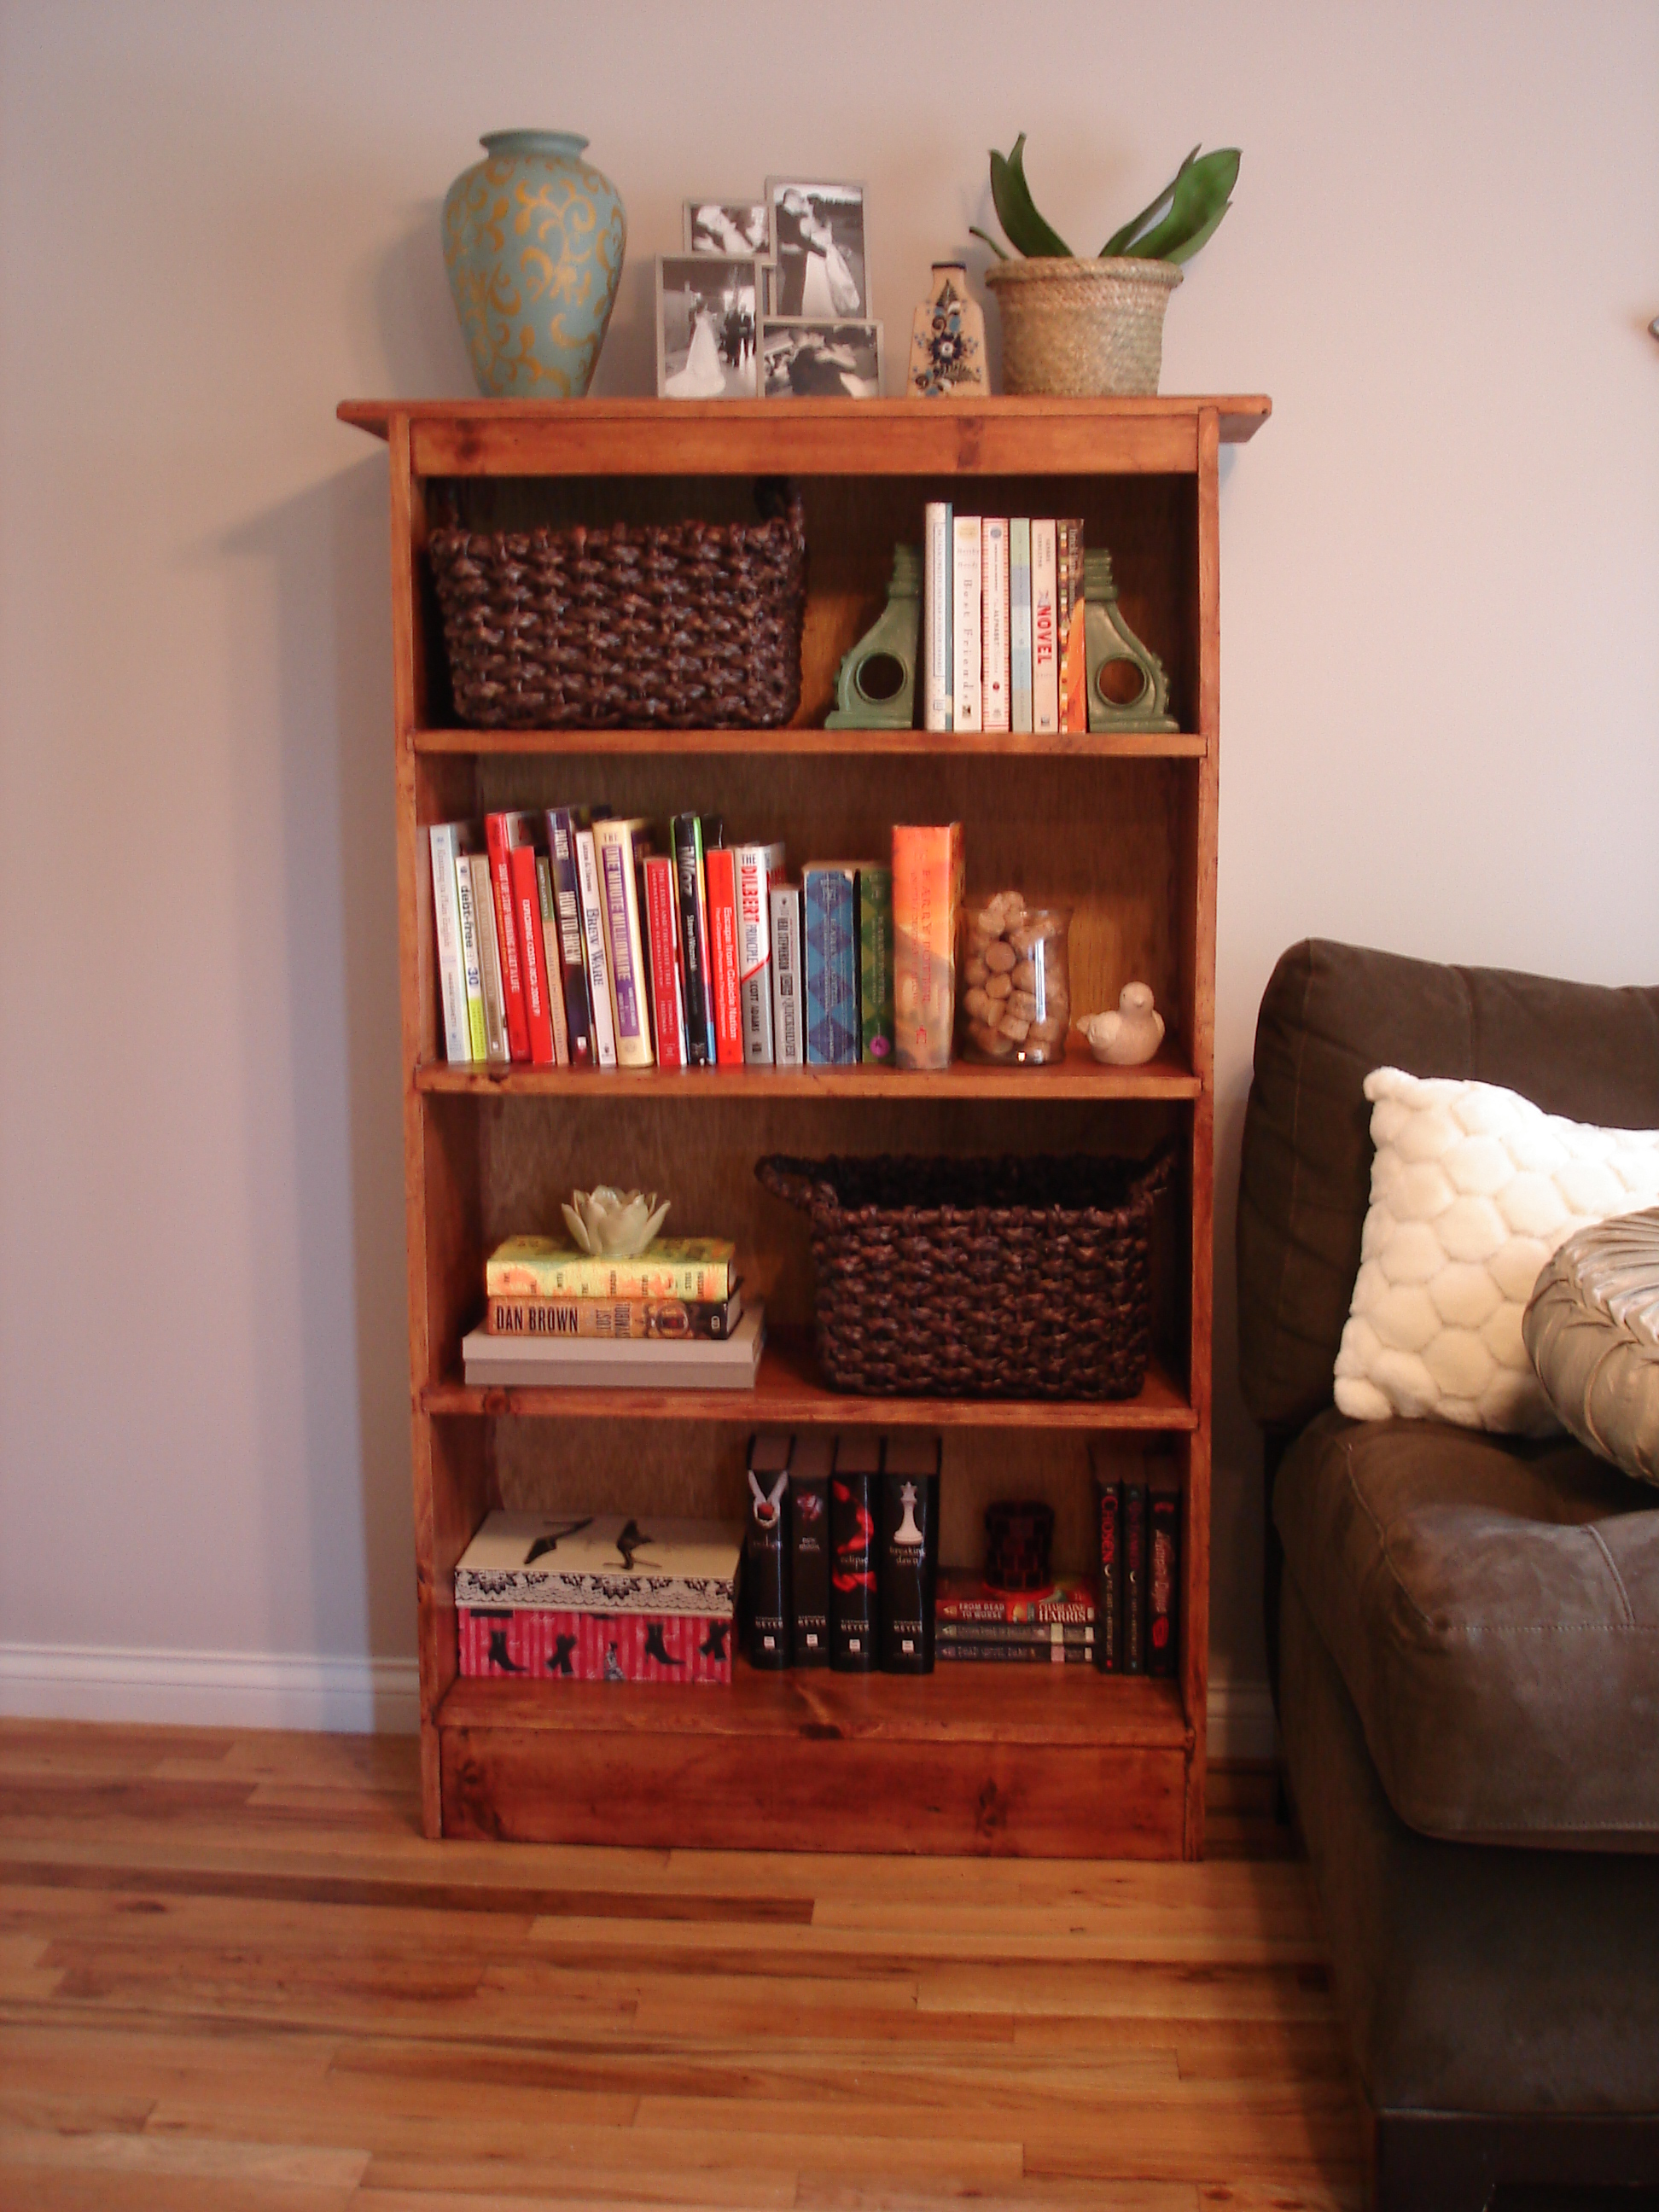
We are! I think I finally found a permanent home for the bookshelf Mike made. If you recall, it spent a brief amount of time in the office/guestroom, but that just wasn't working out. So I brought it down to the living room to add some height to the space. The only problem?

It was this awesome shade of green-y pine. My husband is a self professed hater of finishing, which left this otherwise handsome bookshelf in need of a serious makeover. It just didn't fit with our other more mahogany colored furniture.

pine bookshelf

I emptied it off in preparation for the main event: some stain.

empty bookshelf for stainI had some leftover Minwax Polyshades Bombay Red Mahogany from when I refinished my dresser, so I whipped it out along with some foam brushes, rags, and fine steel wool. After a single coat to take the edge off the just-been-pressure-treated look, I was happy with the warmer reddish tone.

minway polyshades bombay red mahogany

Now the bookshelf plays nicely with our other furnishings, and I still feel like the handmade character was left in tact. Bonus: Having books in the living room makes us look really smart! :)