Tuesday, November 2, 2010

Saving Some Green, Part 1

Both the kind that grows on trees AND doesn't.

There are a few simple and inexpensive "green" things you can do in your house which will make you feel warm and fuzzy inside while you save the planet and some dough. A programmable thermostat can save your a few hundred buckaroos every year, with models starting at about $30. We just installed 2 in our house, and I'm going to show you how.

First you'll need to decide what kind of stat (that's what all the cool kids say) you want. If you check them out at the store, you'll notice several types labeled as 5-2 or 5-1-1 or even a 7 day.

The translation goes something like this:

5-2: A  program for M-F and a separate one for Sa/Sun

5-1-1: A  program for M-F, and separate ones for both for Saturday AND Sunday

7 day: A separate program for every day of the week.

Take a minute to think about the schedules you keep, and decide which one is best for you. I should add that as you go down the list, the price increases. For most people (including us), I'd imagine the simple 5-2 will be sufficient. You'll also need to know if your HVAC system has emergency or auxiliary heating. Check your manual, or even your existing thermostat to find out. We have auxiliary heat, not emergency. The packaging of the stat will tell you if it's compatible with one or both of those options. Look carefully, because we bought the wrong one initially.

Since we already had a Honeywell, we ultimately ended with another Honeywell- the RTH2300B, 5-2 model which is compatible with auxiliary heat.


To install a new thermostat, first take the face plate off your existing model.


Take note of the wiring, it's likely color coded, but jot down the positions just in case.


Then, remove the wires by loosening the small screws.


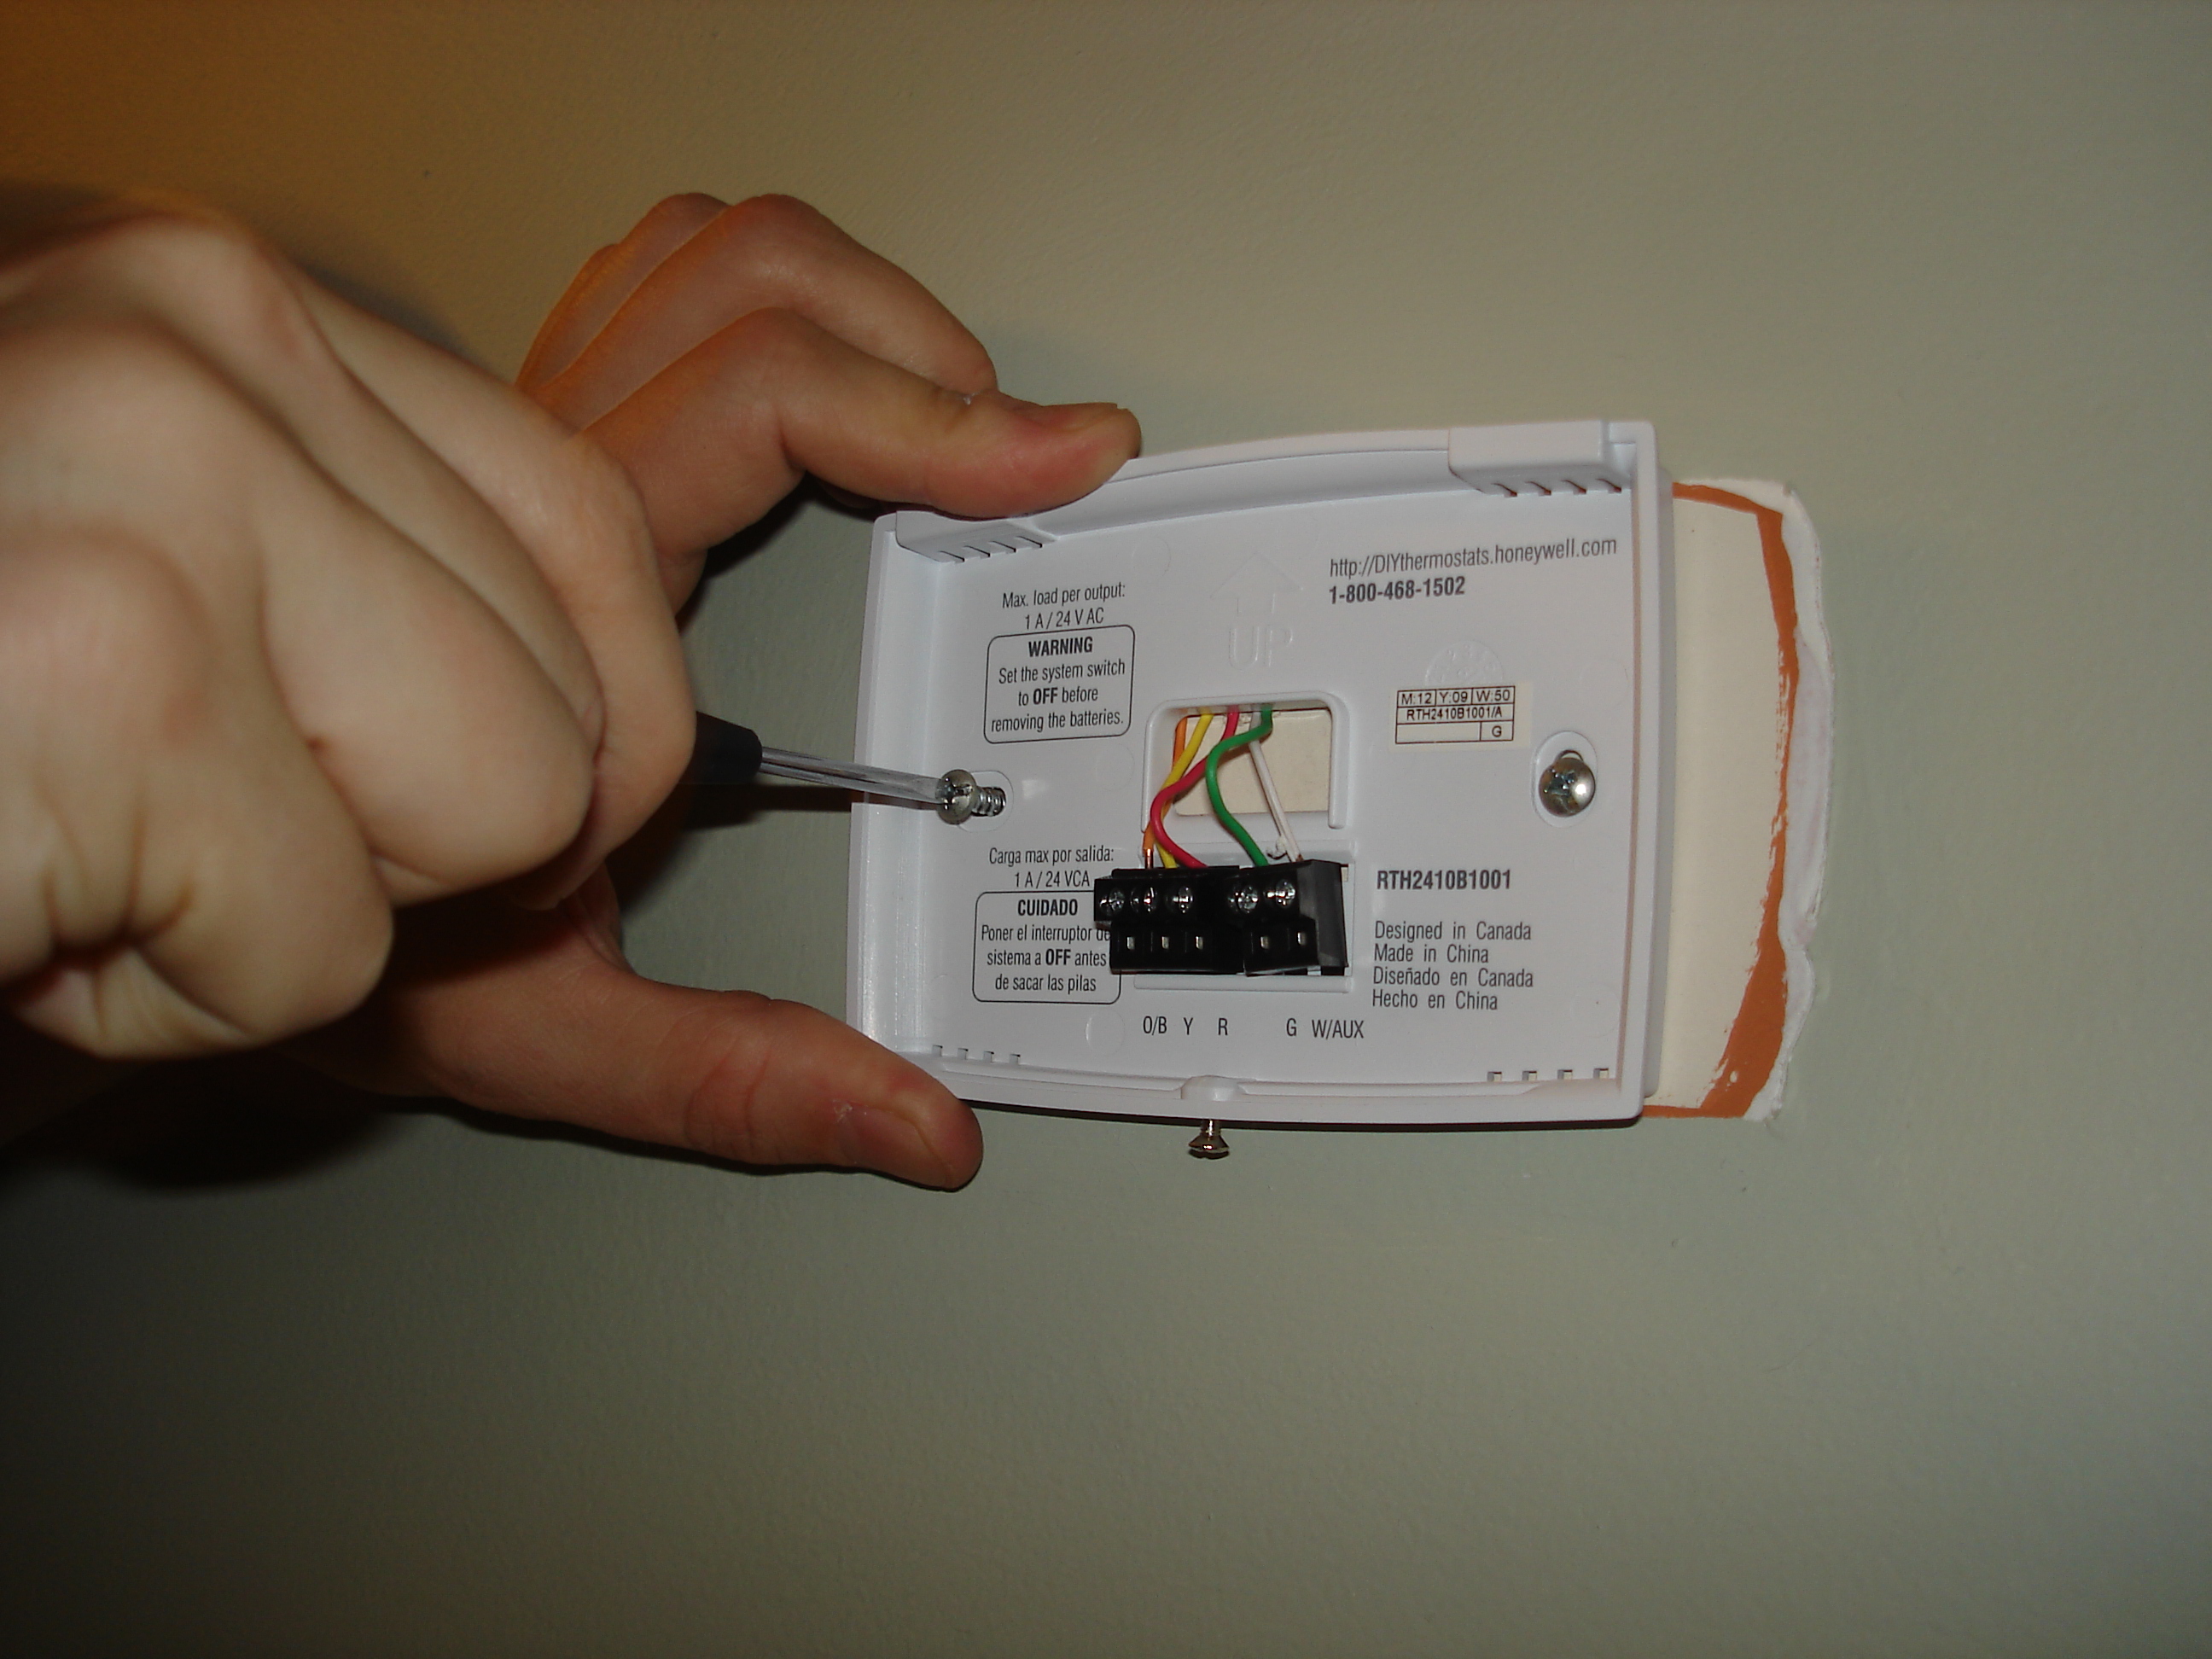
Loosen the screws holding the base to the wall and slip it off.


Install the new base over the wires and attach it to the wall. Reattach the wires in their appropriate location (follow the wiring diagram provided with your stat if needed).


Add the cover, and you're all set to go! Most of these come with a built in default program, so just set the time/day and try it out for awhile. If you find that you need to make adjustments to the program, check out your operating manual for the how-to.

Take comfort in knowing you added value to your home while saving some green!


Monday, November 1, 2010

Tutorial: Painting (Fake Wood) Kitchen Cabinets

Let me preface this by saying that while I'd rank this about a 4 on a scale of 1-10 for difficulty, this project is not for the faint of heart. What it requires is a time investment (think 1 week, minimum) as well as a great deal of patience and attention to detail.

However, if you are tired of your ho hum builder grade cabinets...this is the perfect way to customize them for an upscale look. You may remember that I had already repainted and tiled the backsplash, so this was the final step in the transformation!

Here's what you'll need:

  • Paint and primer (more on this to come)

  • Nice brushes

  • Sandpaper (both fine and medium grit)

  • Degreaser or TSP

  • Painter's Tape


Like any good home improvement project, it starts with agonizing over choices. In our case, I knew I wanted to paint the cabinets white, but who knew there were about 100 million shades of white? After taking a few samples home, I decided on Benjamin Moore's White Dove (not to be confused with Dove White).


Now normally I'd take my swatch down to Home Depot or Lowes and get a color match, but this is not a job for ordinary paint. Think about the banging, food slinging, moisture, and heat that your cabinets are subjected to. As a highly visible and frequently abused kitchen element, you definitely want these babies to come out smooth and durable. After much research and speaking with several paint experts, I decided to go with a new product by Benjamin Moore, "Advance" in a satin finish.


I did come across stories of good results with BM's Satin Impervo (both oil and waterborne) as well as Aura. There are also several specialty paints made for cabinets, but they are not always easy to find. After a recommendation from their staff, I decided to give this oil/water hybrid product from BM a shot. I purchased some nice brushes, a gallon of their Fresh Start All Purpose Primer and was on my way.

Once you gather all your supplies, the next step is to take down all your cabinet doors and drawer fronts and remove all hardware/hinges. If your kitchen has a complicated layout, you may want to label what came from where to make the re-install less of a headache. Otherwise, get out your cleaning and sanding supplies.

You might be tempted to rush into painting, but let me warn you that your finished product depends entirely on this prep work. Clean your cabinet boxes and doors thoroughly and give them a good roughing up with some medium grit sandpaper/block. My cabinets had a glossy veneer which I didn't sand completely through-I just sanded enough to take the sheen off and give the surface some grip. Be sure to wipe away the dust with a tack cloth or damp lint free cloth.

Once your cabs are clean and stripped (hehe), give them a coat of primer. For the best adhesion, let the primer cure for a full 24 hours. Patience is a virtue, my friends. The following day prime the back side of the cabinets. To save some time, I actually painted a first finish coat on my boxes the same day. Are you starting to see the pattern here? It's a whole lot of painting and a whole lot of waiting. Once the back side primer is dry, turn the doors over and give them a light sand with some fine grit sandpaper.

If this is all getting a bit confusing, let me lay out the order like this.

Day 1- Clean, sand, prime boxes and front of doors

Day 2- Lightly sand boxes and put on a first finish coat, prime back of doors

Day 3- Lightly sand front of doors and put on a first finish coat. Lightly sand first coat on boxes and paint a second (and final) finish coat.

Day 4- Lightly sand back of doors and put on a first finish coat.

Day 5- Lightly sand first coat on front of doors and put on a second coat.

Day 8 or 9 or if you have a ton of time Day 10- Reattach hardware and re-hang doors!

Before you get started, let me detail the painting technique I was shown at Benjamin Moore specifically for the Advance paint. It's designed to flow like oil, so you don't want to overwork it. Put a good amount on your brush and use long strokes to spread it as evenly as possible. Let it settle itself, try not to go back and brush it too much because it will start to set up in a few minutes. The good news is that you effectively have one practice coat to see how the paint feels and flows. By the second coat, you should be a pro!

Despite all the work, the result is totally worth it. First, let's look at those boring they-fell-off-the-contractor's-truck boxes.


After a brief stint as a disaster area...


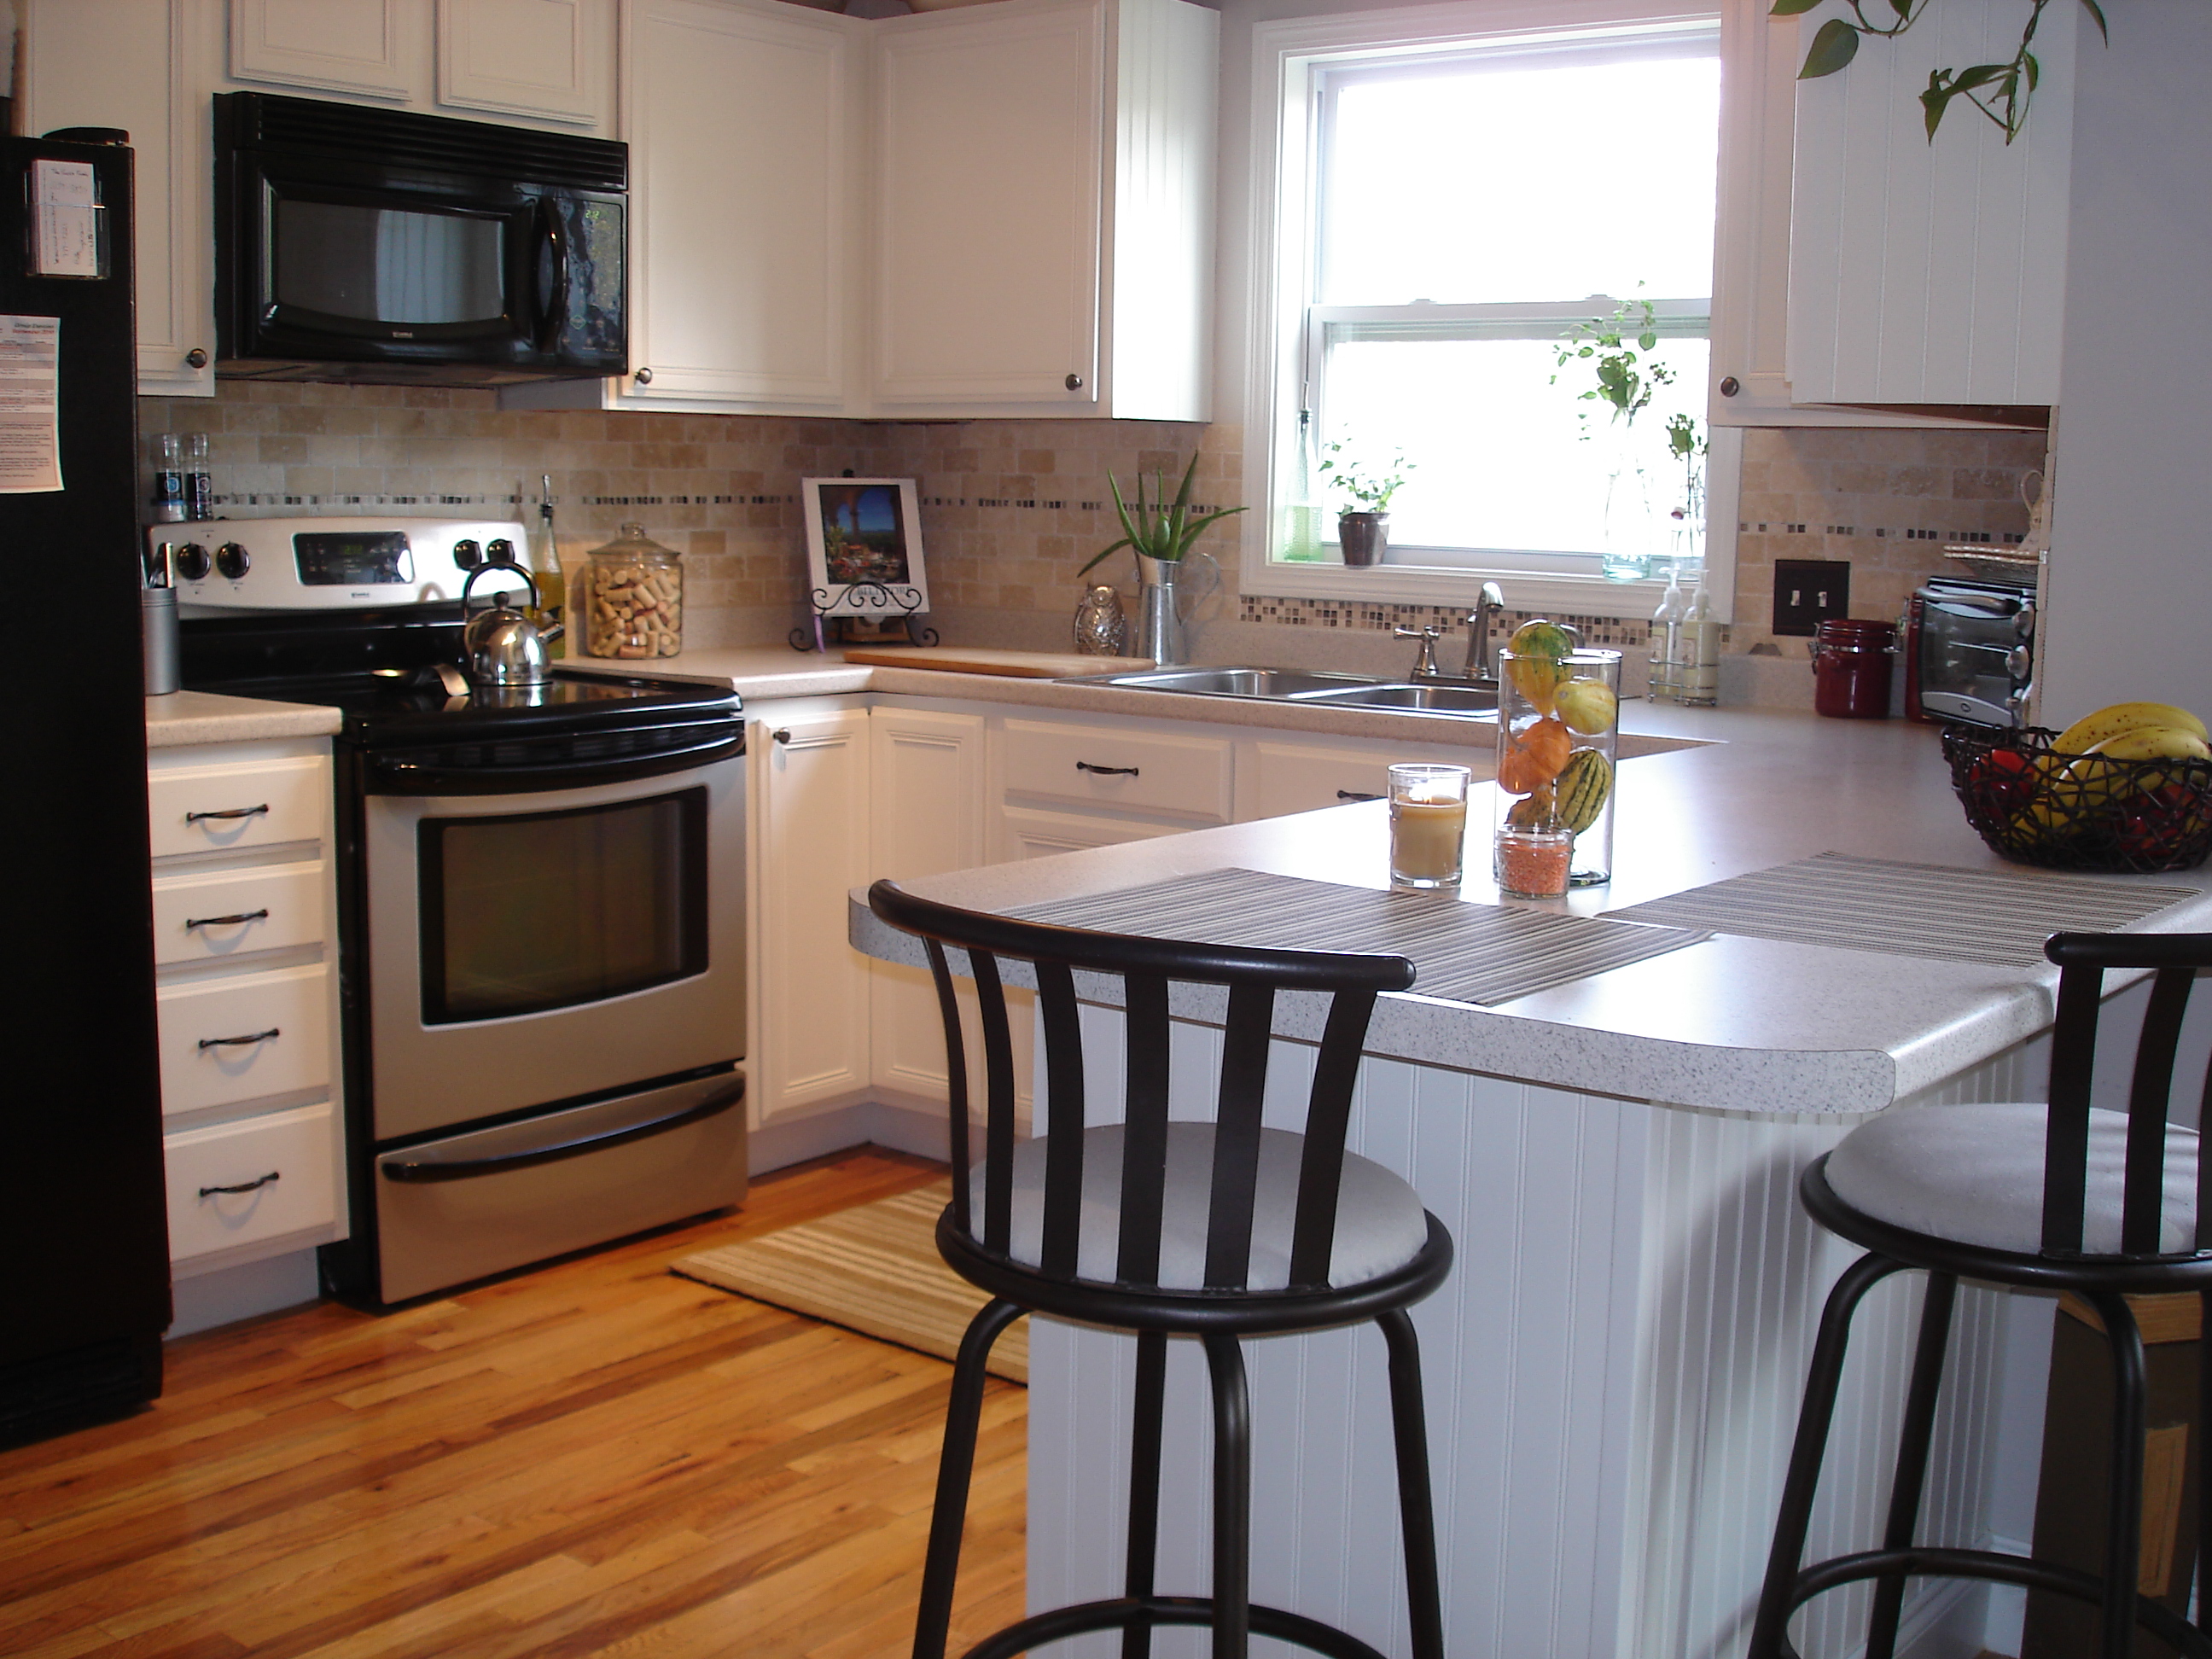
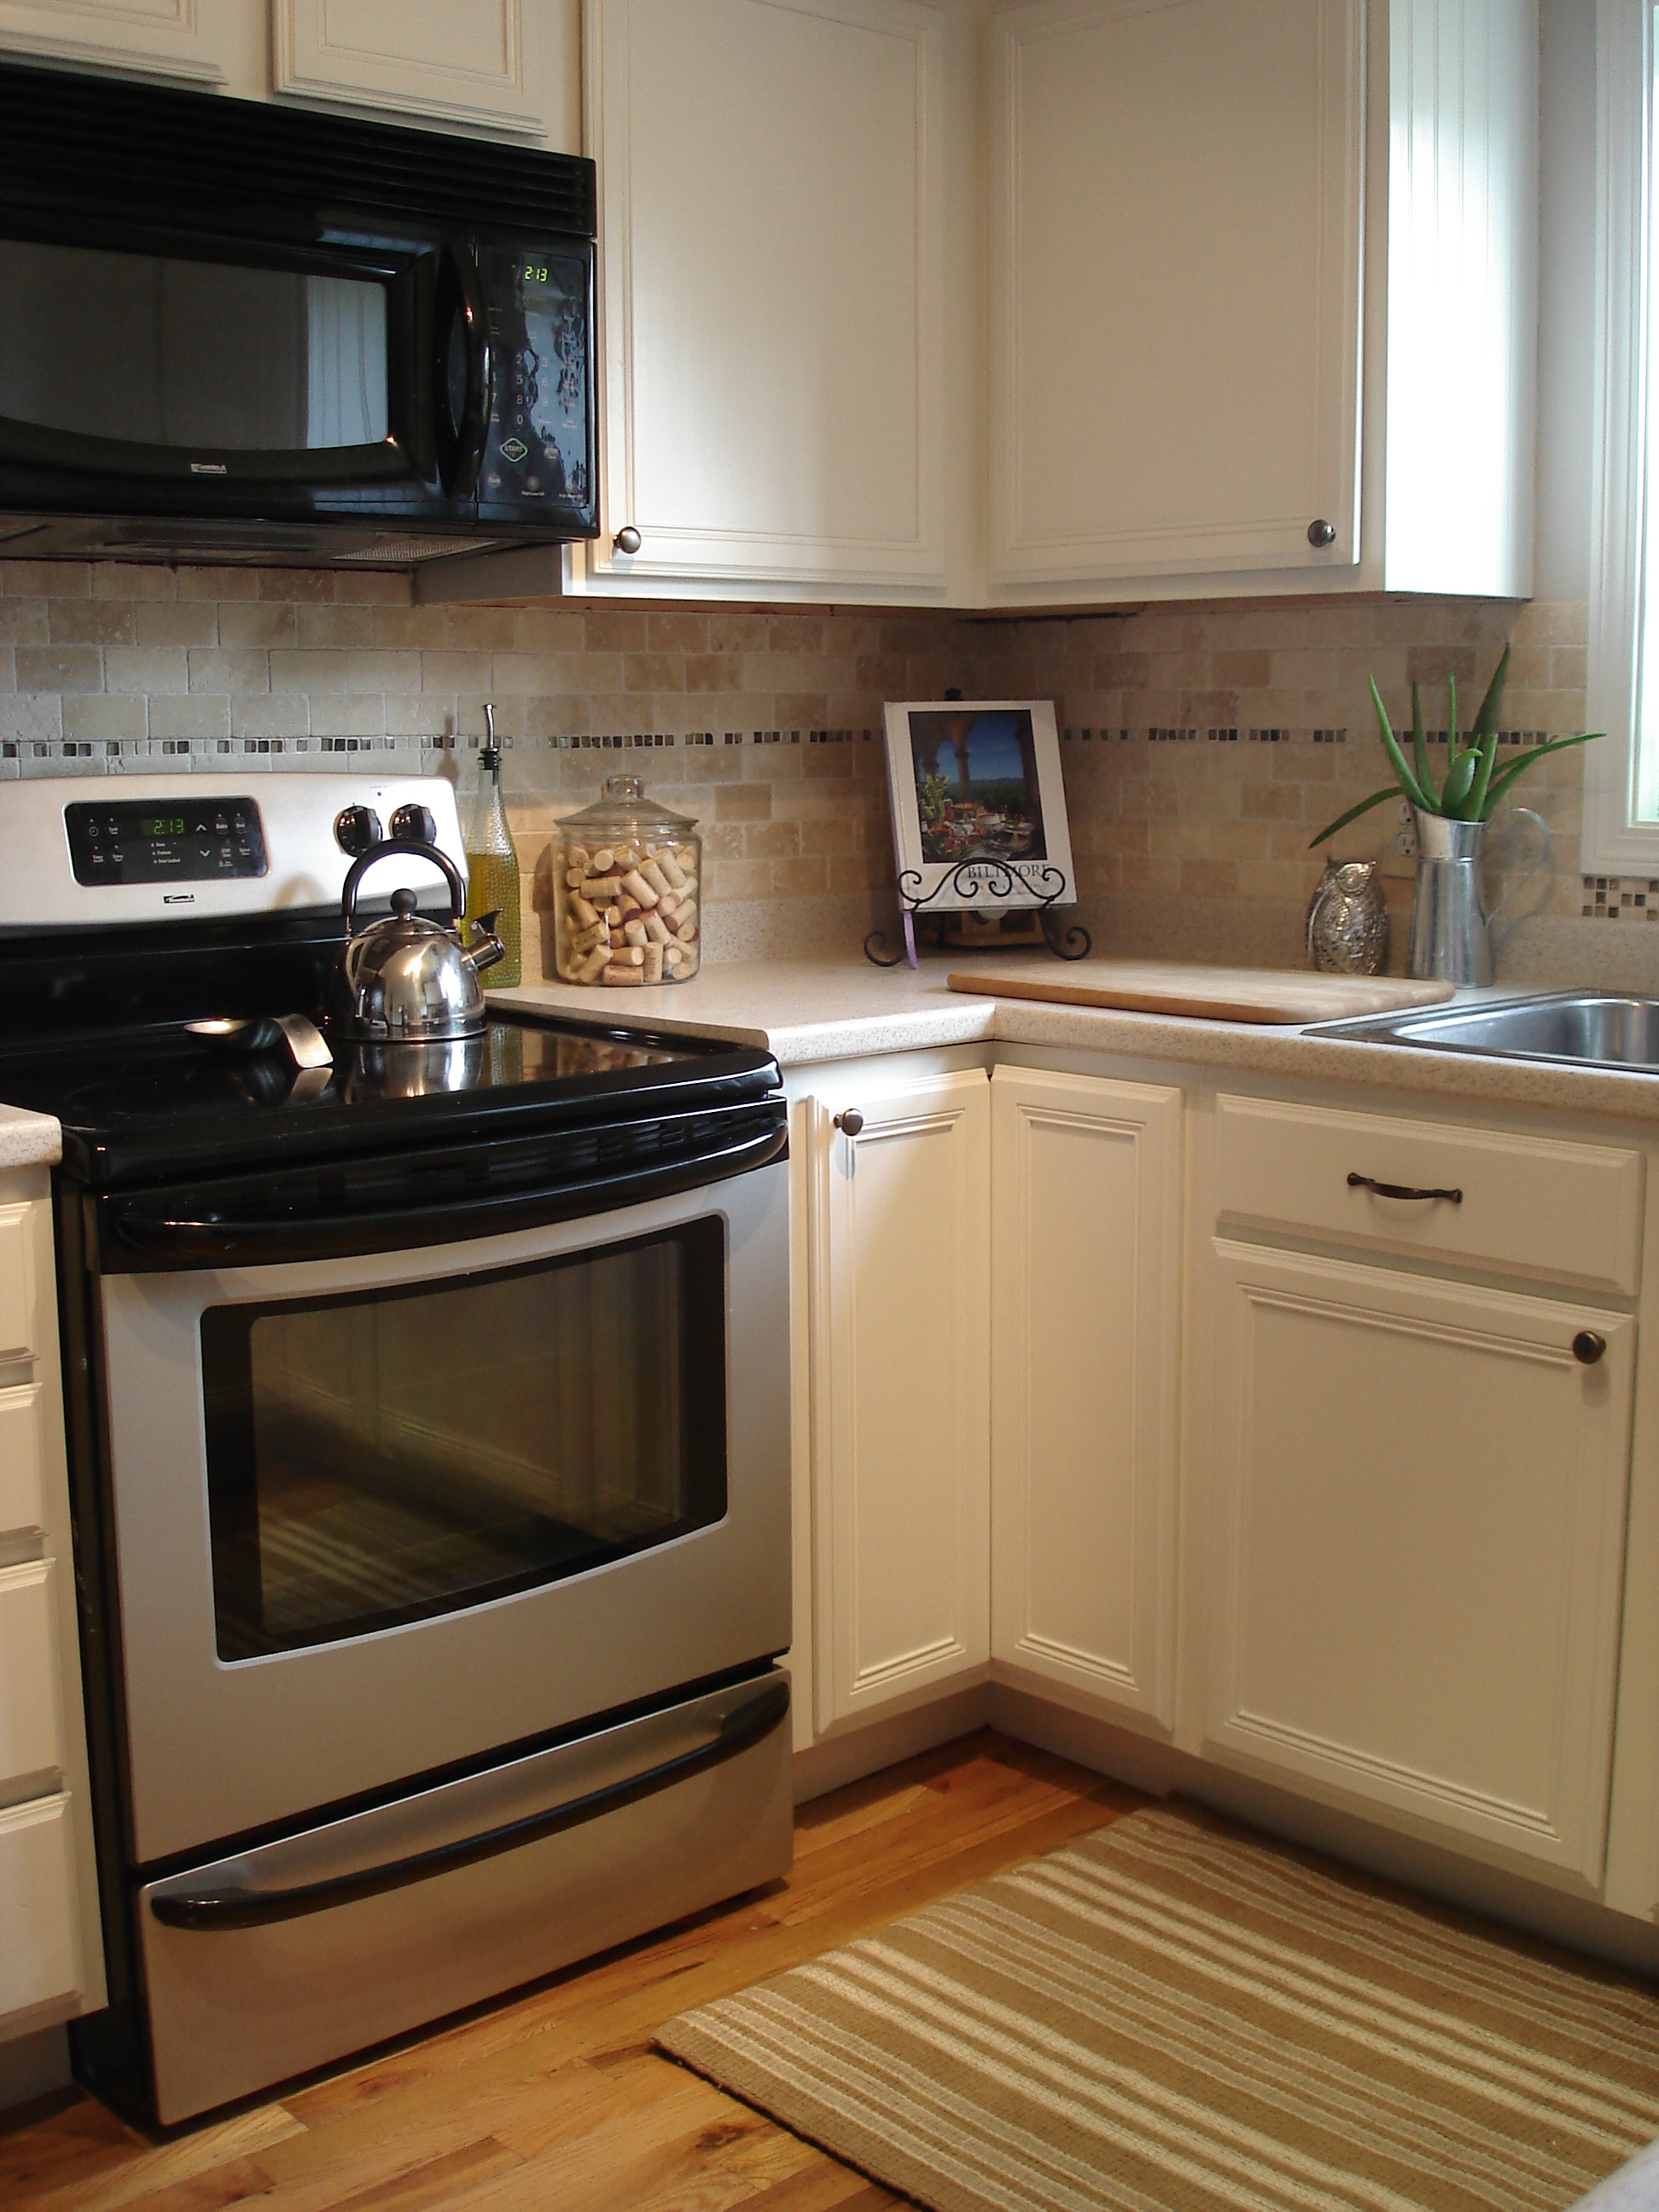
The kitchen came together beautifully (if I do say so myself).


I also added some beadboard paneling in certain areas, which I'll show you how to do in another post this week. So, what's the verdict? You likey? Anyone else thinking about attempting this?

*******Shared On The Following Blogs********


Friday, October 29, 2010

Weekend Brunch 10.29.10

This weekend, embrace the power of the pancake. It's fluffy and sure to please a crowd. After all, who doesn't love a pancake? Check out this just-a-tad decadent version.

Banana Yogurt Pancakes

  • 1 1/2 cups all purpose flour

  • 1/2 cup whole wheat flour

  • 1 tsp. salt

  • 1 Tbsp. sugar

  • 4 tsp. baking powder

  • 1 1/2 tsp. vanilla extract

  • 1 1/2 cups skim milk

  • 1/2 cup fat free greek yogurt

  • 2 Tbsp. butter, melted

  • 2 ripe bananas, cut into bite size pieces

  • 2 Tbsp. butter

  • 1 Tbsp. maple syrup


I suppose someone will complain that they don't like pancakes or bananas, so whip up a casserole dish full of this and you'll have options for everyone!

Ham and Scallion Brioche

  • 4 large eggs+ 1 cup egg beaters/all whites

  • 3 1/4 cups skim milk

  • 1 1/2 teaspoons salt

  • 1 teaspoon black pepper

  • 1 1/2 tablespoons extra-virgin olive oil

  • 2 bunches scallions, white and light green parts only, thinly sliced

  • 1 clove garlic, finely chopped

  • Pinch crushed red pepper

  • One 1-pound loaf brioche, cubed

  • 1/4 pound lean ham, coarsely chopped

  • 2 cups shredded gruyère cheese


This brunch just might be making an appearance at my house in the next few weeks. Enjoy!

Friday, October 22, 2010

Weekend Brunch 10.22.10

Here's a quick brunch tip: Invite only the number of people you can accommodate with seating. Unlike a cocktail party, you don't want to have people standing to eat.

Now onto the goodies! This week let's try some twists on the classics.

Check out Rachael Ray's BLT Fritatta (with my healthy mods)

  • Cooking Spray

  • 1/4 pound sliced turkey bacon or pancetta, chopped

  • 4 cloves garlic, chopped

  • 3 cups loosely packed arugula (about 2 bundles), trimmed and chopped

  • 1 can diced tomatoes (15 ounces), drained

  • 6 extra-large eggs and  1 1/2 cups egg beaters/all whites

  • 1/3 cup fat free half-and-half or skim milk

  • 1 teaspoon salt

  • Black pepper


This fresh faced Crunchy Vanilla French Toast is bound to be a crowd pleaser! It's easy to prepare this dish before people arrive and place the slices in one of these to keep warm.

  • 4 large eggs and 1 cup egg beaters/all whites

  • 1/2 cup dark brown sugar

  • 1 cup fat free half-and-half or skim milk

  • 2 teaspoons vanilla extract

  • 2 pinches salt

  • 1/2 teaspoon nutmeg, ground or freshly grated

  • 2 teaspoons ground cinnamon

  • 3 cups corn flakes, lightly crushed

  • 1/2 cup sliced almonds, lightly crushed

  • Cooking spray

  • 12 (1 1/2-inch-thick) slices challah bread or soft "Italian" style bread

  • Maple syrup


Don't forget to serve up some fresh fruit, mimosas or bellinis, and coffee/tea. Pretty soon your guests will be asking for your secret recipes, so print them out on some fun paper. You can even compile all your brunch recipes into a sweet book perfect for a holiday or birthday gift!

Thursday, October 21, 2010

We're Floored

By all the choices when it comes to hardwood, vinyl, and tile options for our basement. With winter coming and beer still brewing regularly, we started thinking seriously about putting flooring down. The plywood subfloor gets wet quite a bit with the brewing action, and it's hard to keep it clean. Fortunately our basement is mostly above ground (our house was built into a slope) so we don't have moisture problems...well, at least the naturally occurring kind. Instead we have the it-looks-like-a-toddler-bathed-in-here puddles.

With that in mind, we narrowed our choices down to ceramic or vinyl tiles. The floor gets a lot of wear (if you remember, we also have a workshop down there), which in addition to the waterproof requirement, pretty much eliminates traditional hardwood. Laminate or engineered wood floors could be an option, but we were still worried about denting them (dropping tools, moving equipment, etc).

I was cruising the flooring aisles at Home Depot when I came across a new product called vinyl plank. Now this ain't your momma's vinyl, so before you dismiss it-hear me out.


Looks real, eh? It even has texture, so walking on it will feel similar to real wood. But this stuff is totally waterproof. Not only that, it installs in a jiffy-you only need a utility knife and a tape measure. The grip strips on 1 long and 1 short side overlap, which bonds the floor planks to each other-not to the subfloor. Light scoring and snapping is all it takes to cut planks to size. This type of installation is called a floating floor. Price-wise it's reasonable ($1.79/sq ft here), more expensive than laminate or traditional vinyl but less expensive than most hardwood or even engineered wood products. Plus, when you factor in the cost of floor prep for laminate or hardwood, I think the vinyl tile really flexes its muscles as both an economical and aesthetically appealing choice.

So far, we're digging the "Teak," but stay tuned for an update when we make our choice and install a basement floor!

Friday, October 15, 2010

Weekend Brunch 10.15.2010

I thought I'd start a new series inspired by weekend brunches I've been hosting lately. Every Friday, I'll post a brunch menu along with ideas for gathering your friends and family and having a good time.

This week's brunch came straight from one of my favorite shows on Food Network- Down Home With The Neelys, and features some great fall foods: apples and sweet potatoes. As usual, I modify recipes quite a bit to make them a bit more healthy. I'll list the modified ingredients, then link to the recipe so you can follow the original directions.

Memphis Morning Brunch

Baked Eggs and Tomatoes

I doubled this in a large casserole dish, spreading the tomato mixture on the bottom and cracking 8 eggs on top, evenly spaced. I used cooking spray instead of butter to coat my glass dish.

  • 2 tablespoons olive oil

  • 1 shallot, finely chopped

  • 2 cloves garlic, finely chopped

  • 1/4 teaspoon crushed red pepper flakes

  • 5 plum tomatoes, seeded and roughly chopped

  • 1 tablespoon tomato paste

  • Kosher salt and freshly ground black pepper

  • 2 tablespoons chiffonade basil leaves, plus more for garnish

  • 4 eggs


Sweet Potato Pancakes with Ginger Applesauce

  • 1 pound sweet potatoes, peeled

  • 4 green onions, finely chopped

  • 1/3 cup all-purpose flour

  • 1/2 cups egg beaters

  • 1 teaspoon smoked paprika

  • 1/2 teaspoon kosher salt

  • 1/4 teaspoon freshly ground black pepper

  • 1/4 cup peanut oil, for frying


Ginger Applesauce

  • 2 Granny Smith apples, peeled, cored, cut into 1/2-inch slices

  • 2 Golden Delicious apples, peeled, cored, cut into 1/2-inch slices

  • 1/2 cup apple cider

  • 1 lemon, juiced

  • 1/4 cup light brown sugar

  • 1 cinnamon stick

  • 1 (2-inch) piece ginger, smashed


Grilled Melon and Ham

  • 2 limes, juiced

  • 1 tablespoon honey

  • 1/8 teaspoon cayenne pepper

  • 1/2 honeydew melon, sliced into 12 pieces

  • 12 (6-inch) wooden bamboo skewers, soaked in water for 20 to 30 minutes

  • 12 slices ham, cut in 1/2


We finished off with Ina Garten's French Apple Tart, no modifications here!

French Apple Tart

This brunch got rave reviews, so I hope you will try this at home!

Monday, October 11, 2010

Double Duty Flowers

It's rare that I get a beautiful arrangement like this delivered to my house.


But it was our 2 year anniversary, after all. I felt like the luckiest woman in the world! These flowers lasted almost 2 weeks because I kept refreshing the water, but the inevitable was bound to happen...they started to die.

But, don't fret! You can totally repurpose the slightly-more-alive flowers into new arrangments like this.


Or this...


So next time you receive a lovely bouquet, don't be so quick to toss it when it looks a little pukey. Pick out a few hardy blooms and make them work!