Tuesday, November 16, 2010

Mood Board: A Nursery For Briteny

A close friend of mine is expecting, so when she asked me for help with the nursery-well let's just say the excitement could hardly be contained!

She had some existing elements she wanted to use like some cherry furniture and pale yellow/green/blue bedding. She really loved all those colors and couldn't choose between them, so I found a way to work them all in without being too overwhelming. Working with a gender neutral theme, here's what I suggested.

1- Some sheer blue curtains will let in light and balance the dark furniture.

2- A sweet little green lamp is fun and functional!

3- Baby animal wall art incorporates all the colors, while remaining gender neutral.

4- A cherry wood glider is comfy for mom and baby.

5- A blue and green polka dot accent rug incorporates more color into the room.

6- Paint, my favorite! She was planning on adding some chair rail, so I suggested the lighter yellow (Lively Yellow) on top, while adding some fun stripes with the darker color (Mellow Yellow) below the rail (both colors are Behr).

I can't wait to see the results, and I'll be sure to post pictures!


Monday, November 15, 2010

White Dove Strikes Again

You may have read about my recent kitchen painting project, during which I discovered the most perfect shade of white: Benjamin Moore's White Dove. Since I had some left over, I decided to finally give my boring particle board nightstand a new look.

Now, admittedly I'd already done this once and it didn't go well. Before I became the super style diva that I am (giggle), I went through this awkward chocolate/teal Asian phase. You may have noticed it when I showed you the before picture of my dresser. I had to paint the nightstand to match, of course.


And you guessed it, Mike is still rocking the tall chest version of my bamboo-zeled style. I won't show you that now, but rest assured it's on the list of things to do.

As you can see from the picture above, the nightstand has one of those pseudo-double-drawer-divider-line thingies, complete with a superfluous knob (it's just flowing like water, folks). I decided to streamline the whole look, so I whipped out my trusty wood filler and went to town after roughing up the surface with some sandpaper. There's a tutorial here from a similar project, if you want the deets.

After a coat of primer and 3 coats of paint (sanding lightly in between), I installed a cute little glass knob and that's a wrap! I love how it brightens up the corner that used to be so dull. I also stole the tall lamp from our guest room because I thought it looked better with the new color. Too bad, mom.


***********************Linked Up*************************


Friday, November 12, 2010

Weekend Brunch 11.12.10

This week, we have the ultimate brunch from Tyler Florence. For those of you with sweet tooths, drool a little bit over this French Toast:

Upside-Down Apple French Toast

  • 1 cup egg beaters/all whites

  • 1 cup skim milk

  • 1 teaspoon pure vanilla extract

  • 1/4 teaspoon ground cinnamon

  • 1/2 loaf challah bread, cut into 1 inch-thick slices

  • 1/2 stick unsalted butter, cut into small cubes

  • 1 cup light brown sugar, plus more for sprinkling, divided

  • 4 Granny Smith apples

  • 1/4 cup fat free half and half cream

  • 1/2 cup pecans

  • 1/2 cup dried cranberries

  • Confectioners' sugar, garnish, optional


Doesn't that sound absolutely divine? He pairs it with an equally impressive omelet.

Smoked Salmon and Cream Cheese Omelet

  • 4 eggs plus 1 cup egg beaters/ all whites

  • 1/4 cup fat free half and half cream

  • 2 tablespoon unsalted butter

  • 1/3 pound smoked salmon, torn into large piece

  • 1 cup light or fat free cream cheese, room temperature

  • 4 green onions, finely chopped, garnish

  • Kosher salt and freshly ground black pepper


If you're not a smoked salmon fan, try this recipe with lean ham- that would be delicious as well!

With a brunch like this, you'll also want to offer some lighter options like yogurt or fresh fruit to round out the meal. Enjoy!

Tuesday, November 9, 2010

Saving Some Green, Part 2

When it comes to making your home more environmentally friendly, there are plenty of cheap and easy things you can do that can have a big green impact- for both the planet and your wallet. We've already talked about installing a programmable thermostat, so now I want to introduce you to another easy install we've done recently: the duel flush mechanism.

Basically this is a kit you can buy at your local home improvement store that will run you about $20. It has simple instructions, so I won't bore you with those here except to say that it took us less than 10 minutes start to finish. After a few adjustments, we were rocking our new space age toilet. Press the single droplet for errrrr.... liquid and the double droplet for when you really need to get the job done.


So there you have it, two ways you can put more green back in your pockets and on the earth. Have any of you installed any green mods lately?

Monday, November 8, 2010

Beaded Board = Instant Charm

Now that we've learned to tile a backsplash and paint cabinets, I'd like to share with you one more trick to help you customize your kitchen: paneling.

Mimicking the bead board and wainscoting of yesteryear, these modern MDF or fiberboard clones are perfect for adding detail in many areas of your home, from bathrooms to living rooms.
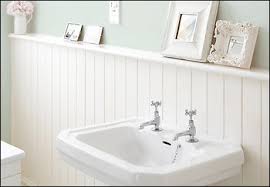
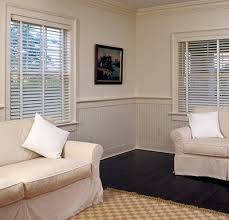


But, where I'm seeing it most these days is in the kitchen. It can be used as a backsplash, which is significantly cheaper and easier than tiling!


Or, wrap a boring island or counter with it for instant detail.


When I was thinking about my master plan (insert evil laugh) for the kitchen, I decided it definitely needed to include some beaded board in two areas: the counter and the exposed sides of the upper cabinets.


Adding beaded board paneling is super easy, here's what you'll need:


  • Measuring tape

  • Jigsaw or table saw (or the old fashioned kind)

  • Beaded board panel (sold in several sizes, I chose the 4x8)

  • Construction adhesive (there is a kind specifically for paneling usually with the panels in the store)

  • Caulk gun, if you don't already have one

  • Sandpaper (medium and fine grit)

  • Finishing nails

  • Hammer

  • Nail set (I'll explain this in a bit)

  • Wood filler


Measure your area and cut your pieces out accordingly. Prep the surface of the wall or cabinet where you want to apply the paneling with a cleaning and light sand with a medium grit. Next, apply the construction adhesive to the back of the panel using "s" shapes.


The trick to good adhesion is aerating the glue. That means you'll want to press the piece in place firmly, but then remove it and let the glue aerate for about 3 minutes. Reapply the panel, then put in a few finish nails to hold the panel in place while the glue dries completely. If you're applying molding, put the nails in at the very top or bottom where they will be covered.

If the edges of the panel will be exposed, you'll want to get a nail set. Hammer in the finish nail until it just touches the surface, then use the nail set between the hammer and your finish nail to push it below the surface. Come back with some wood filler, sand, paint, and watch those nails disappear!
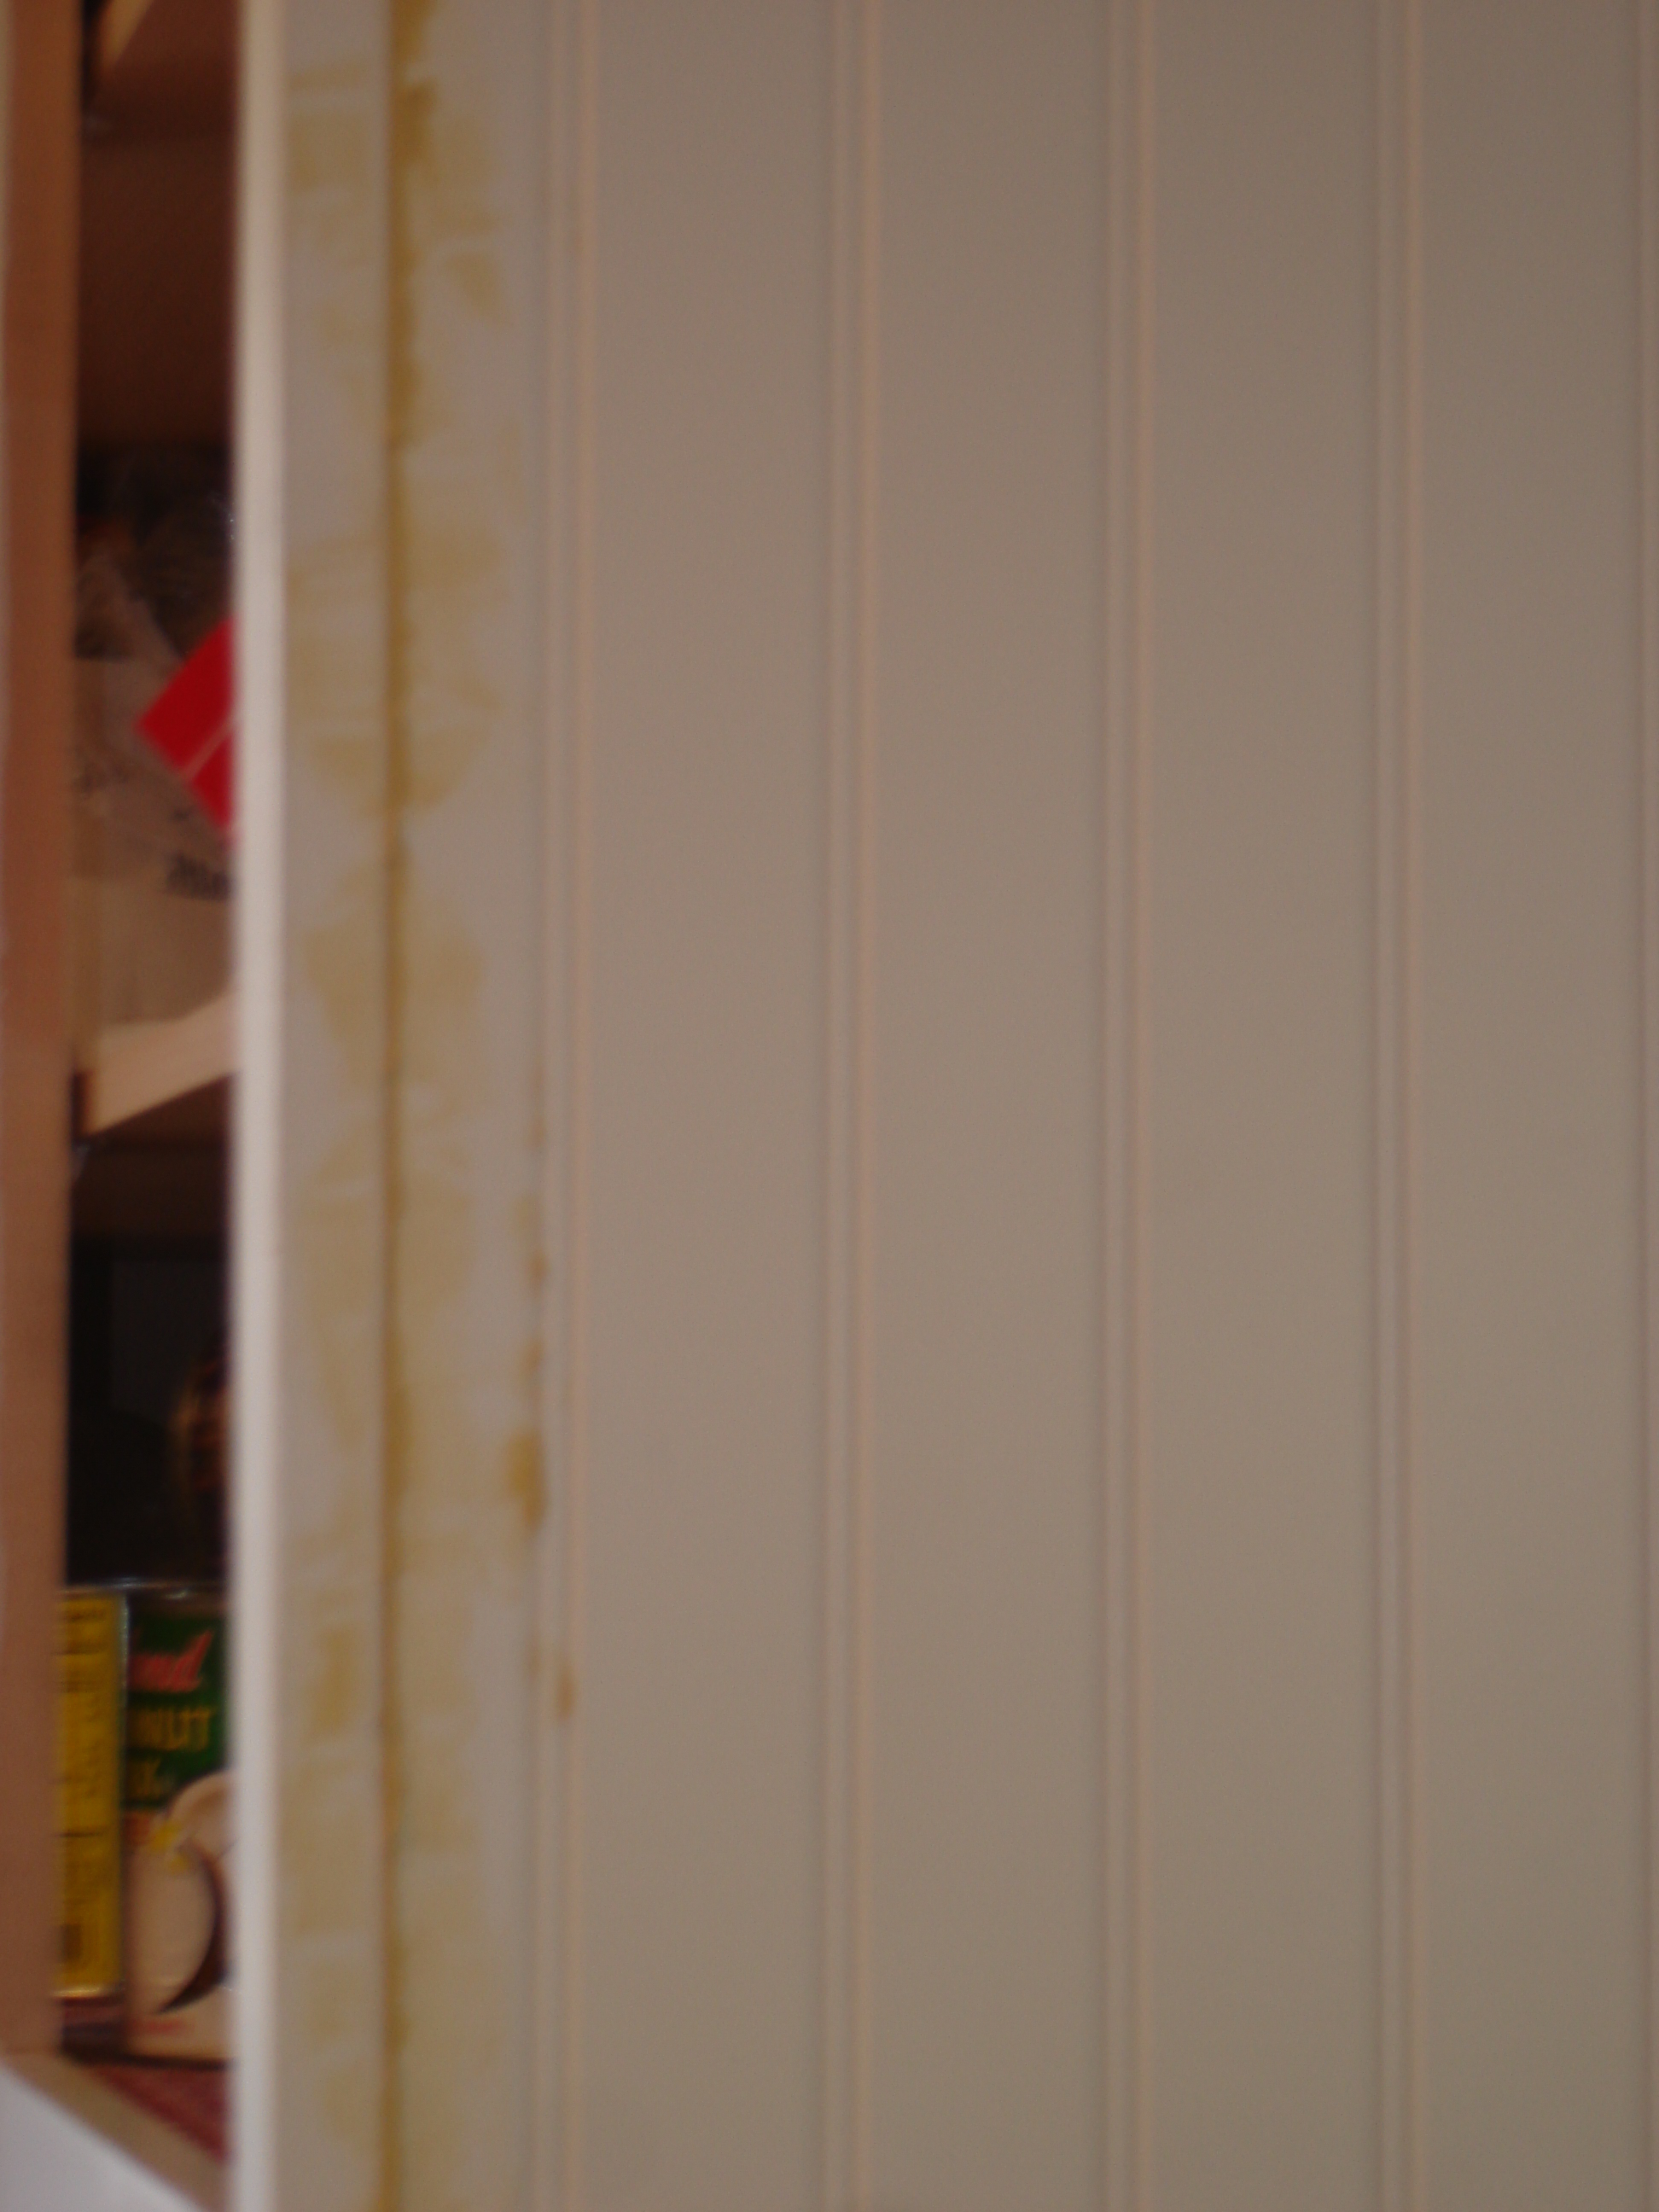


Sorry for the blur, but you get the idea. I think you'll really like the results. It's a very inexpensive way to make a huge impact.
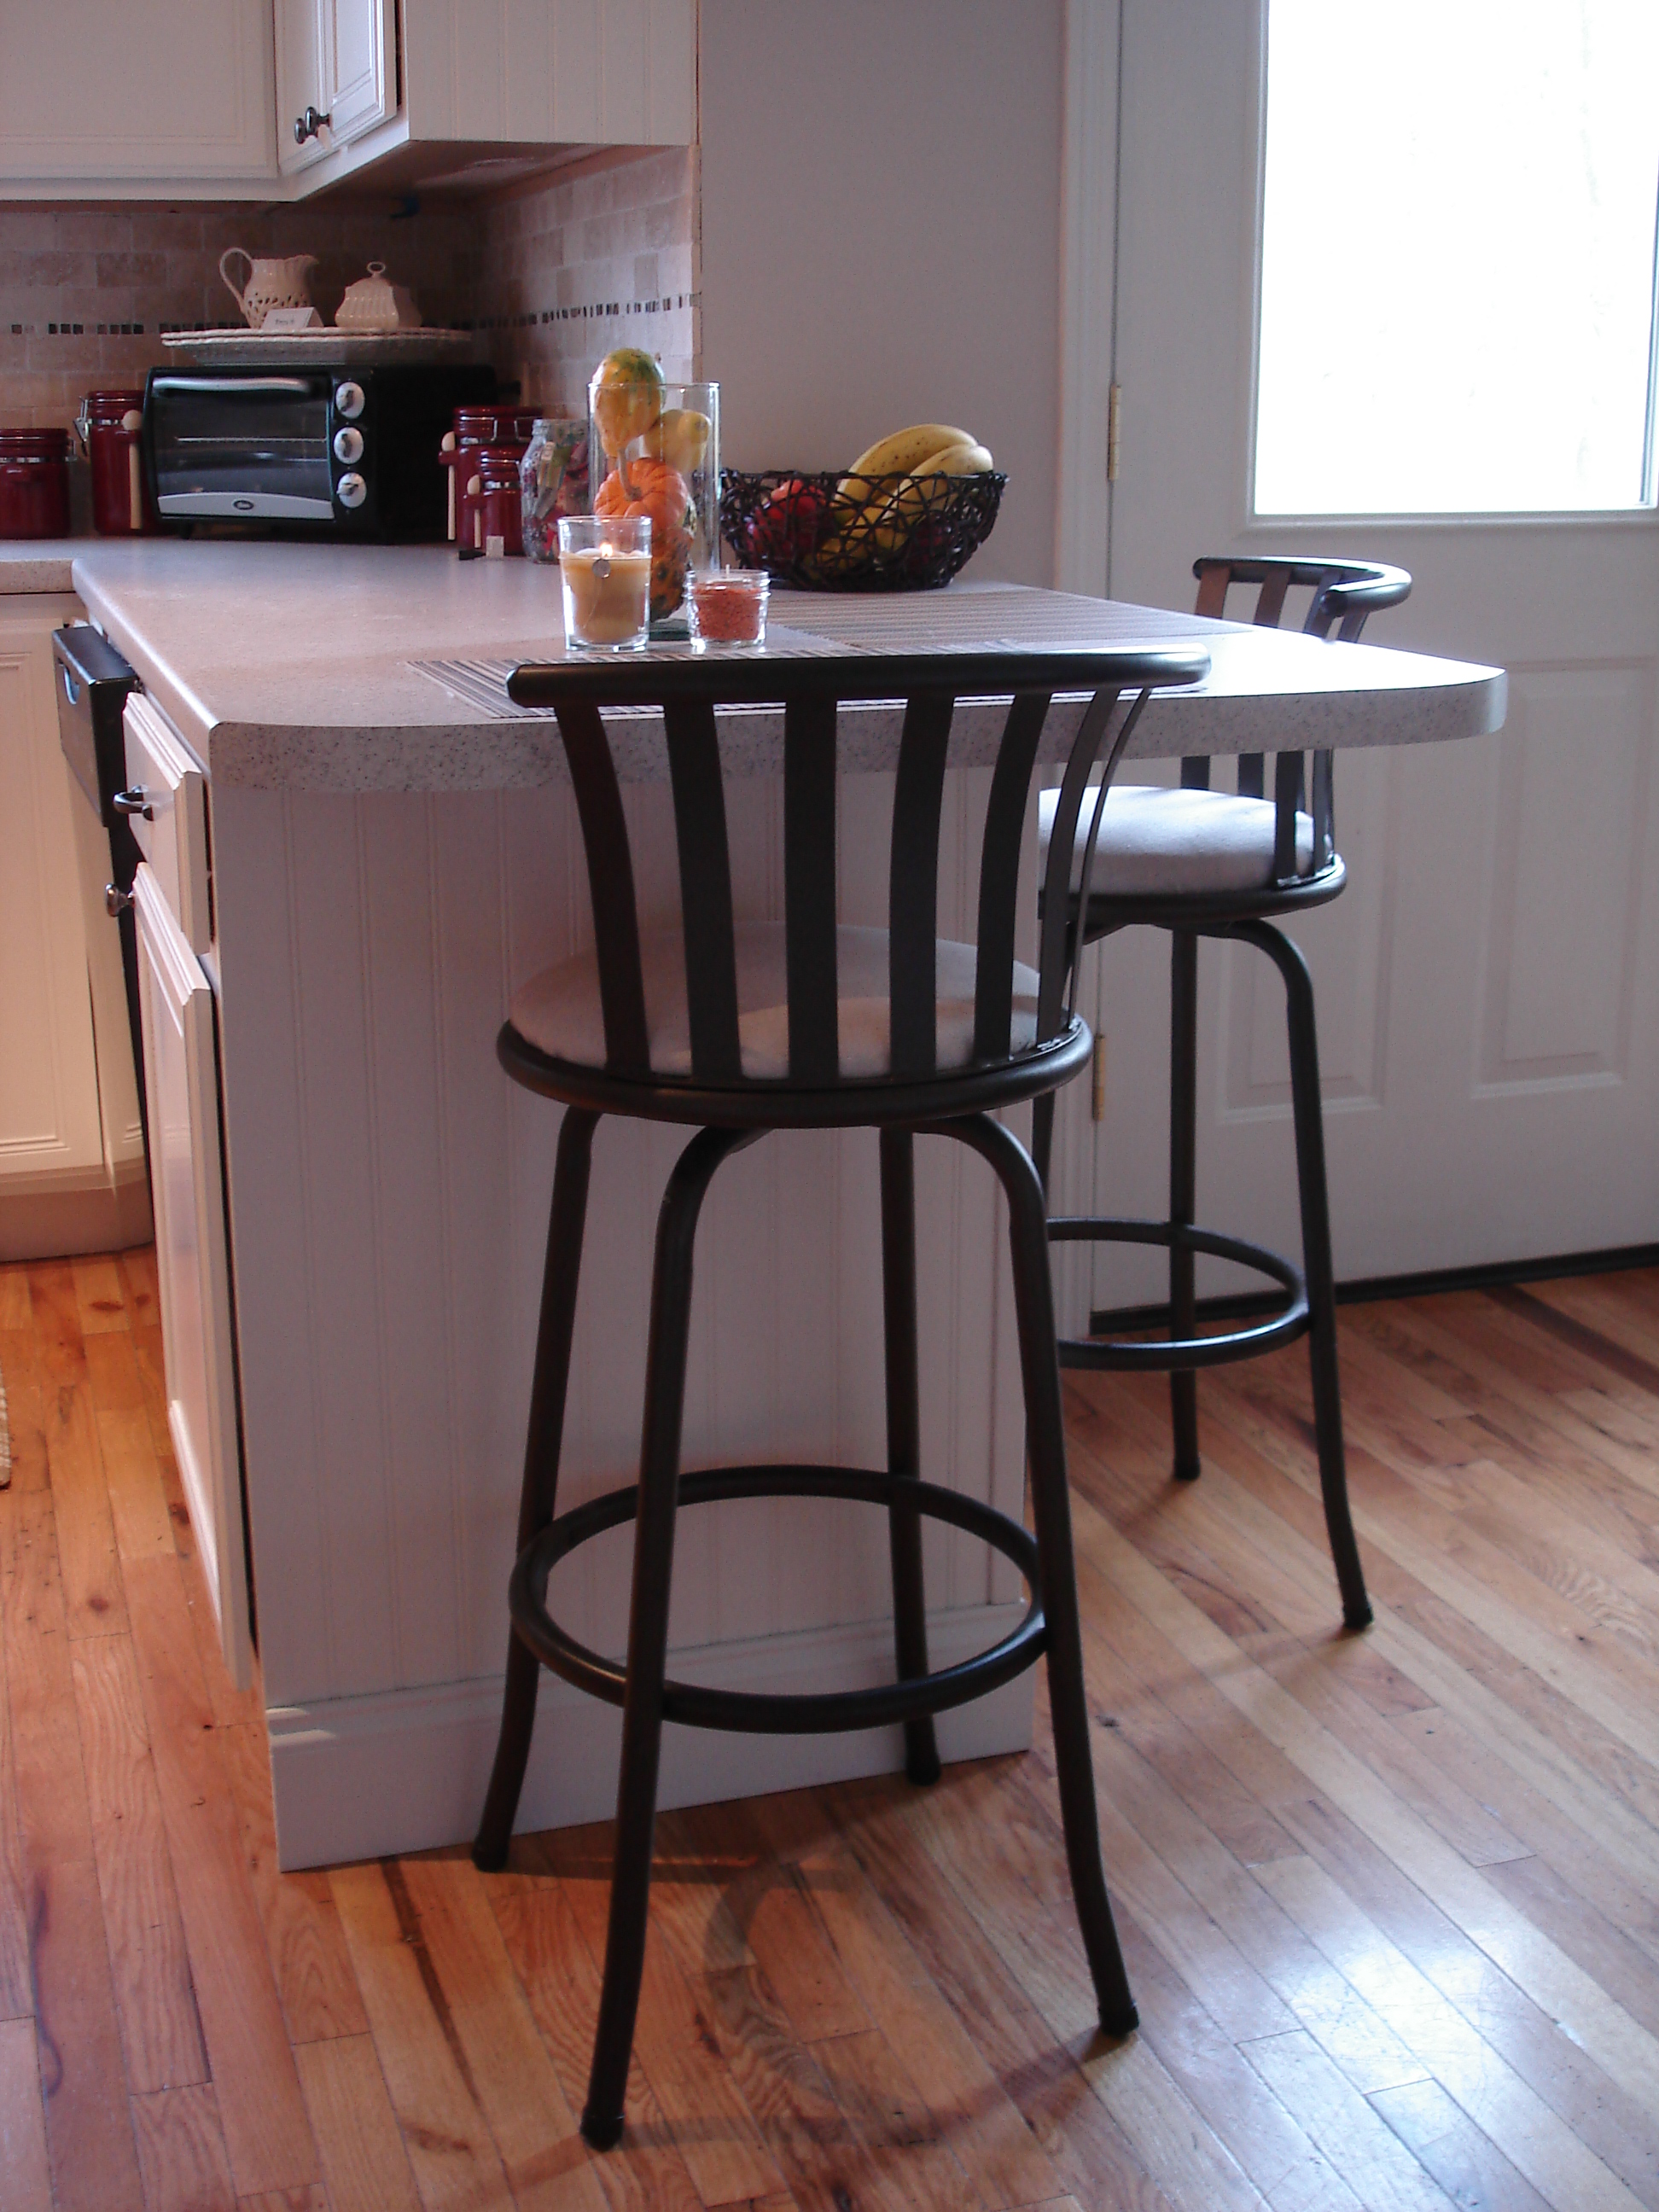
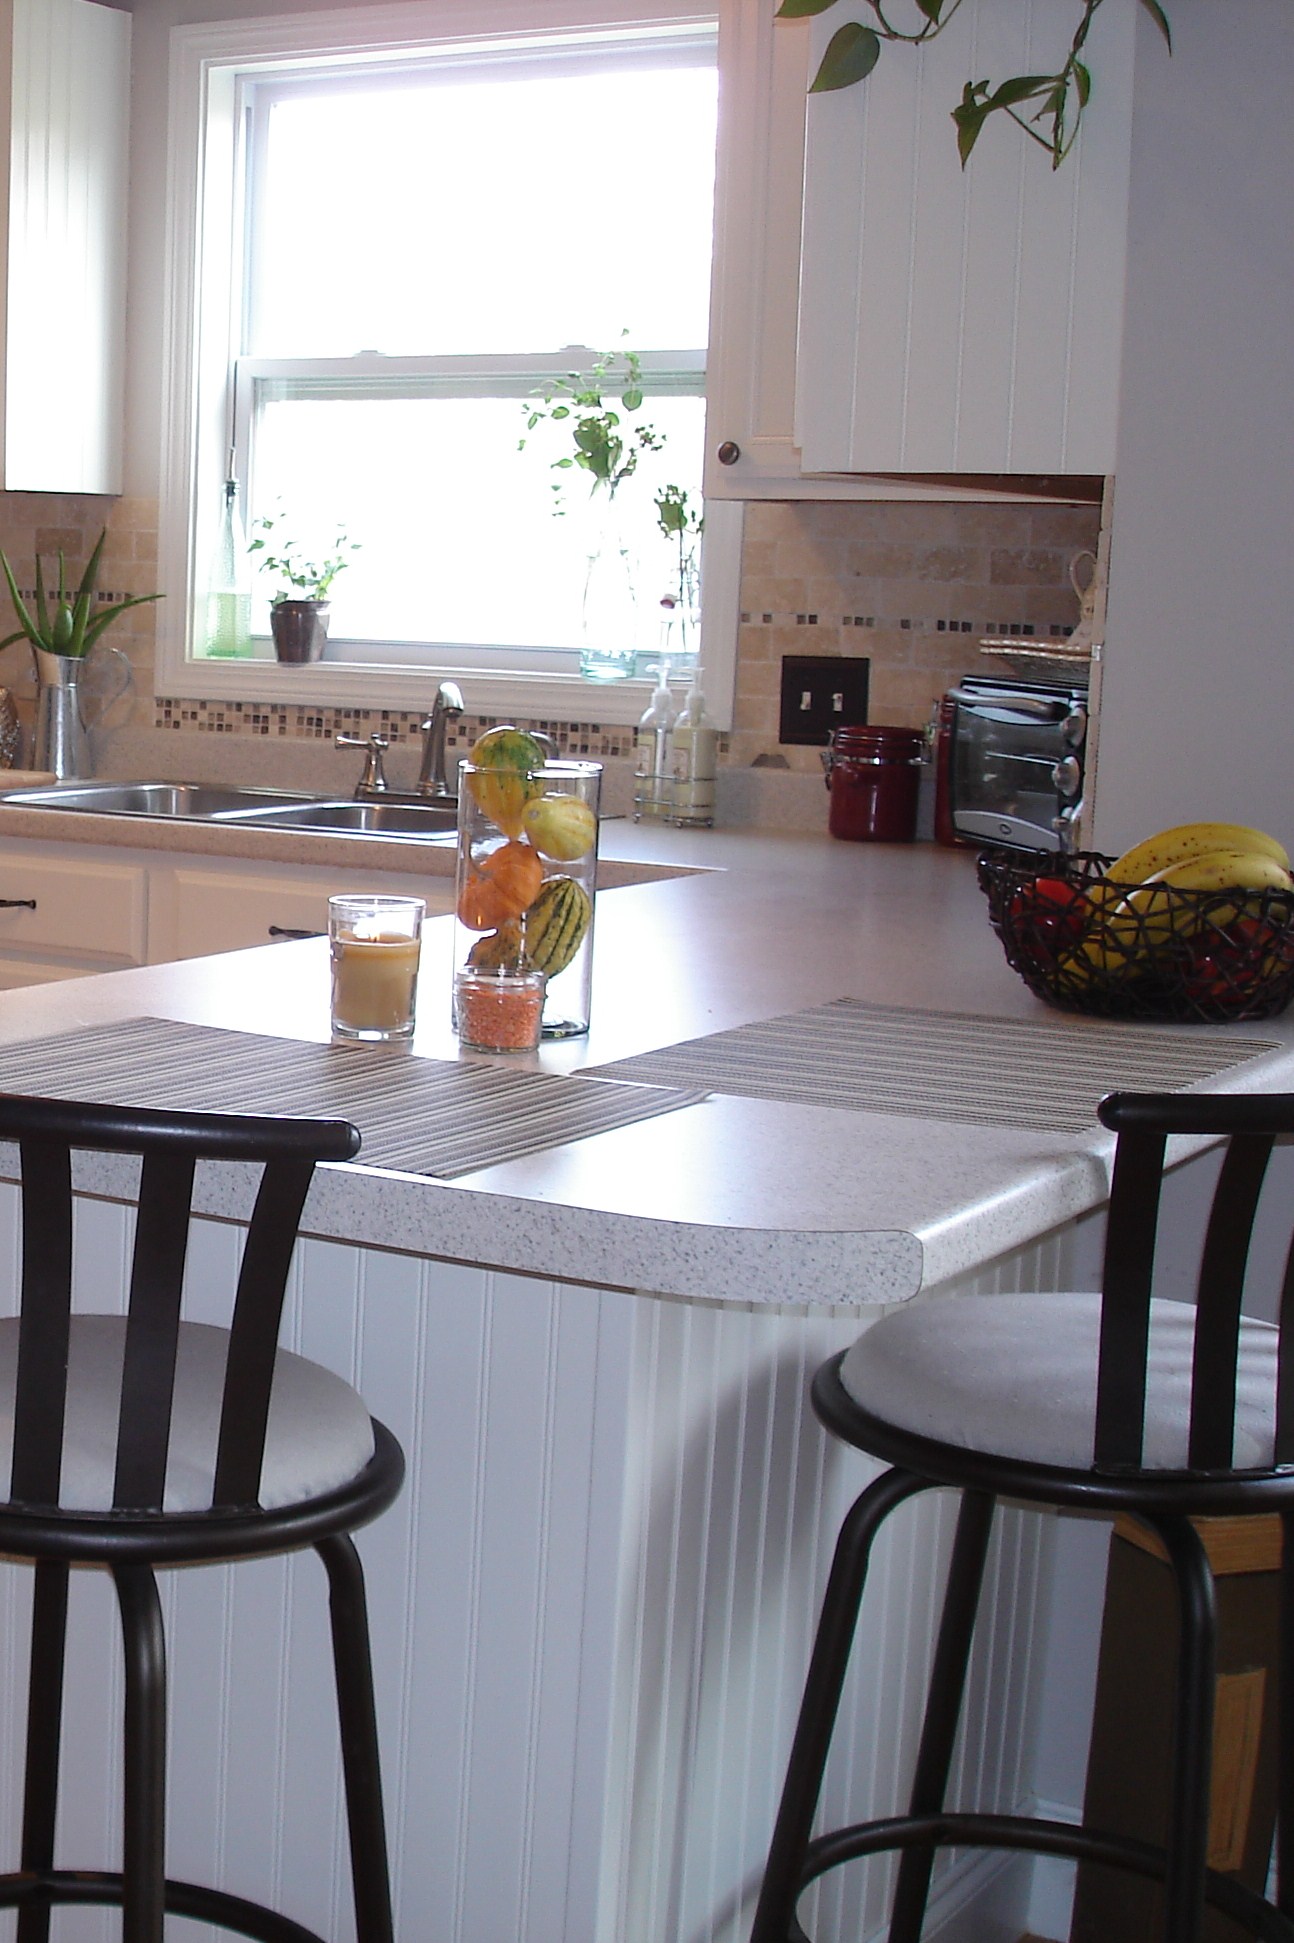


Eventually we'll trim out the top and bottom of the upper cabinets for a more finished look, but for now I'm really pleased with the paint color and the texture the beaded board offers.

Friday, November 5, 2010

Weekend Brunch 11.5.10

This week's menu comes from the one and only Bobby Flay- king of the grill. But you don't need charcoal for this impressive meal. Try it for a ladies brunch, or a surprise for your sweetie! As always, the list of ingredients here is my modified more healthy version (or suggestions from trial and error) and the directions can be found if you follow the links.

Asparagus and Fresh Pea Frittata

Tomato-Basil Topping

  • 2 tablespoons olive oil

  • 2 shallots, finely diced

  • 1 clovegarlic, finely chopped

  • 8 plumtomatoes, seeded, peeled and coarsely chopped

  • Salt and freshly ground pepper

  • 4 basil leaves, cut into chiffonade


Frittata:

  • Fat free cooking spray

  • 4 large eggs plus 1 cup egg beaters/allwhites

  • 2 tablespoons water

  • 3 tablespoons grated Romano cheese

  • 8 spears asparagus, trimmed blanched and cut into 1/2-inch pieces

  • 1/2 cup fresh peas, or defrosted frozen peas

  • 3 tablespoons finely chopped fresh parsley

  • 6 basil leaves, cut into chiffonade

  • Salt and freshly ground black pepper


Blue Corn Blueberry Pancakes

  • 1 1/2 cups all-purpose flour (try half all purpose, half whole wheat!)

  • 1/2 cup blue cornmeal (or regular cornmeal)

  • 2 tsp baking powder

  • 2 tsp kosher salt

  • 1/2 cup  sugar

  • 1/2 cup egg beaters/all whites

  • 1 1/2 to 2 cups skim milk

  • Fat free cooking spray

  • 1 cup fresh blueberries

  • Bananas, peeled and sliced

  • Mixed berries


For a special touch as the weather gets colder, try whipping up some hot flavored tea in a crockpot. Here is a great recipe for a cranberry tea.

  • 7 cups water

  • 1/2 (12 ounce) package cranberries

  • 1 cup white sugar

  • 1 oranges, juiced

  • 1 lemons, juiced

  • 6 whole cloves

  • 1 cinnamon sticks

Wednesday, November 3, 2010

En Guard

How do you feel about fencing?


Do you enjoy it on a purely cosmetic level? Or would you only consider fencing for a practical reason (i.e. dogs...)


We live on a pretty un-fenceable lot, it's extremely steep and just not practical. But, I do have day dreams about the all American white picket fenced in yard...


Instead of moving, we're considering installing an invisible fence system for the dog. Has anyone had any experience with the DIY version?