However, if you are tired of your ho hum builder grade cabinets...this is the perfect way to customize them for an upscale look. You may remember that I had already repainted and tiled the backsplash, so this was the final step in the transformation!
Here's what you'll need:
- Paint and primer (more on this to come)
- Nice brushes
- Sandpaper (both fine and medium grit)
- Degreaser or TSP
- Painter's Tape
Like any good home improvement project, it starts with agonizing over choices. In our case, I knew I wanted to paint the cabinets white, but who knew there were about 100 million shades of white? After taking a few samples home, I decided on Benjamin Moore's White Dove (not to be confused with Dove White).

Now normally I'd take my swatch down to Home Depot or Lowes and get a color match, but this is not a job for ordinary paint. Think about the banging, food slinging, moisture, and heat that your cabinets are subjected to. As a highly visible and frequently abused kitchen element, you definitely want these babies to come out smooth and durable. After much research and speaking with several paint experts, I decided to go with a new product by Benjamin Moore, "Advance" in a satin finish.

I did come across stories of good results with BM's Satin Impervo (both oil and waterborne) as well as Aura. There are also several specialty paints made for cabinets, but they are not always easy to find. After a recommendation from their staff, I decided to give this oil/water hybrid product from BM a shot. I purchased some nice brushes, a gallon of their Fresh Start All Purpose Primer and was on my way.
Once you gather all your supplies, the next step is to take down all your cabinet doors and drawer fronts and remove all hardware/hinges. If your kitchen has a complicated layout, you may want to label what came from where to make the re-install less of a headache. Otherwise, get out your cleaning and sanding supplies.
You might be tempted to rush into painting, but let me warn you that your finished product depends entirely on this prep work. Clean your cabinet boxes and doors thoroughly and give them a good roughing up with some medium grit sandpaper/block. My cabinets had a glossy veneer which I didn't sand completely through-I just sanded enough to take the sheen off and give the surface some grip. Be sure to wipe away the dust with a tack cloth or damp lint free cloth.
Once your cabs are clean and stripped (hehe), give them a coat of primer. For the best adhesion, let the primer cure for a full 24 hours. Patience is a virtue, my friends. The following day prime the back side of the cabinets. To save some time, I actually painted a first finish coat on my boxes the same day. Are you starting to see the pattern here? It's a whole lot of painting and a whole lot of waiting. Once the back side primer is dry, turn the doors over and give them a light sand with some fine grit sandpaper.
If this is all getting a bit confusing, let me lay out the order like this.
Day 1- Clean, sand, prime boxes and front of doors
Day 2- Lightly sand boxes and put on a first finish coat, prime back of doors
Day 3- Lightly sand front of doors and put on a first finish coat. Lightly sand first coat on boxes and paint a second (and final) finish coat.
Day 4- Lightly sand back of doors and put on a first finish coat.
Day 5- Lightly sand first coat on front of doors and put on a second coat.
Day 8 or 9 or if you have a ton of time Day 10- Reattach hardware and re-hang doors!
Before you get started, let me detail the painting technique I was shown at Benjamin Moore specifically for the Advance paint. It's designed to flow like oil, so you don't want to overwork it. Put a good amount on your brush and use long strokes to spread it as evenly as possible. Let it settle itself, try not to go back and brush it too much because it will start to set up in a few minutes. The good news is that you effectively have one practice coat to see how the paint feels and flows. By the second coat, you should be a pro!
Despite all the work, the result is totally worth it. First, let's look at those boring they-fell-off-the-contractor's-truck boxes.

After a brief stint as a disaster area...

The kitchen came together beautifully (if I do say so myself).
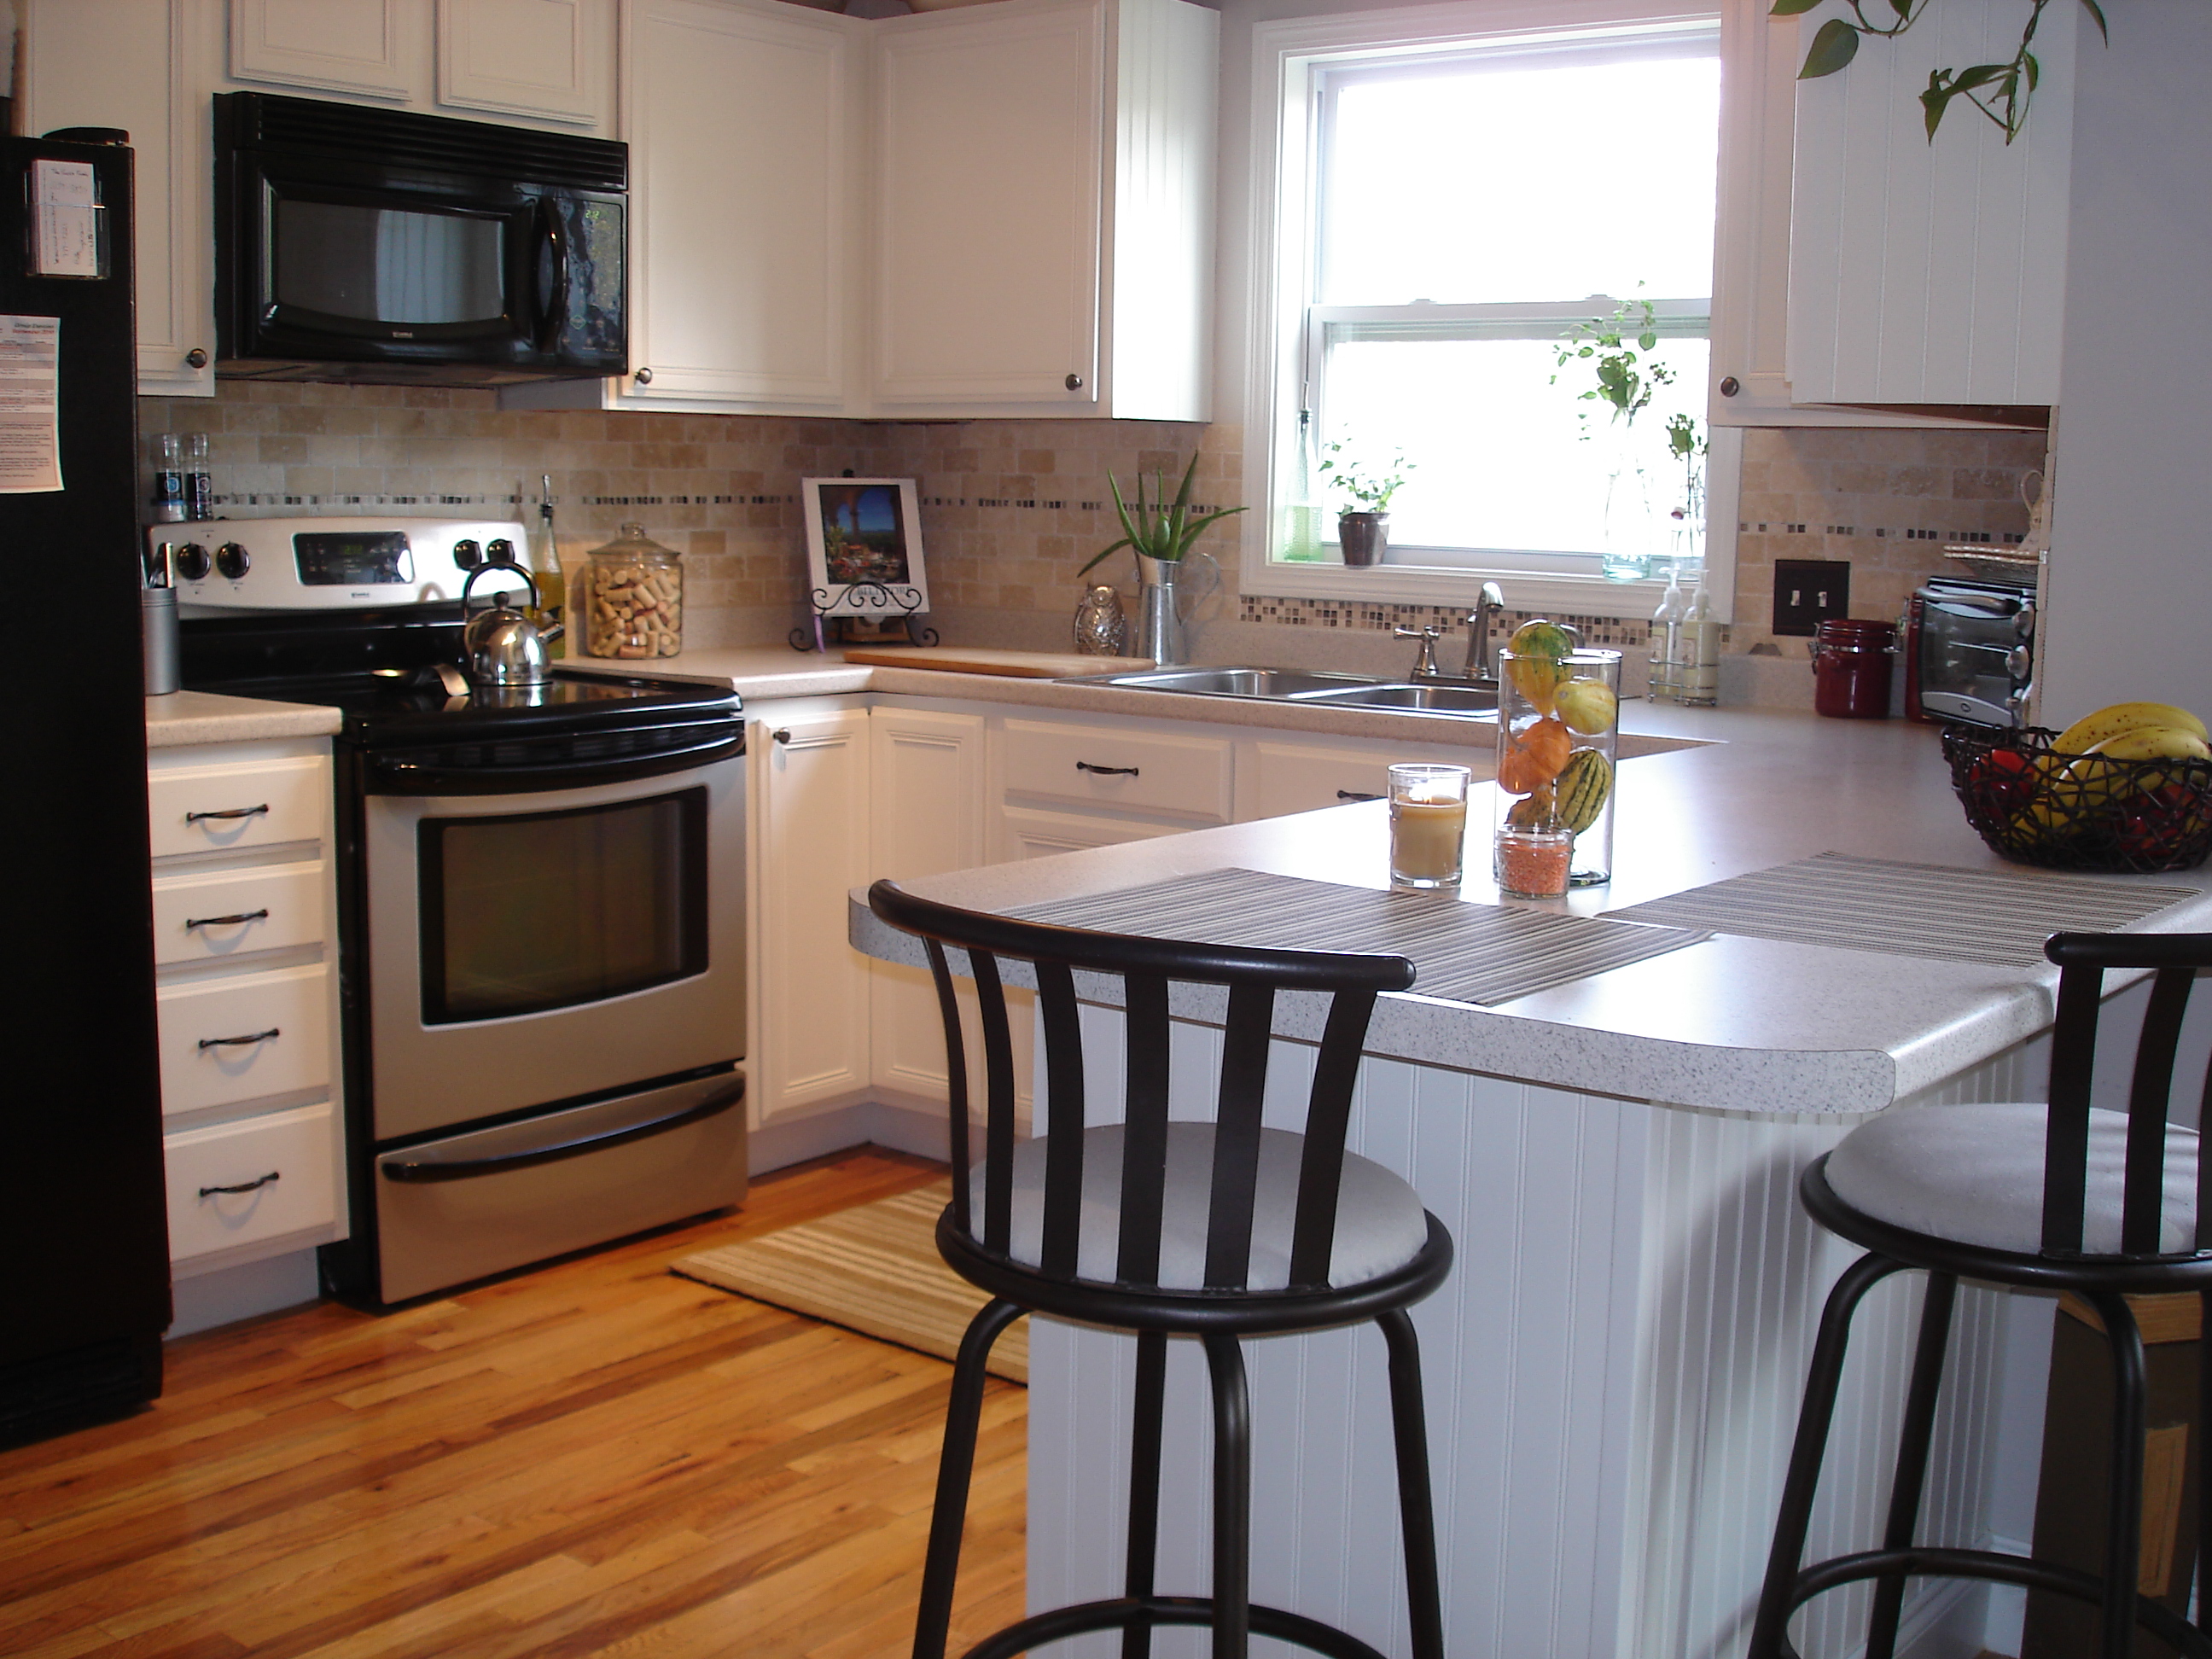
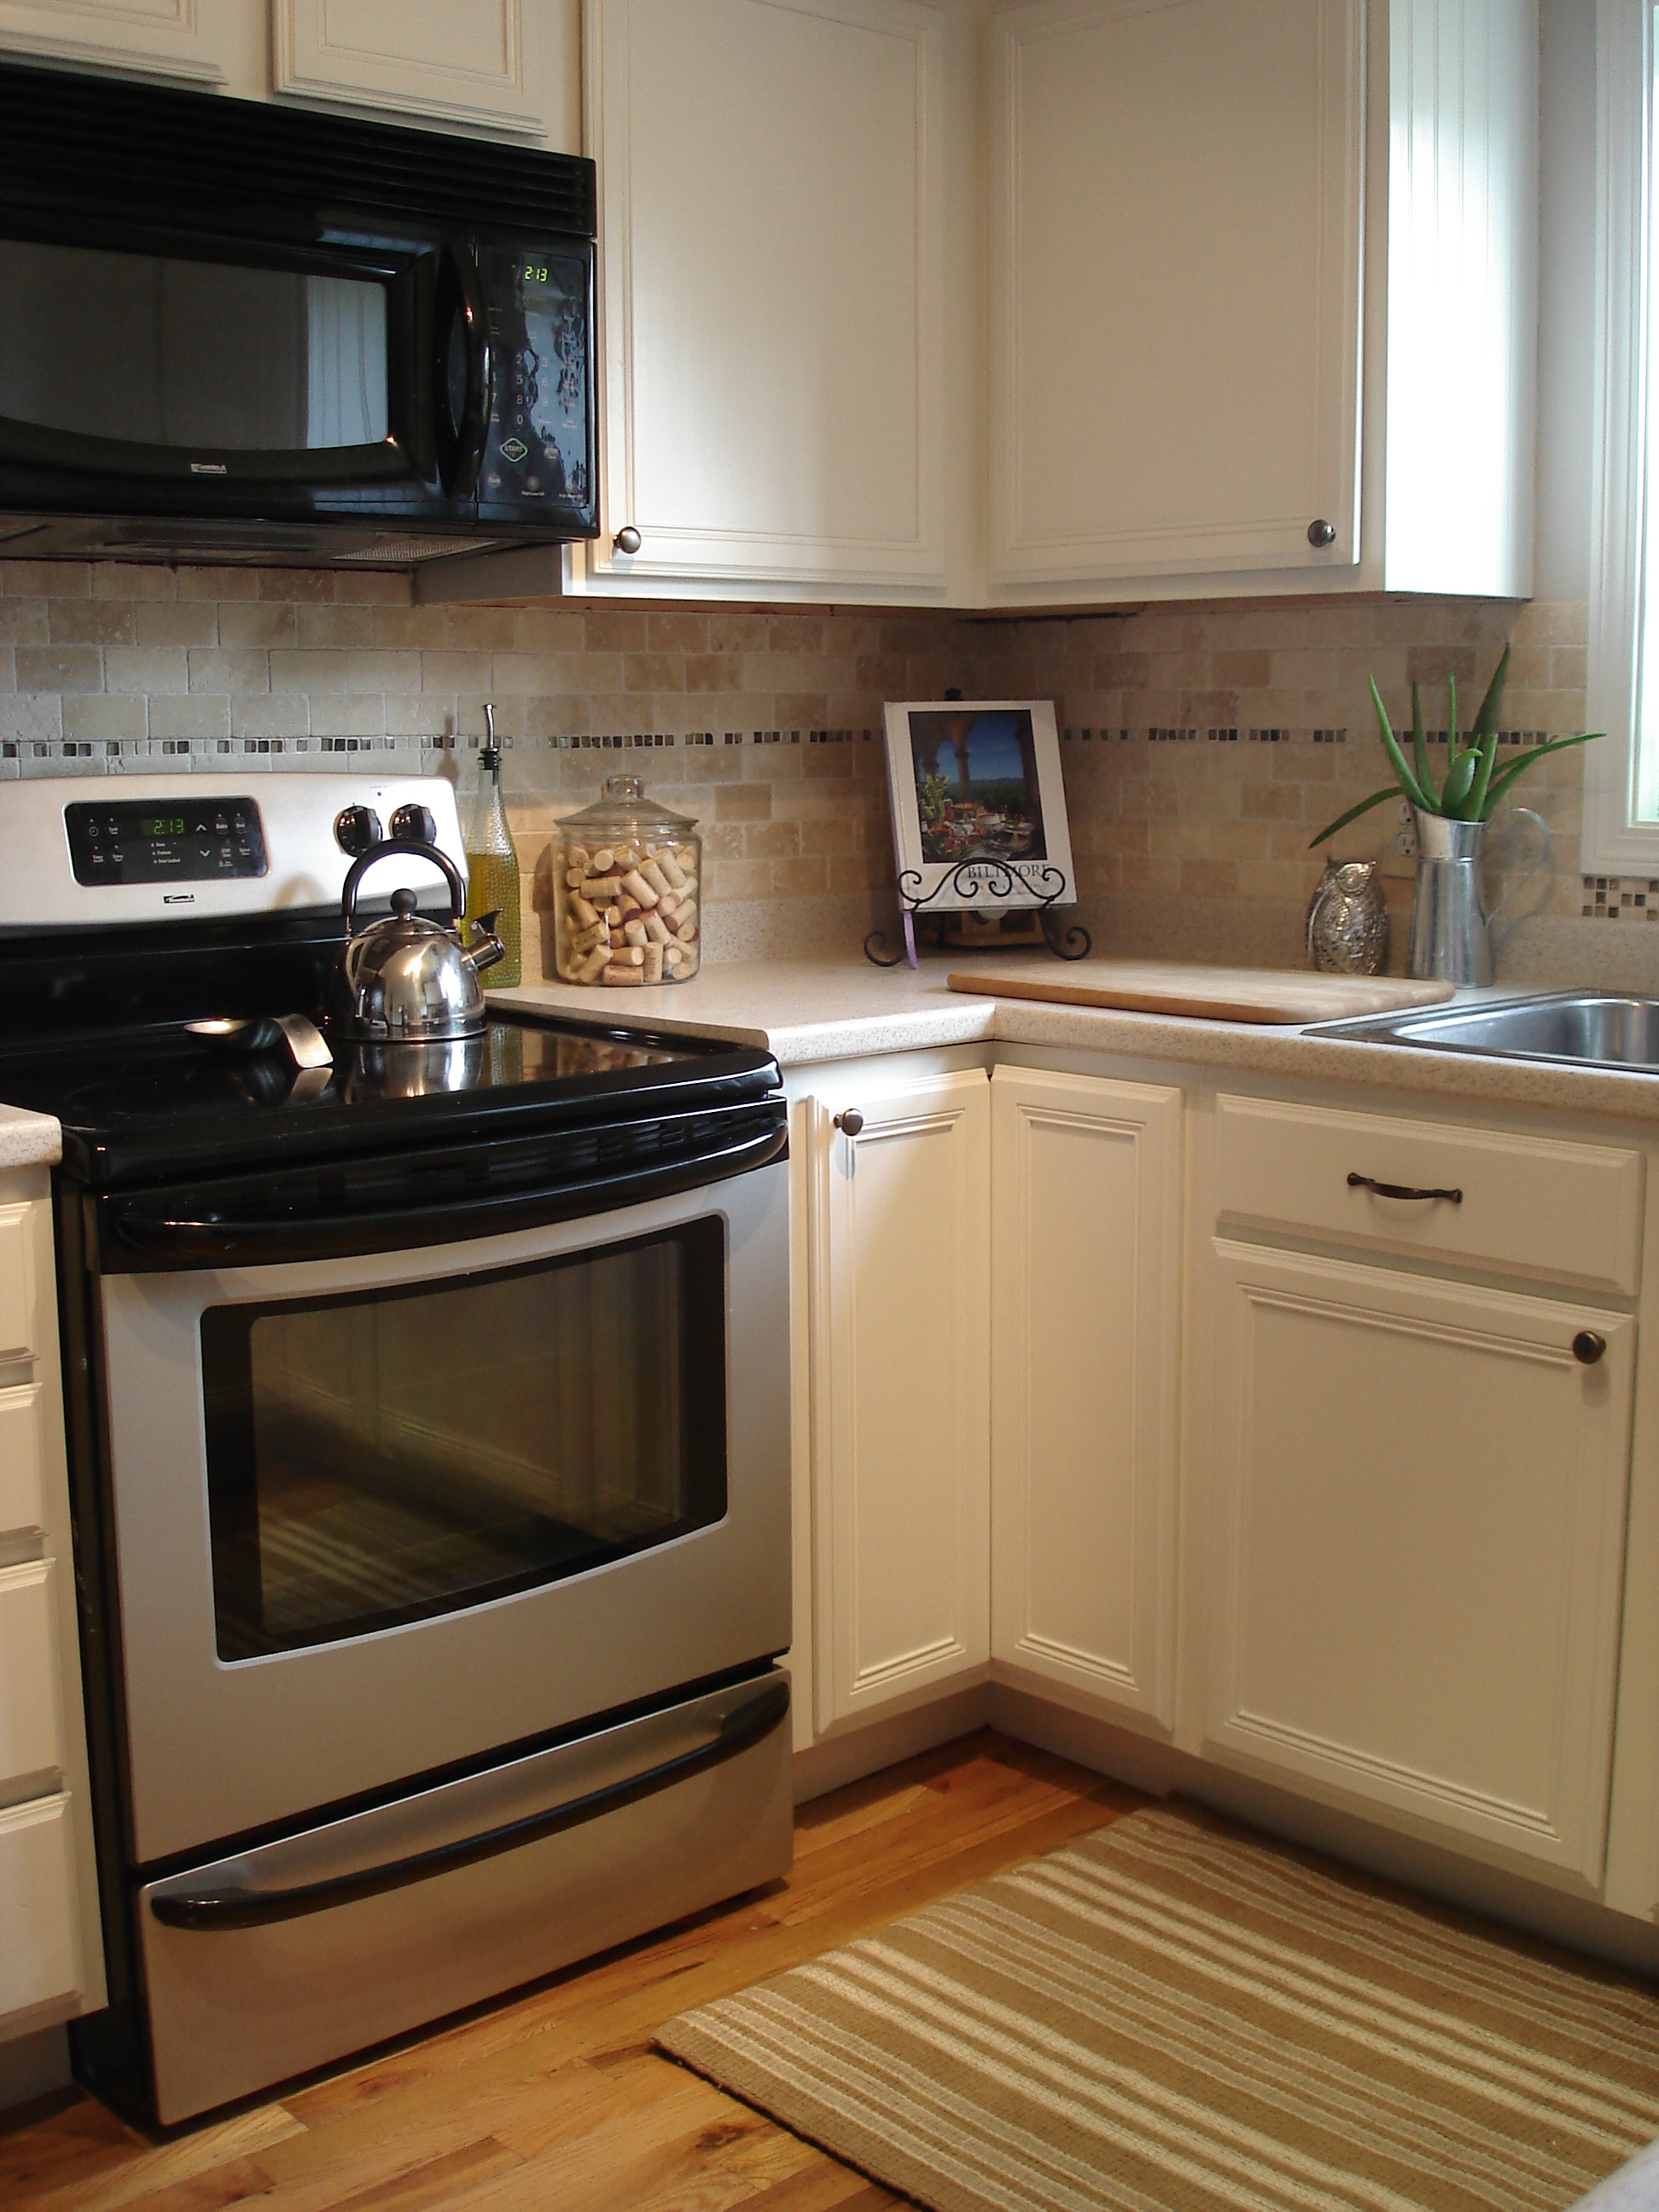

I also added some beadboard paneling in certain areas, which I'll show you how to do in another post this week. So, what's the verdict? You likey? Anyone else thinking about attempting this?
*******Shared On The Following Blogs********







36 comments:
Wow, looks awesome! You did a great job. Thanks for the tutorial.
WOW! The kitchen looks AMAZING! You have mad DIY skills lay---nice work!
Love love love this! I have the exact ugly cheap builder cabinets! So sad that they would even use these ugly things! Now I have found inspiration to paint mine! I would love them In white, would u come over paint mine? Lol I need to post a pic of my kitchen to get some advice on colors. Love yours!!!!
Amy- You totally have skills too, thanks for your help!
Thank you! I hope the tutorial helps others to tackle this (seemingly) overwhelming job!
Jennifer- UGH I know! They are totally devoid of any character, right?! My next step is to add crown to the top and some trim around the bottom as well (on the uppers). You could totally paint yours, I'd be happy to swing by, assuming you live within 20 minutes of me :)
Wow those look great!!! I would love to paint my cabinets but I'm not sure if I have the time or the patience.
VERY nice, they look wonderful. You are SO right about the prep work. I am in the middle of the same exact project! Today is the day I prime the back of the cabinet doors. The hardware was old brassy grossness with 50 years (literally) of gunk on them. After a good soaking and scrubbing I lightly primed then used Rustoleum's Hammered Black. They look awesome! Can't wait for it to all come together :)
I have a backsplash I have to paint too, going to look and see if you have a post you did on that. :)
Wow tackling the hardware is an extra bonus, good for you! I bet it will look awesome! Thanks for stopping by!
Hi!
Your kitchen looks marvelous, just beautiful! You did an amazing job on it, good for you and if you like it then it is perfect!
Hugs, Cindy
Thank you Cindy!
Your cabinets turned out great! I love the color you chose. I've been wanting to repaint my kitchen cabinets as wall and your tutorial makes me think I can do it myself! thanks for the inspiration. You did a beautiful job!!!!!
Great tutorial-love the fresh look!
You're cabinets look so nice! I just finished painting mine to. It's a lot of work!
Absolutely amazing makeover Rachel!!! Love This!
Rachael - I am SO jealous of your beautiful cabinets! I would give anything to paint my cabinets....but still working on talking hubby into it. You know guys and their wood......ugh! The transformation is just amazing and really brought your kitchen up to date and very inviting! Great work! Happy WW!
xoxo laurie
Your kitchen transformation is perfect. You did a marvelous job and made it all seem so effortless. I know you must be thrilled with the outcome. Thank you for sharing this transformation on the Boardwalk Bragfest, and I hope to see you again next Tuesday!
Thank you so much Jan! I am so happy with the results and happy to share the how-to!
Thank you for stopping by Cindy! If you have solid wood, it's easier AND you can go back :) Not that I'm pressuring you or anything hehe. Great blog!
Thank you June! I'll pop over to your blog here in a minute!
Laurie-If you have real wood, I say go for it :) My husband pretty much lets me have free reign upstairs (he has a man cave...), but if you think you'll encounter resistance, show him some of your inspiration photos. The nice thing about real wood is that it can always be returned to its original glory :) Thanks for stopping by!
Nice job! Oh yes. I have done this before and it's on the schedule to do again.
Lisa, I can't believe you're doing it again!! I can't even stand the thought!
Bravo Rachel! I saw your project at the PoPP, and I had to tell you how spectacular your cabinets look. You're right about being patient - this is a time consuming project that requires lots of preparation before the paint can is ever opened. But WOW! What great results you achieved!......you must be thrilled. Now I'm going to enjoy the rest of your site...
Great job! My sister wants to re-do her cabinets, so I forwarded this to her for a tutorial! Thanks so much! I'd love for you to link up to my link party going on now! alittleknickknack.blogspot.com
GORGEOUS! I LOVE a cream'ified kitchen!!! You guys did an amazing job. I'm putting your kitchen in the SPOTLIGHT at the PoPP this weekend.
Wow thank you so much Maryann!! I really appreciate the spotlight!!!!!!
Absolutely gorgeous! I was just telling my husband that we really need to repaint the kitchen cabinets. Since we had it done for us last time, I had no idea where to start. Thanks to this, now I do! Thanks so much!
What a beautiful job! Thank you so much for detailing your steps. We are about to paint our cabinets with the same color - White Dove. We've already painted all the natural trim in our house this color, along with several built-ins. The kitchen is the last big project. I haven't tried this Ben Moore product and can't wait to give it a go. I absolutely despise oil-based paint but with kitchen cabinetry it's important to be durable. I'm excited to start this project now that I've seen your transformation! Great job - thank you for sharing it!
Thank you for your post! It looks amazing! Our kitchen has a very similar layout, except I have a small island rather than the bar. My cabinets are off the contractor's truck I believe, but in Walnut. Along with the fake brick I have on my large wall, its very 70's-ish. Your project is quite inspiring! Maybe next spring I will tackle this beast! I'm bookmarking you so I can come back to this info! Thanks again!
Looks gorgeous! :)
Thank you for stopping by Missy, good luck with your 70s makeover :)!!
How neat Lisa, we'll be cabinet twins! Can't wait to see your kitchen. I think you'll love the Advance. The guys at BM may suggest the Aura, but it dries very quickly so I heard even pros have a hard time not overbrushing it. The Advance gives you a bit more time before setting.Good luck!
Good for you for trying to tackle this yourself Jen! It's definitely worth the money savings to do it yourself. It probably cost me about $200 between paint, primer, brushes, and other supplies-but it would have been A LOT more for a pro to do it.
It looks fabulous. I once did this to the hardest of cabinets. They were some kind of formica or something and it took a lot of de-glosser and then primer and paint. But they went from ugly make- believe wood to gorgeous white and it opened up the whole area. Your kitchen looks awesome. The white makes the backsplash stand out more!
[...] 15, 2010 by Rachael You may have read about my recent kitchen painting project, during which I discovered the most perfect shade of white: Benjamin Moore’s White Dove. [...]
Post a Comment