My materials for a roughly 4x6 rug:
- 2 rolls of 20'' x 72" squishy taupe contact liner ($3.97/ea)
- Hot glue gun and glue sticks (already owned)
- A boatload of corks, cut in half (free, but labor intensive)
- Sheet/drop cloth

First you'll need to cut your corks in half (2 long halves). Do not take this task lightly as I almost amputated the tip of my best middle finger doing this. The corks dull the knife quickly. Hopefully your rug won't be as large as mine, but if it is...well just stay tuned until I discover a better way. If you have a really nice knife and are very careful-you can definitely go this route. I am a little clumsy, so I am halting here until I come up with a new plan.
Once all your corks are cut in half, you can begin laying out your pattern. I love a nice standard brick, heck you could even try something more advanced like herringbone or zig zag!
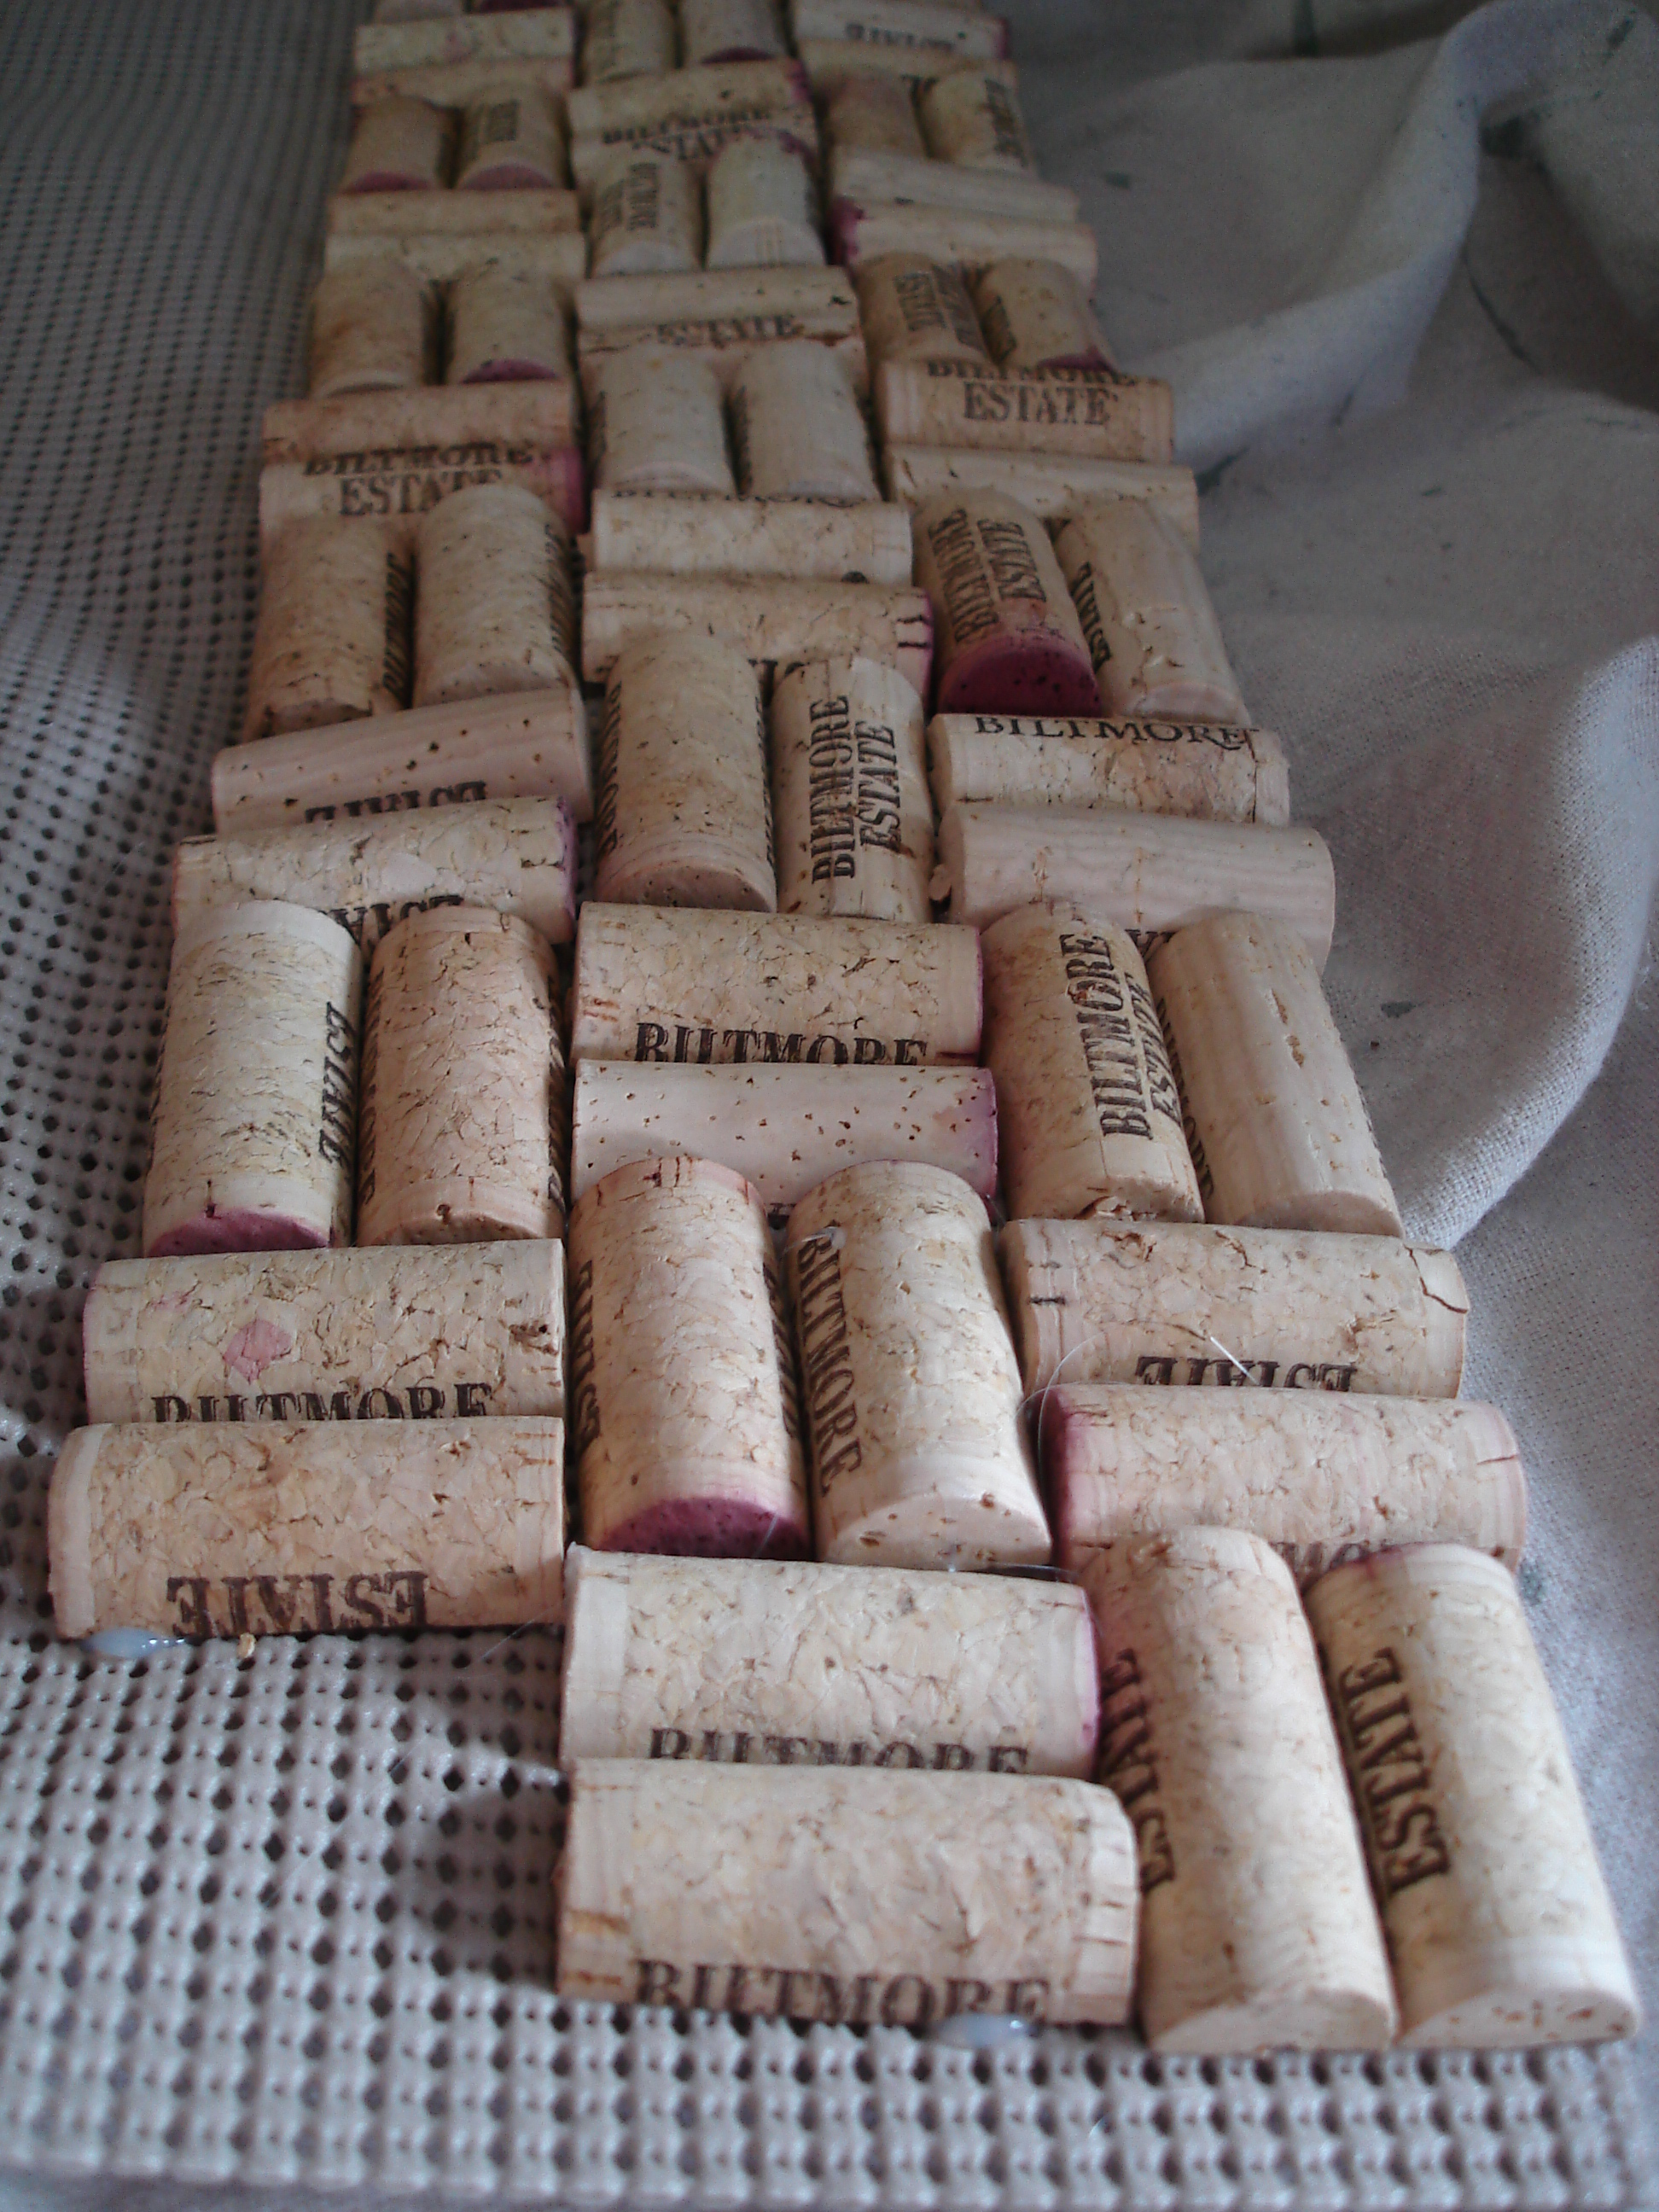
Ultimately I decided that a 2x2 alternating pattern would look neat and require less measuring/cutting.
I began applying hot glue to each cork half and laying them in my pattern. You'll want to be sure you lay down an old sheet or drop cloth because some of the glue will seep through the holes (this is the reason I didn't glue them to one of those mats that hold rugs in place-wayyyy too holey). It's pretty easy to peel your rug-in-progess off the sheet after you lay down some corks.

My 32 corks yielded me this:

I guess I have a lot more work to do...but eventually it will be such an awesome conversation piece. Bonus points for the posh use of Biltmore Estate corks (from my brother's job in the wine tasting room). I could run tours through my house and giggle as the out-of-towners squeal with delight when they recognize our city's most famed attraction. Ok maybe I'm getting a bit ahead of myself now, but I can't help it! It will look super cool when it's done, and the cost will likely be under $15 (by the time I use up all my glue sticks and need more...). Plus, it's totally eco and feels like a spa treatment under foot.
Sweet!

0 comments:
Post a Comment