YOU!
Yes, you. Because I know that not everyone can sew. Not everyone owns a sewing machine, even if they've sewn in the past. And some of you are probably just as lazy as I am, and don't want to go through the trouble of getting the machine set up and yada yada yada...the iron and Stitch Witchery just call to me, begging for a new project. And I obliged.
Here's the deal, I love multifunctional things. Even when it comes to pillows. The fact is that our house is overrun with them (well, according my my pillow hating husband). So when I needed the perfect accent pillow for the bed in the guest room, I looked no further than my own stash.
I have 2 pale blue 12'' square pillows that hang out in our room, either on the bed or in the chair. So I came up with this idea to make a sham that would hold both of them stuffed together to create a whole new look!
It was really easy to do, most of this should be fairly intuitive. Here's what you'll need:
Materials:
A pillow or two that you want to cover
Stitch Witchery Iron On Tape
Iron on Velcro (found at craft or fabric store)
Iron
Fabric, enough to cover pillow(s)
Pencil
Scissors
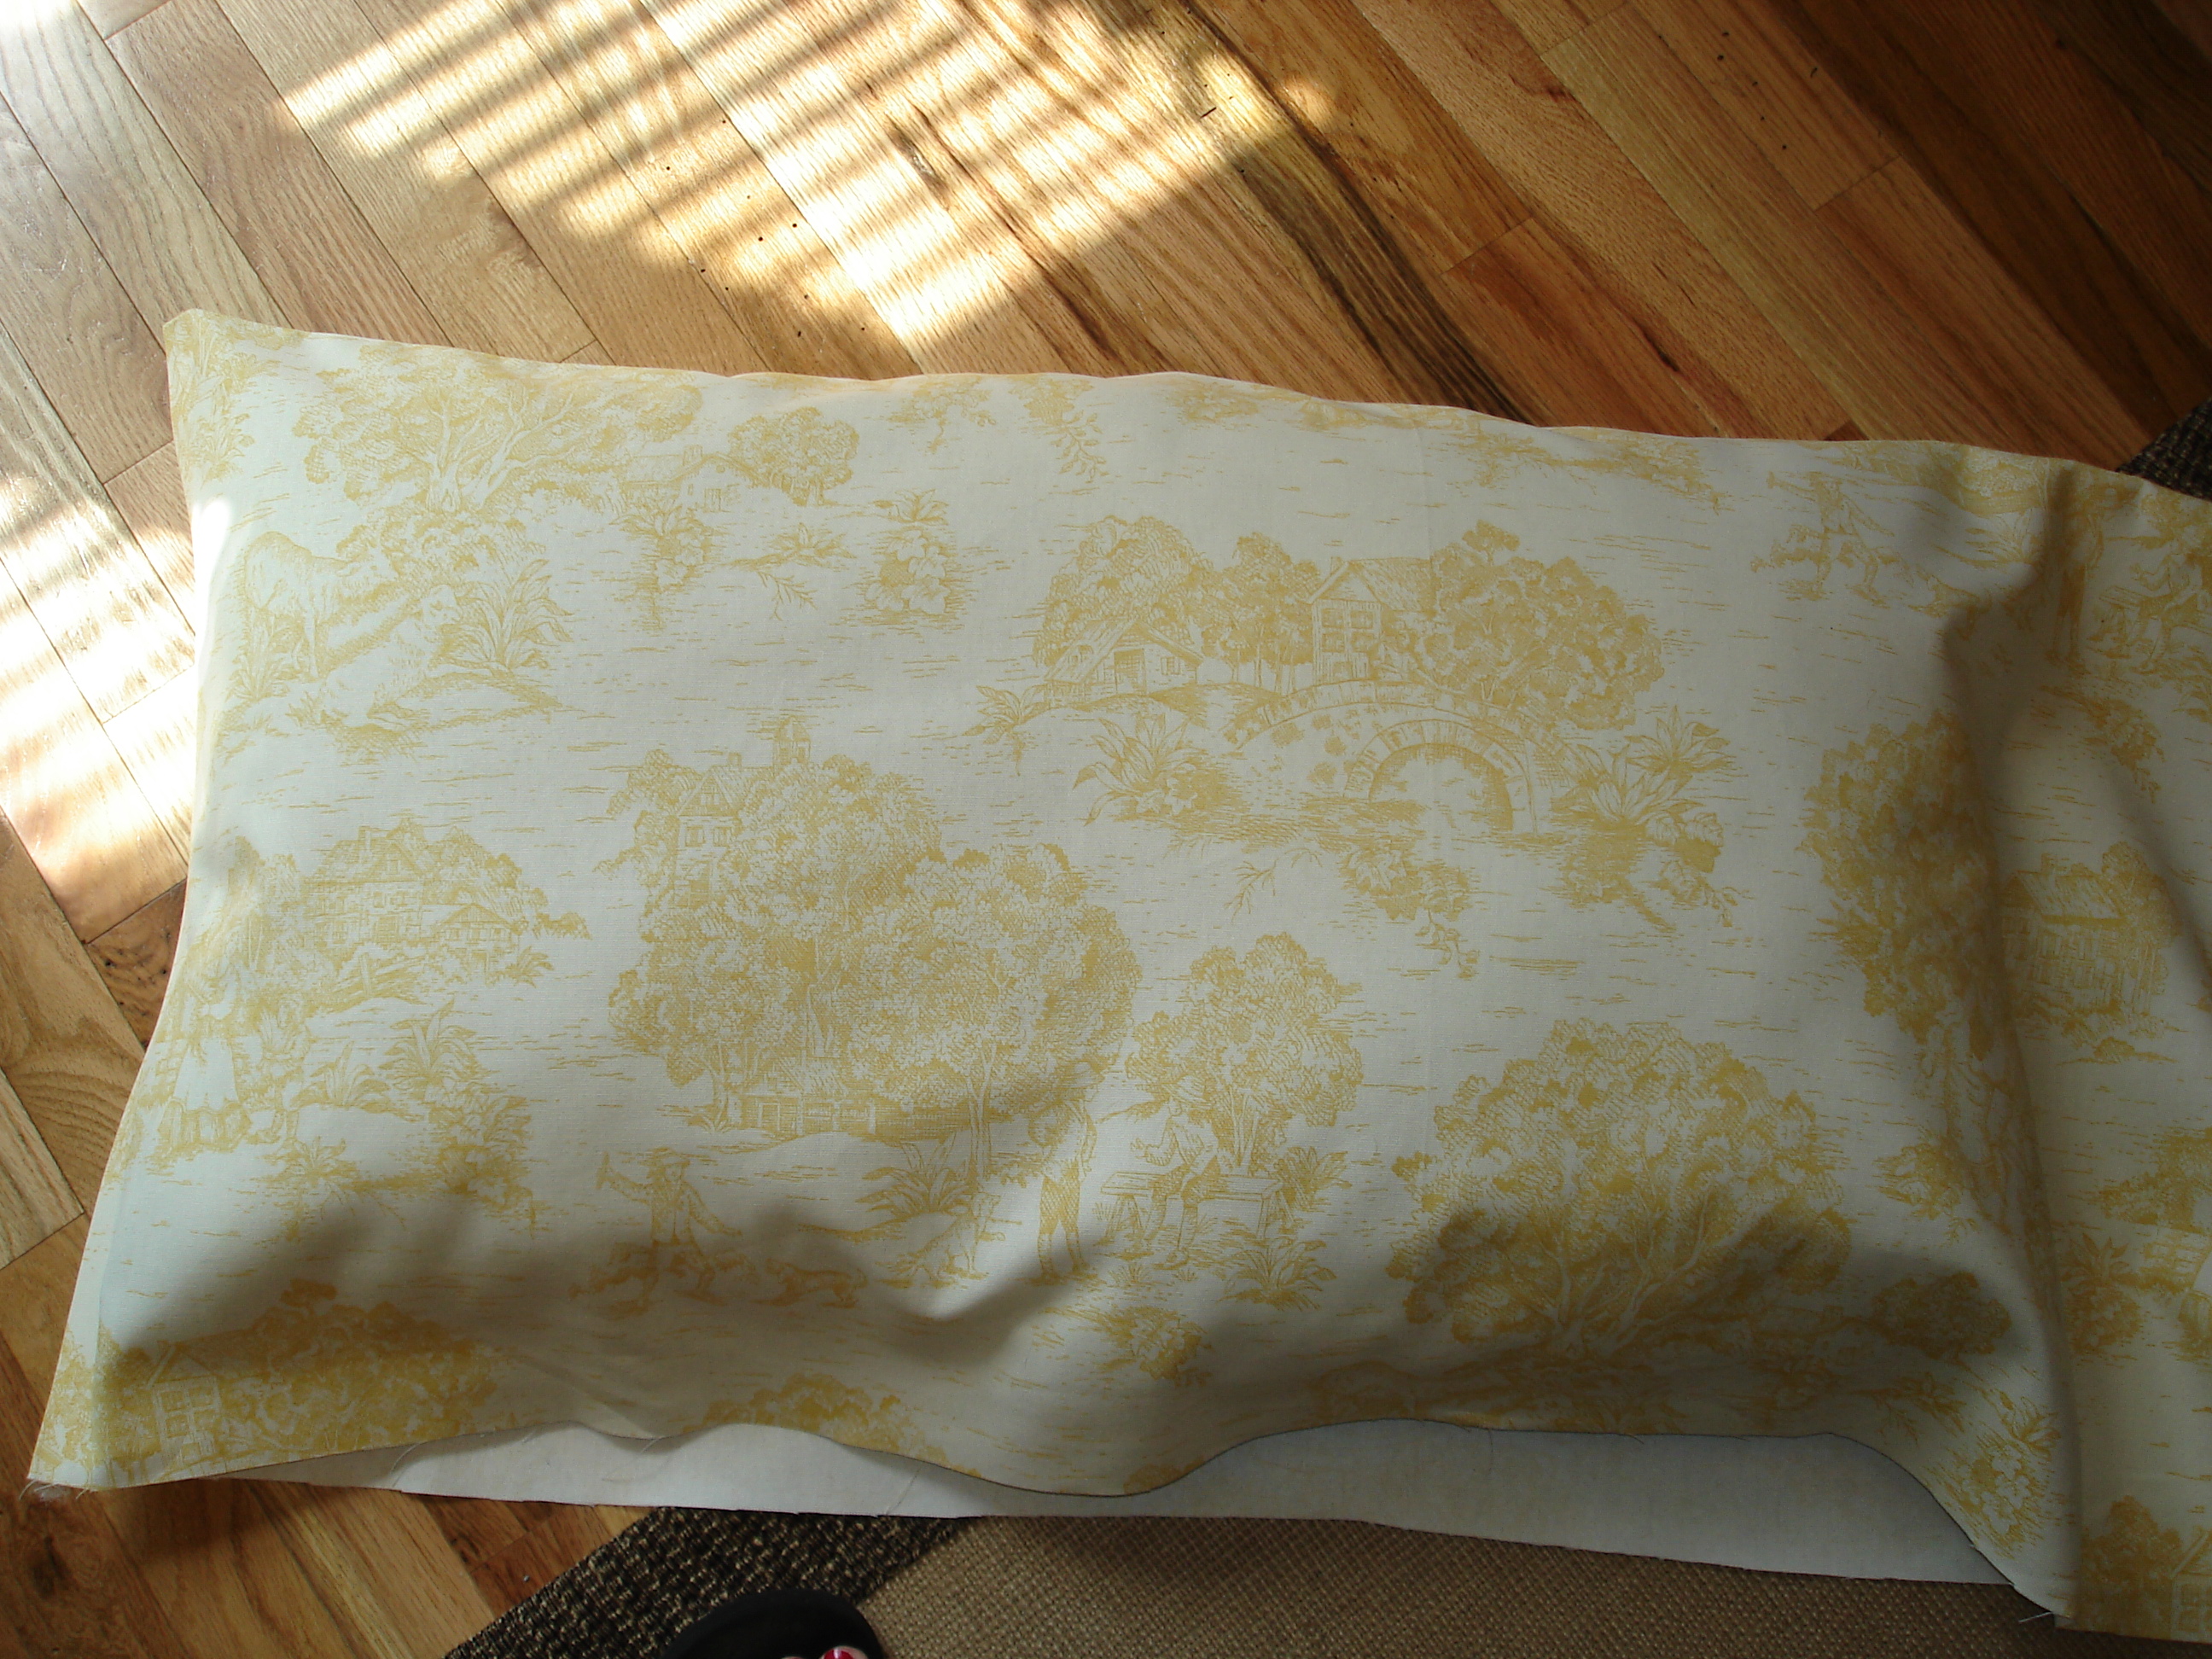
After you wash and dry your fabric, lay your pillow(s) down on the fabric, fold over the top (saving one side to "sew") and trim to fit with about 2" to spare around the edges. Next you'll want to hem one side with your tape. I always start by ironing a crease, then tucking the Stitch Witchery in and ironing again.

Now fold the fabric in half, and "sew" the side together with your tape.

Tuck your pillow(s) in the new pocket to ensure fit and mark the corners with pencil.


The tape I used is 5/8", so I hemmed the fabric on both sides to leave about that much BELOW the mark.

Join the sides together down to the end where you've marked your other corner.
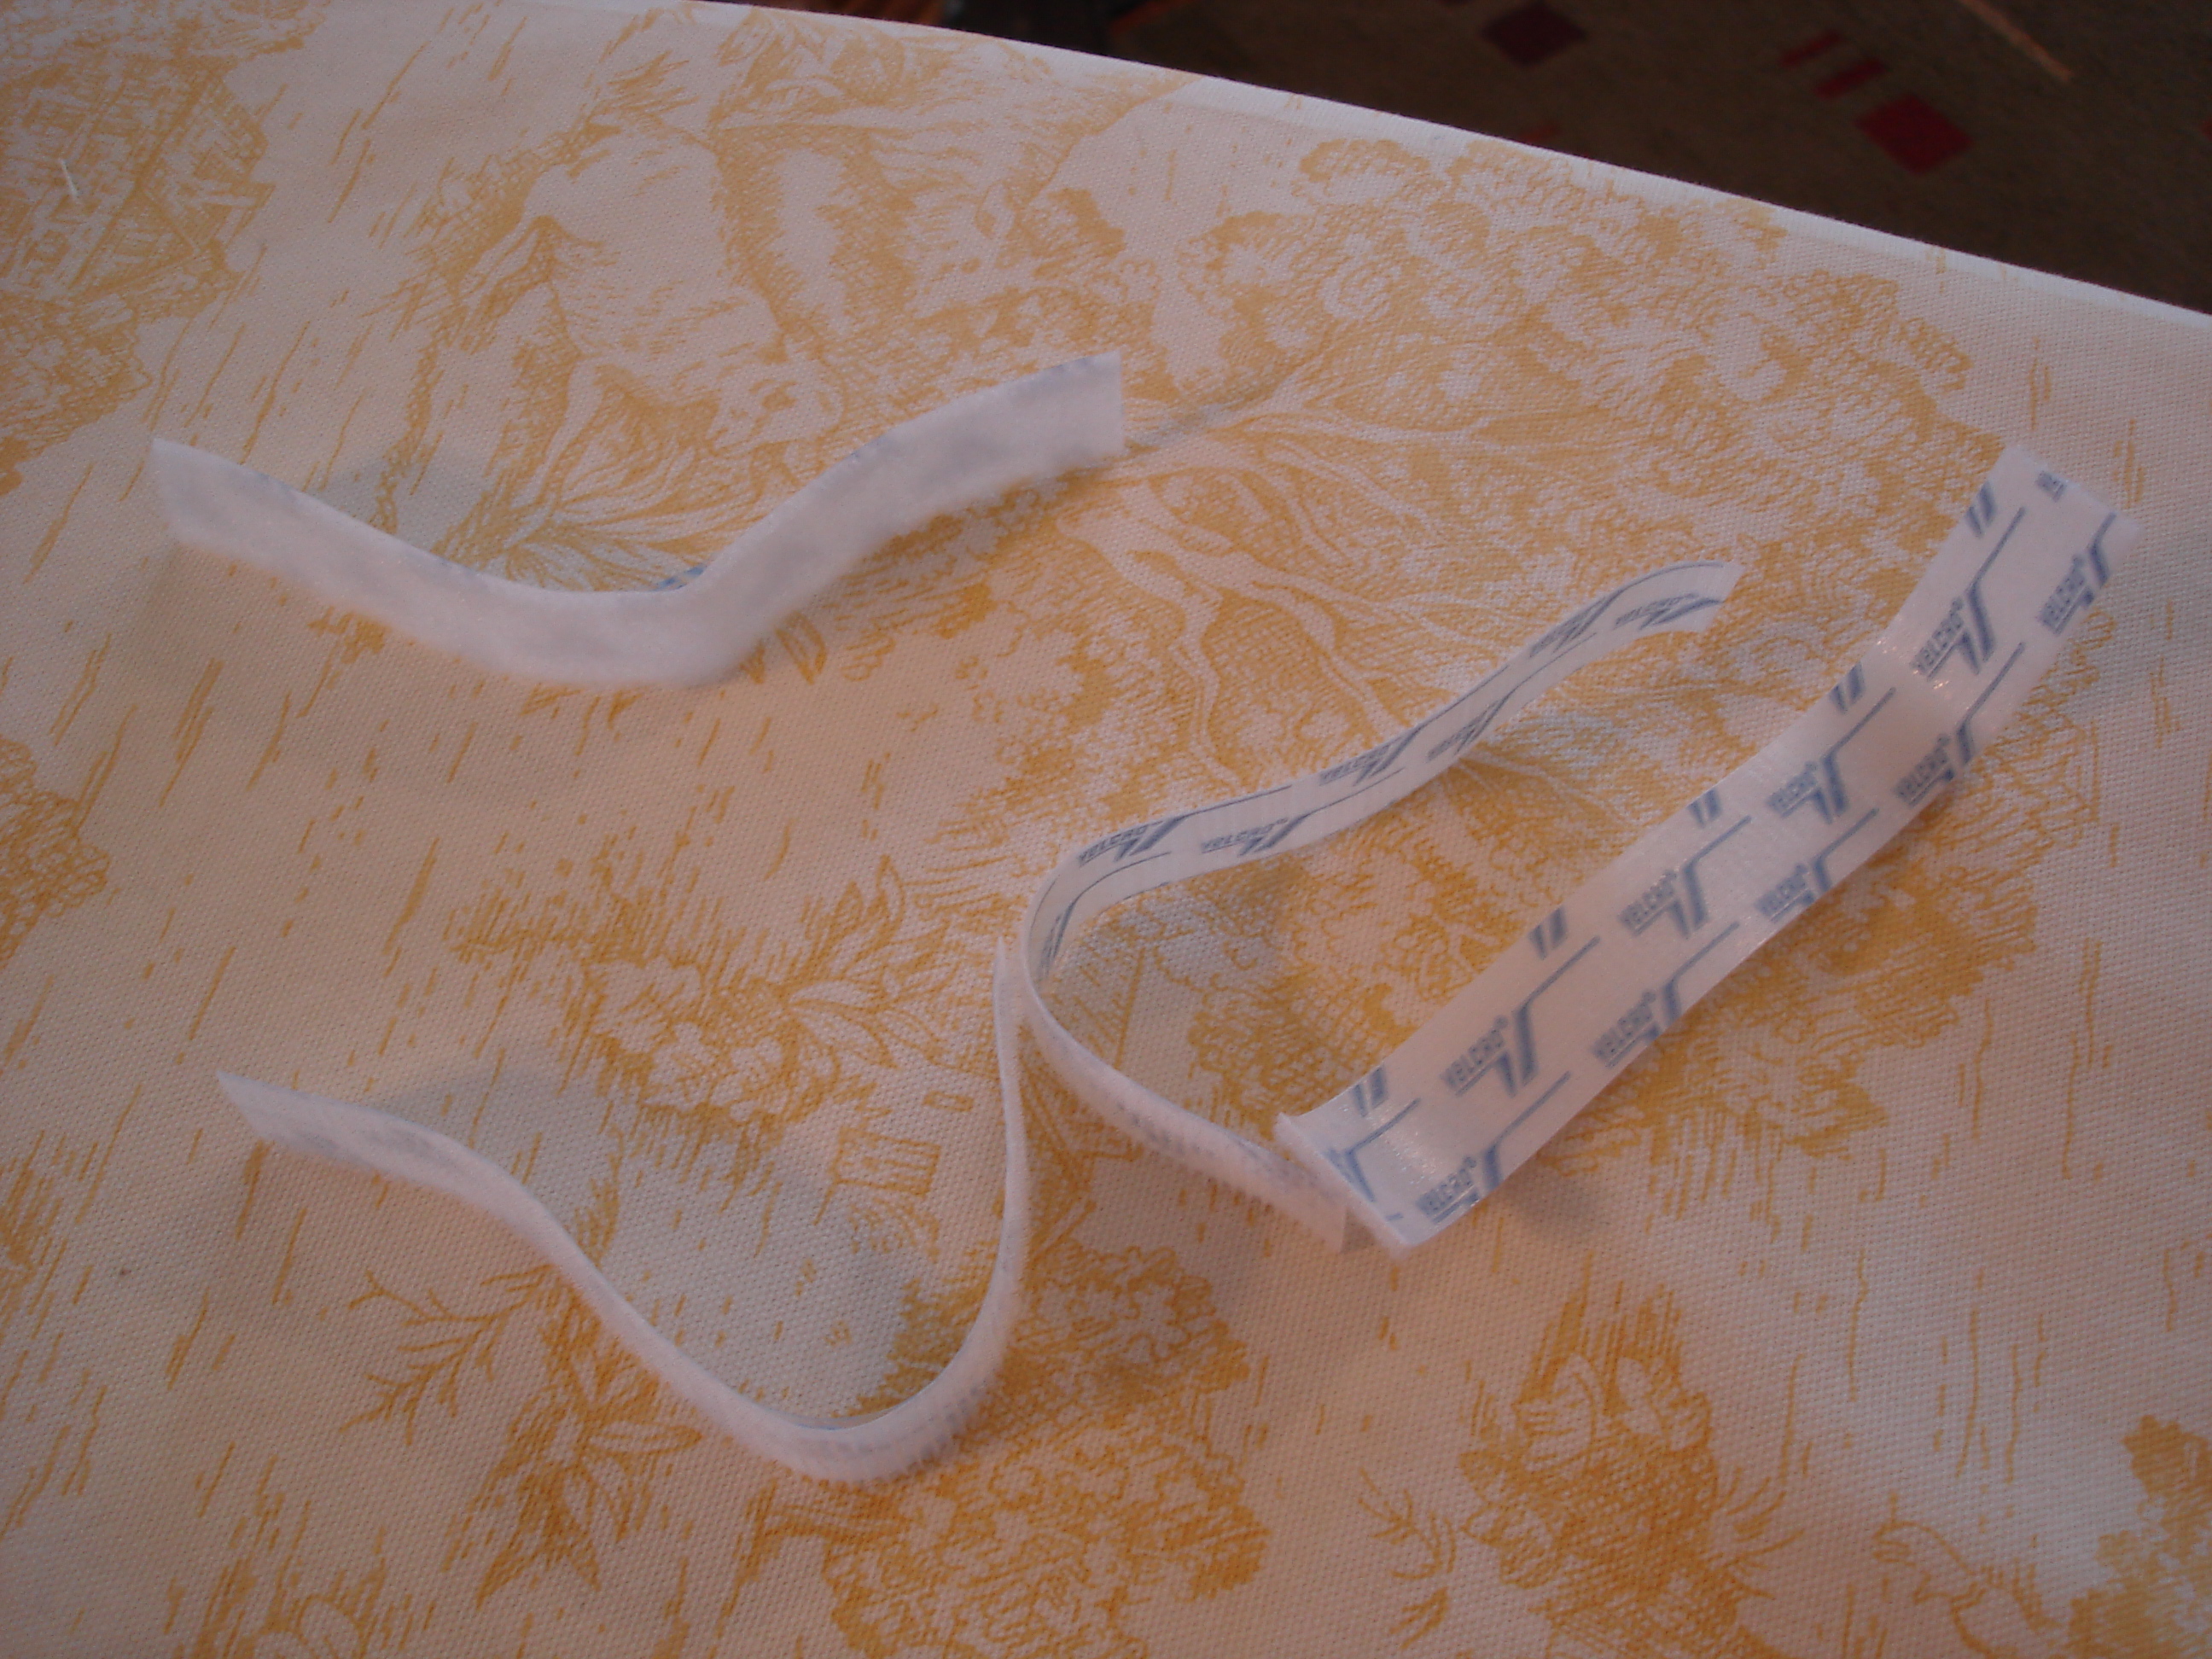
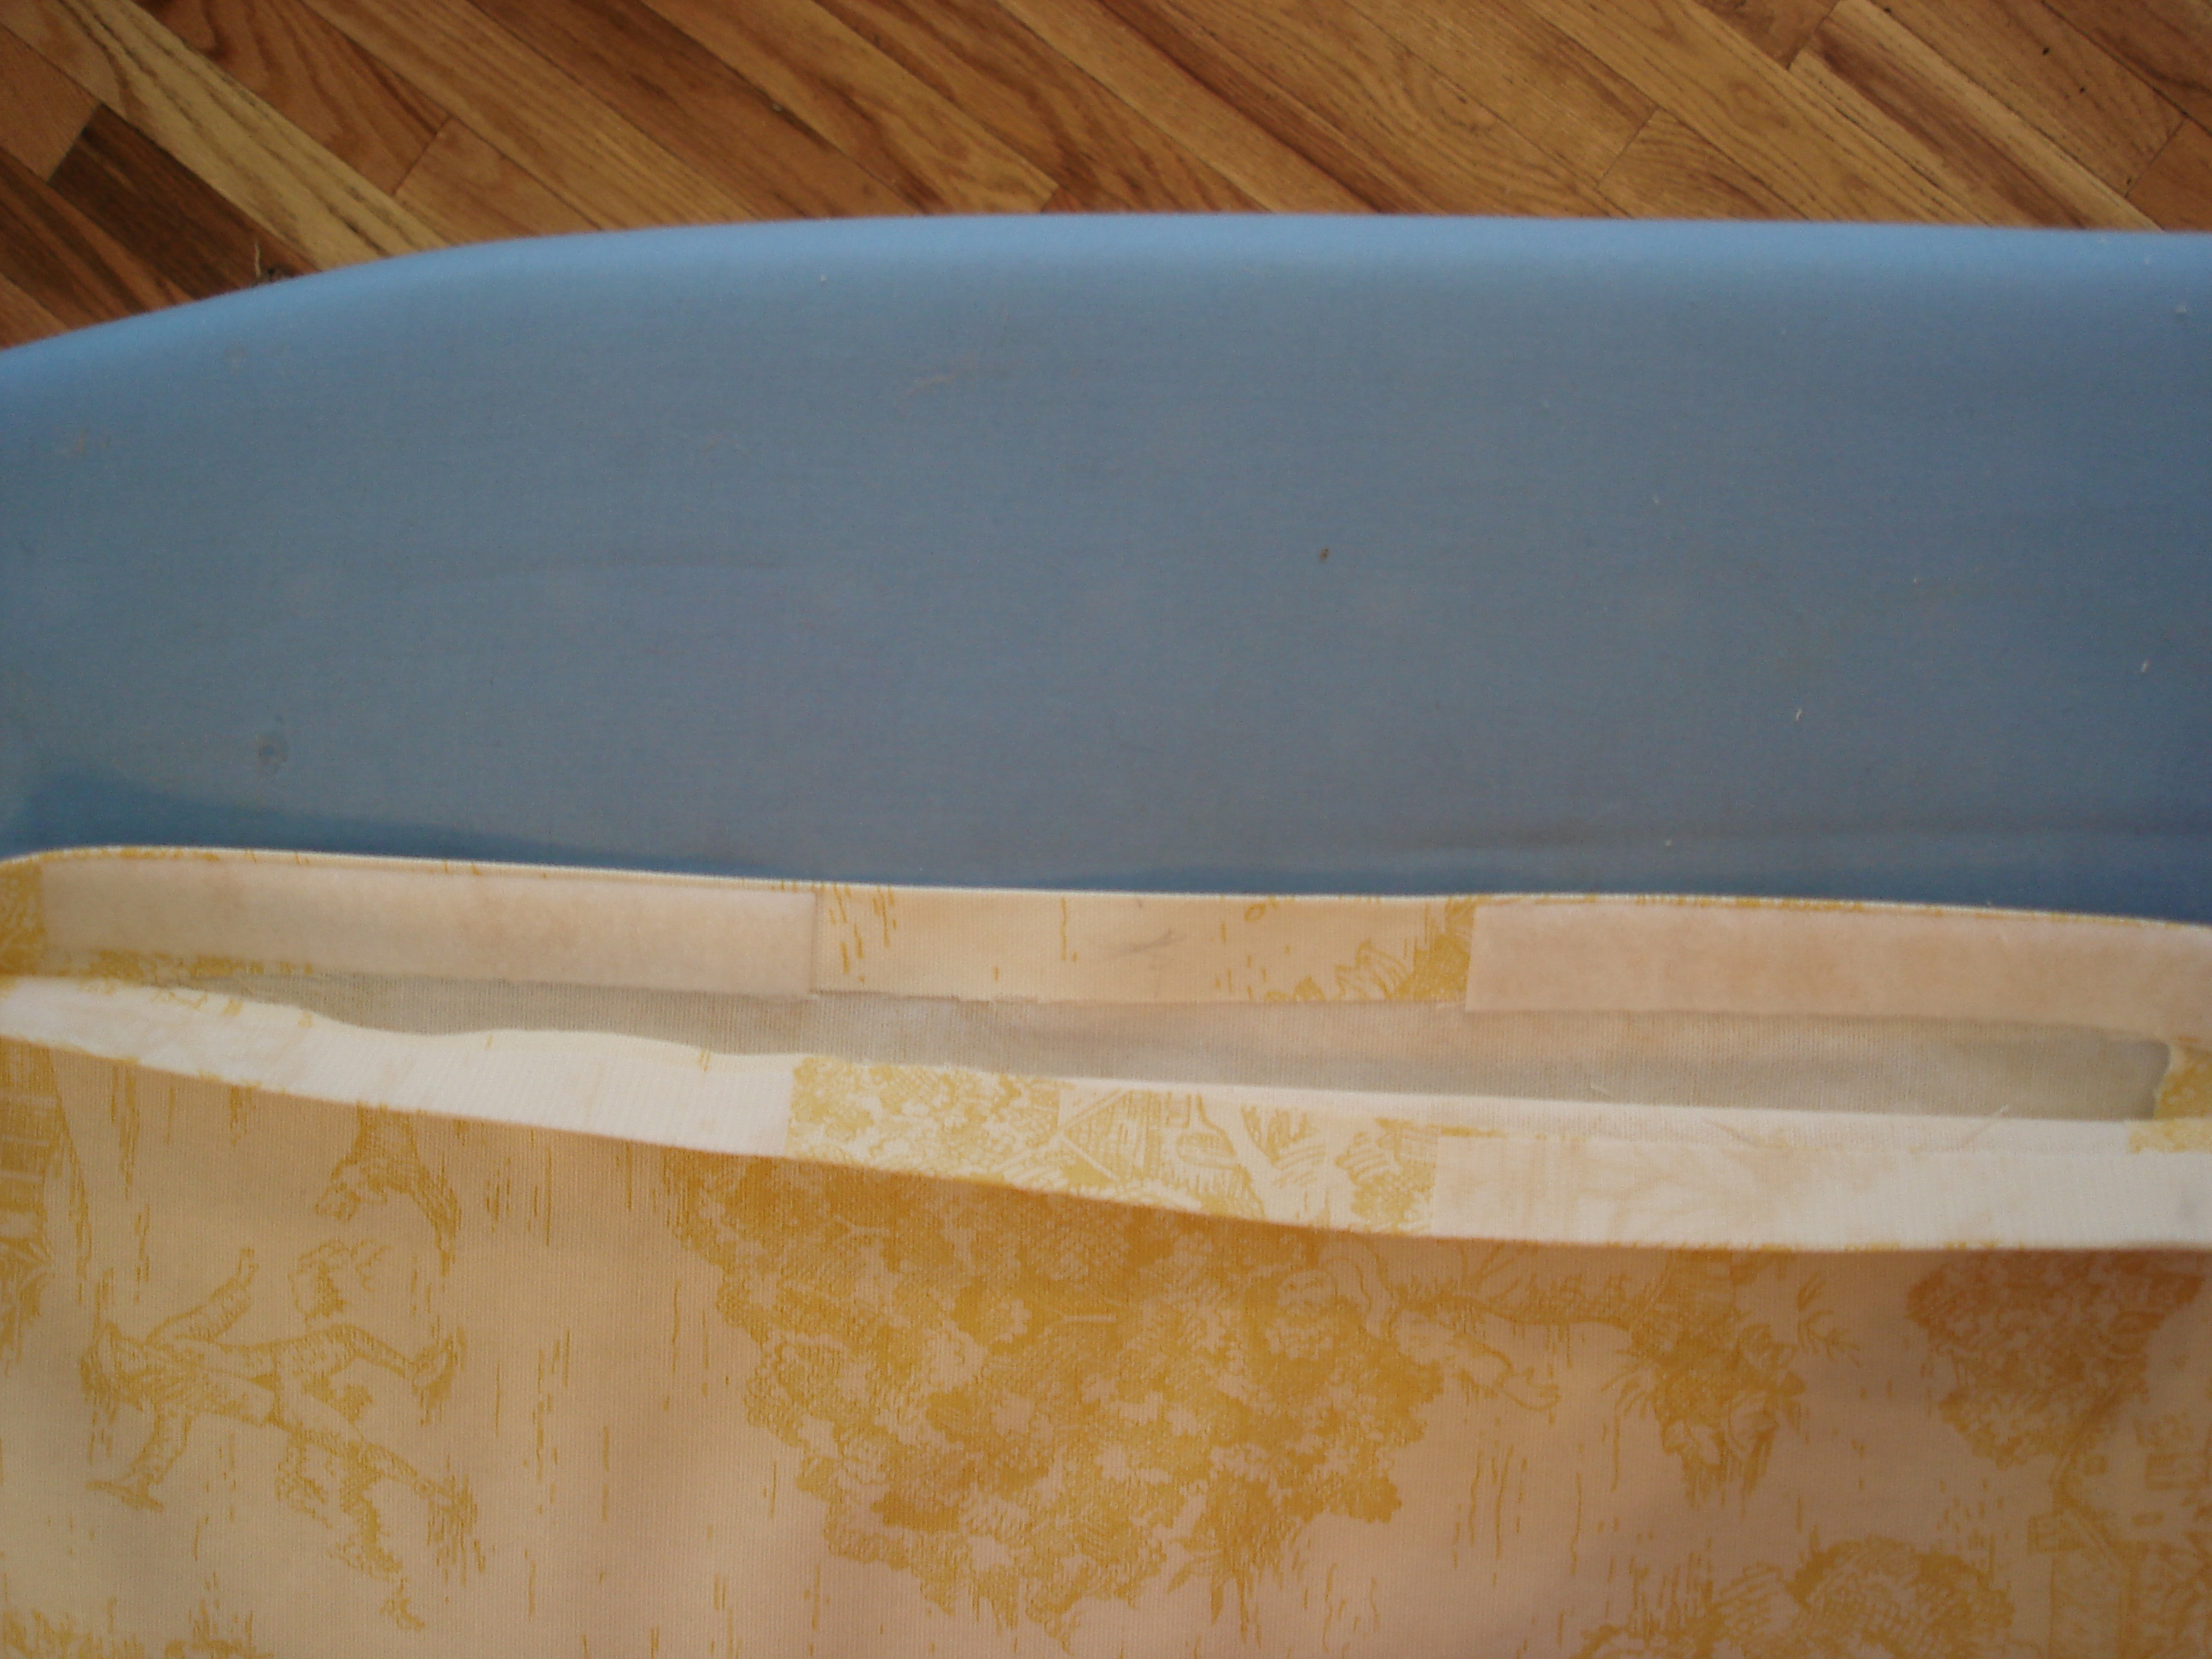
Now, for the last side, you'll be using velcro. This was my first time using the iron on velcro, but it worked great! Cut 2 "sets" of strips to space out over the length, or really you can just arrange the velcro any way you want that works for your pillow.


I ironed one side at a time, you want to iron through the fabric, i.e. not directly on the velcro.
Tuck your pillows in, and admire your no sew handy work!

Now my pillows do double duty, and this yellow beauty is a welcome pop of color!
****Linked Up****


5 comments:
very nice tutorial.. visit back, please.. :)
looks great in my room!
hey, that's my room hahahahaha and it does look nice!
Haha! It will be different next time you visit!
Thank you, will do!
Post a Comment