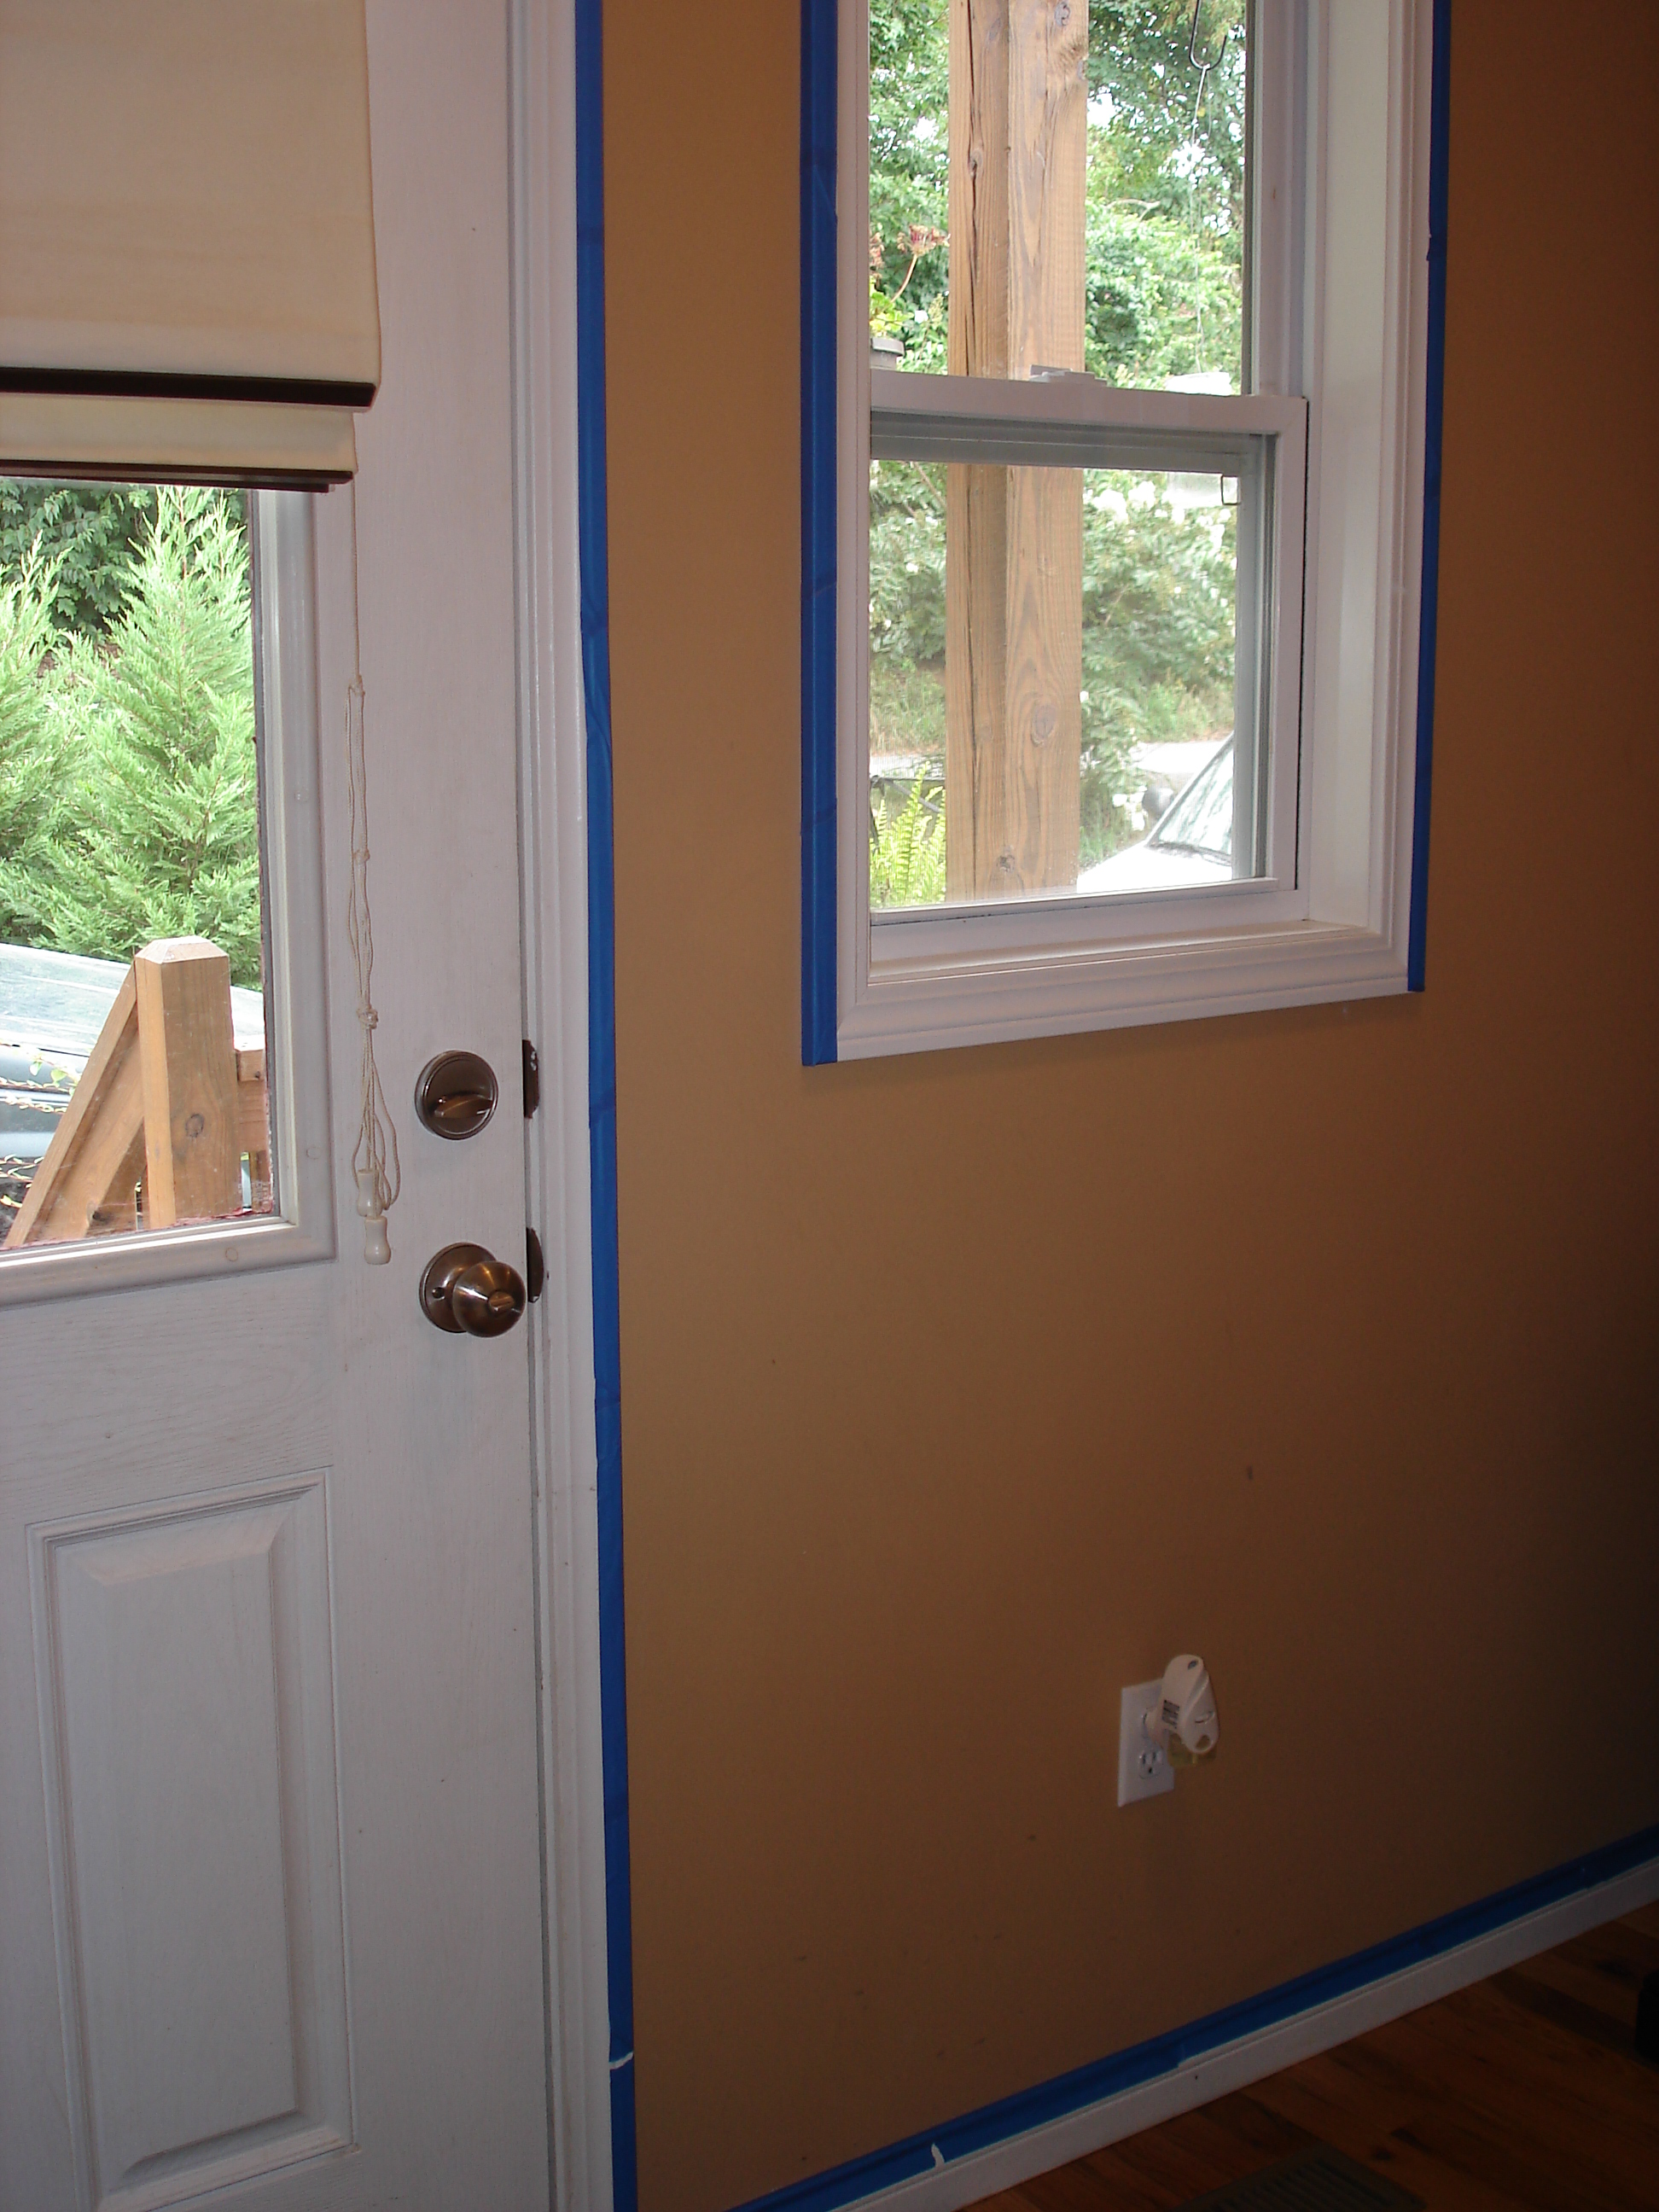
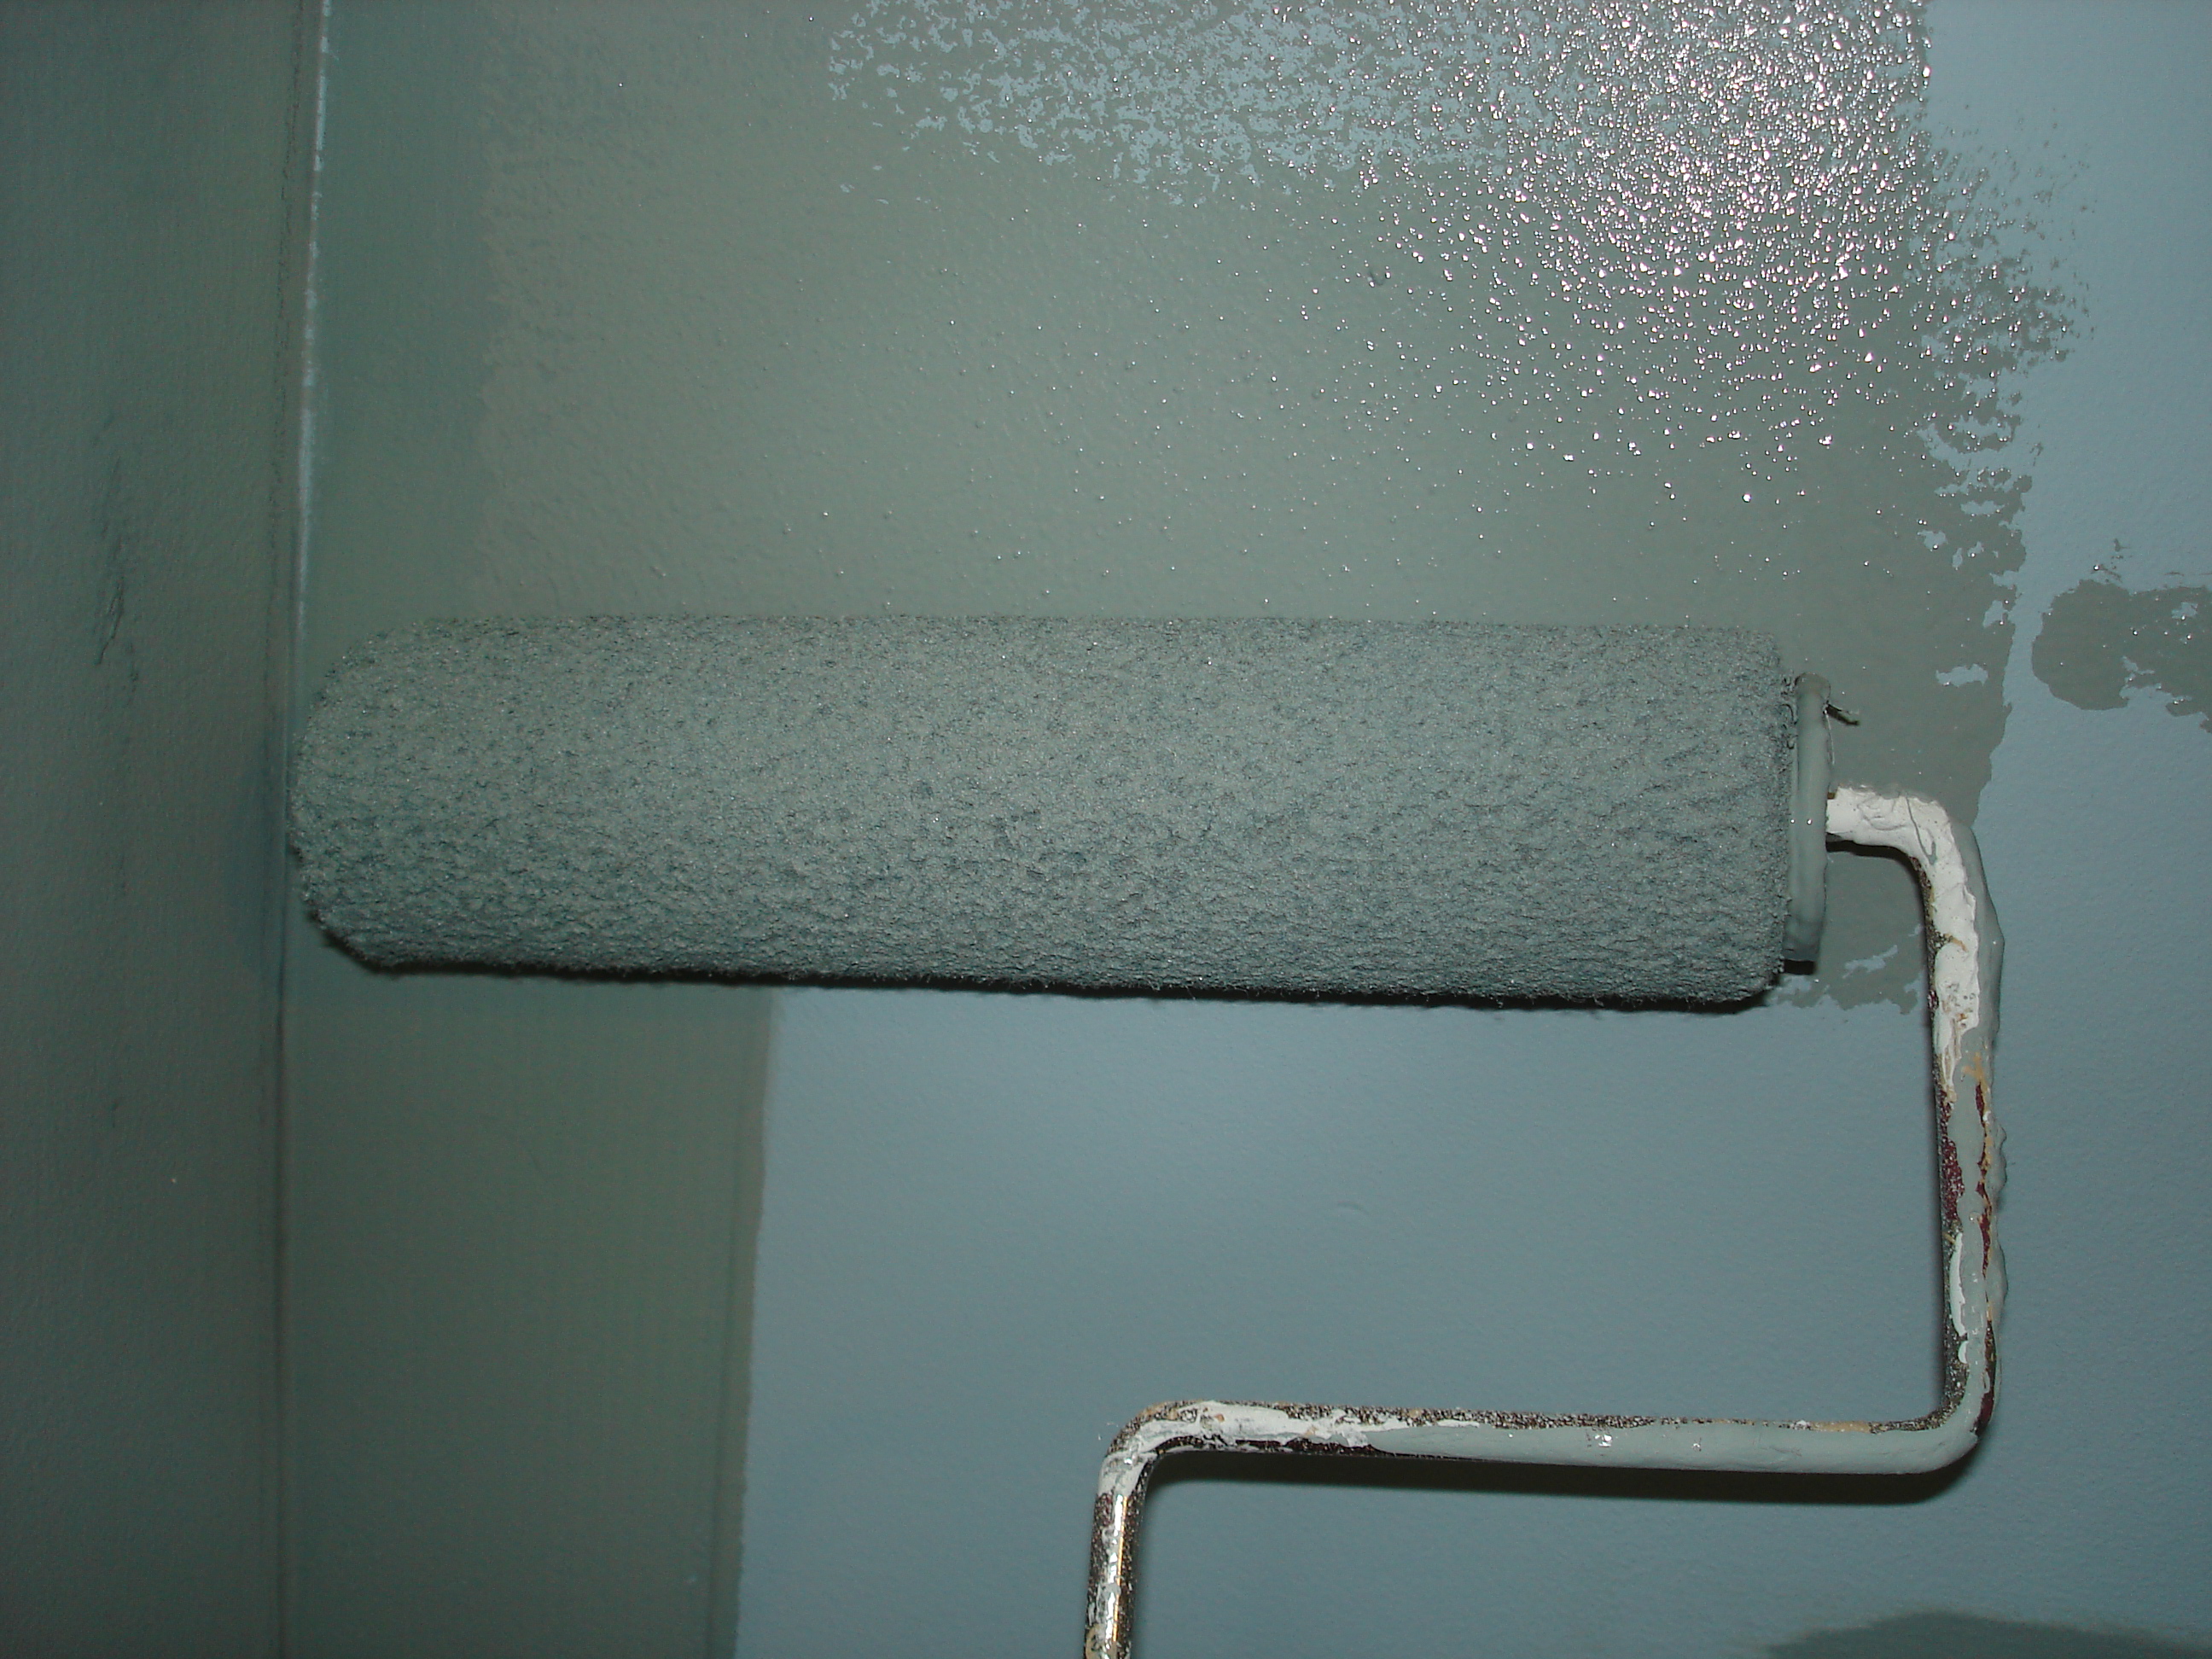
To get professional results, I've compiled some tips for any homeowner to use. You CAN tackle painting without fear. The great thing about paint is that it can always be painted again. It's one of the quickest, cheapest, and noncommittal ways to change the way a room looks.
First step: choose a color
I like to pick out a bunch of paint swatches and tape them to the wall. Look at them for awhile, in different lights, and see if anything jumps out at you. Remember that paint looks different depending on the room, time of day, and colors surrounding itself.

While you're pondering, try this trick. Start taping off your trim or any walls that you're not planning to paint. I like to do this in advance because I find when you have the paint in hand it's easy to rush through this important step. Taping off a few days before you plan to paint will save you time on painting day and lead to better results. Plus, it builds the excitement! Well, maybe that's just me.

When you find a color that you can't keep your eyes off of, you can have it color matched to whatever paint brand you like. Just take your swatch to the paint department and they'll match it exactly! Home Depot and Lowes offer affordable paint, as well as Walmart. I have purchased paint from higher end companies like Sherwin Williams, and I don't find it to be much different than any of the other stuff out there. When it comes to finish, I have switched completely to flat or flat enamel (in my living areas). I was totally a victim of the old rhetoric that satin or eggshell is standard for living areas, with a semi-gloss in the kitchen and bathrooms. The first time I needed to touch up the paint however, I noticed that I left a glaring mark! When the sun hits the wall you can totally see a large blotch where I had to touch it up. UGH! The only way to avoid this is to use flat paint. Maybe it's not as scrub-able, but as someone with 4 animals-I just prefer touching up. And, if you have kids, wouldn't you rather just paint over that magic marker than try to scrub it off??
So now that you've gotten your paint, let's get started!
What will you need? Possibly a primer, depending on what color is already on the wall. I used one when I covered the bright orange in my bedroom. Some paint manufacturers make a primer-and-paint-in-one. You'll also need a high quality roller made for walls (try 3/8'' nap for most paint), a small trim brush, a paint tray, and this super duper handy tool:
The Shur-Line Edger
 It comes with a disposable pad and allows you to crawl right up against your tape for a perfect edge.
The technique:
I like to edge and roll simultaneously to be sure there are no lingering lines. The trick is to always be rolling into a wet edge left by the Shur-Line, so only work in about a 3x3 area at a time. Use the edger, then roll into the line making "W" shapes along the wall.

I've tried many other things, and this technique seems to give the best results with the least amount of touch ups!
I hope these helpful tips save you some of the hassle I've been through trying to learn on my own. And, they'll save you some dough since you won't have to hire a professional!

2 comments:
Great tips for painting! The only thing better would be to have someone do it for you. I hate to paint! LOL
Thanks for joining my Tips and Tricks linky fun. I hope you'll join in each week for one, or all, of my parties.
Liz @ the Brambleberry Cottage
http://thebrambleberrycottage.blogspot.com/
By the way, I looked for a way to join you as a follower and couldn't find anything other than Twitter...which I'm not doing yet.
Thanks Liz! I have had professionals in here painting before, it's definitely easier and better! LOL!
Let me check on the join button, I think I may only have the email subscription activated.
Post a Comment